How to Design a Project-Based Learning Unit (with Catapults & Derby Cars)

As a teacher of mostly teenage boys, I can say my kids want to see three things:  something on fire, something crashing, or something flying (and then crashing).  I love teaching middle-school science because I get to teach motion, which sets things crashing and stuff flying.  As written by Jim Steinman and sung by Mr. Loaf, two out of three ain’t bad.  So how do I go from standards to a project idea to a curriculum  unit?

Boom, Boom, Boom. Essential Question:  Can I make a catapult shoot a ping pong ball thirty feet?  And use it in zombie self defense?
Boom, Boom, Boom.
Essential Question: Can I make a catapult shoot a ping pong ball thirty feet? And use it in zombie self defense?

Personally, I take a five step approach:

  1. Reference standards,
  2. Pick a project,
  3. Choose an excellent essential question,
  4. Find cross-curriculum opportunities,
  5. Generate weekly Maker labs.

After the jump, I’ll expand on each of these points and share some of my curriculum planning tools.  Come on in and see how the engine of a classroom might work.

Essential Question:  How can I increase a derby car's velocity?  Proven: adding force (motors) to an object's motion increases it's acceleration and velocity.
Essential Question: How can I increase a derby car’s velocity? Proven: adding force (motors) to an object’s motion increases it’s acceleration and velocity.

Continue reading “How to Design a Project-Based Learning Unit (with Catapults & Derby Cars)”

Making a Makerspace: What Do We Make Here? Some Capabilities and Tools for Your Educational Makerspace

This is Part 3 in my Making a Makerspace series.  If this interests you, catch parts one and two.

DSC02501-001

A makerspace is a space for a group of interesting and creative people to make something.  Makerspaces differ from traditional constructional spaces in schools such as woodshops, auto mechanics shops, tech labs, etc because making brings three ideas into the classroom: collaboration, communication and personal fabrication.  Personal fabrication brings new, ever-cheaper technologies, such as 3D printing and desktop CNC machines, into the classroom for educational use.  Collaboration focuses on group and community work, whether in the shop space, your local community or on the web.  Makers work with others, in the space, in the community and on the web.  Lastly, makerspaces push communication.  A project is not complete until it is shown off.  Makers collaborate with others, modifying open-source projects and giving the innovation back to the open community.  If you have students, the students are pushed to show  their work to their community: peers, teachers, parents.

DSC02959

So what tools do you need in a makerspace to be successful? Actually it’s easier to thing about what you want your students do…and build those capabilities into your classroom.  Once you figure out the capabilities of your MakerSpace, you can outfit your MakerSpace with the correct tools.  The High School MakerSpace Playbook offers some tools, such as general construction, electronics, 3-d printing, textiles, et cetera, and a great launching point for outfitting your space.  The MakerSpace proposed in the Playbook costs roughly 50 grand to begin.  If you don’t have the money, what do you do?  You deliberately determine what your MakerSpace’s capabilities should be, then you chase it.

DSC02767

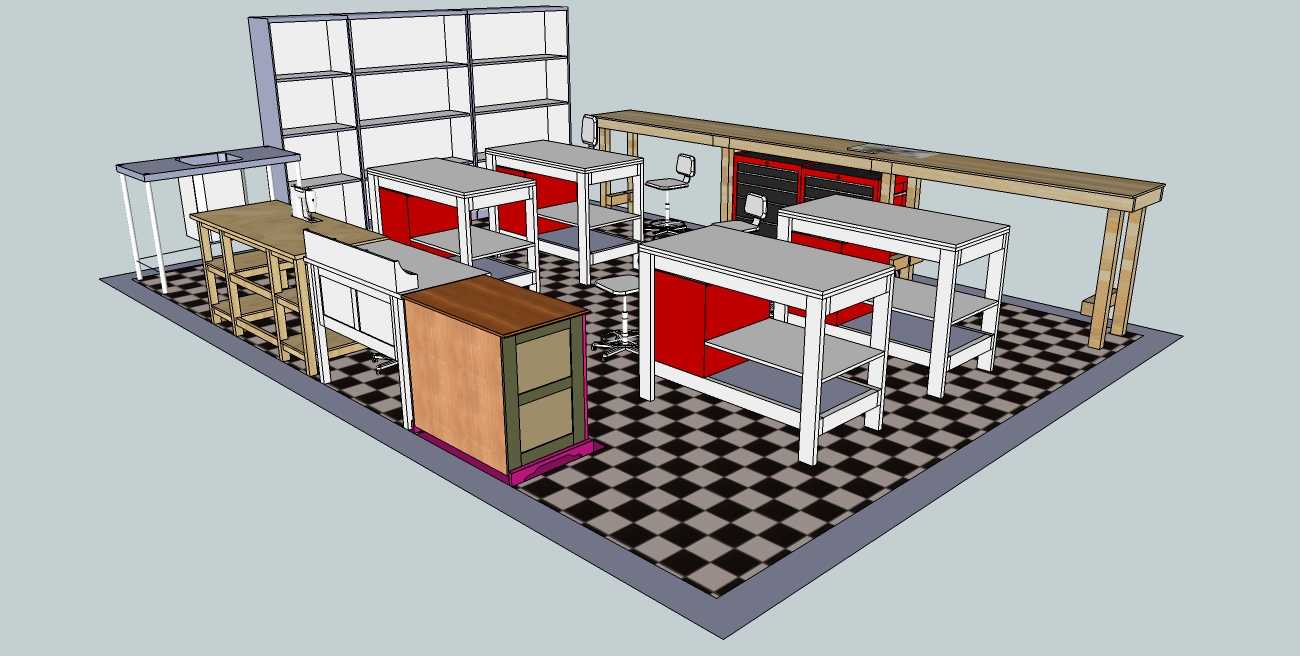
All good projects in a Makerspace begin with design.  Students have great ideas, but often need explicit instruction and tool-knowledge in brainstorming and designing projects. Therefore, the Makerspace needs a robust design capacity or our students miss out on a therapeutic need.  To accommodate this, we have computer-aided design programs (CAD), computer-science learning environments, and graphic-arts software installed on all laptops and desktop computers.  And – we have enough computers to accommodate numerous class sizes – but not yet 1-1.  Specifically, I use SketchUp: Make for a CAD program, Alice 3 as a programming environment and GIMP/Inkscape for graphic arts.  These are not the only tools out there, these are just my tools.

DSC02494-001

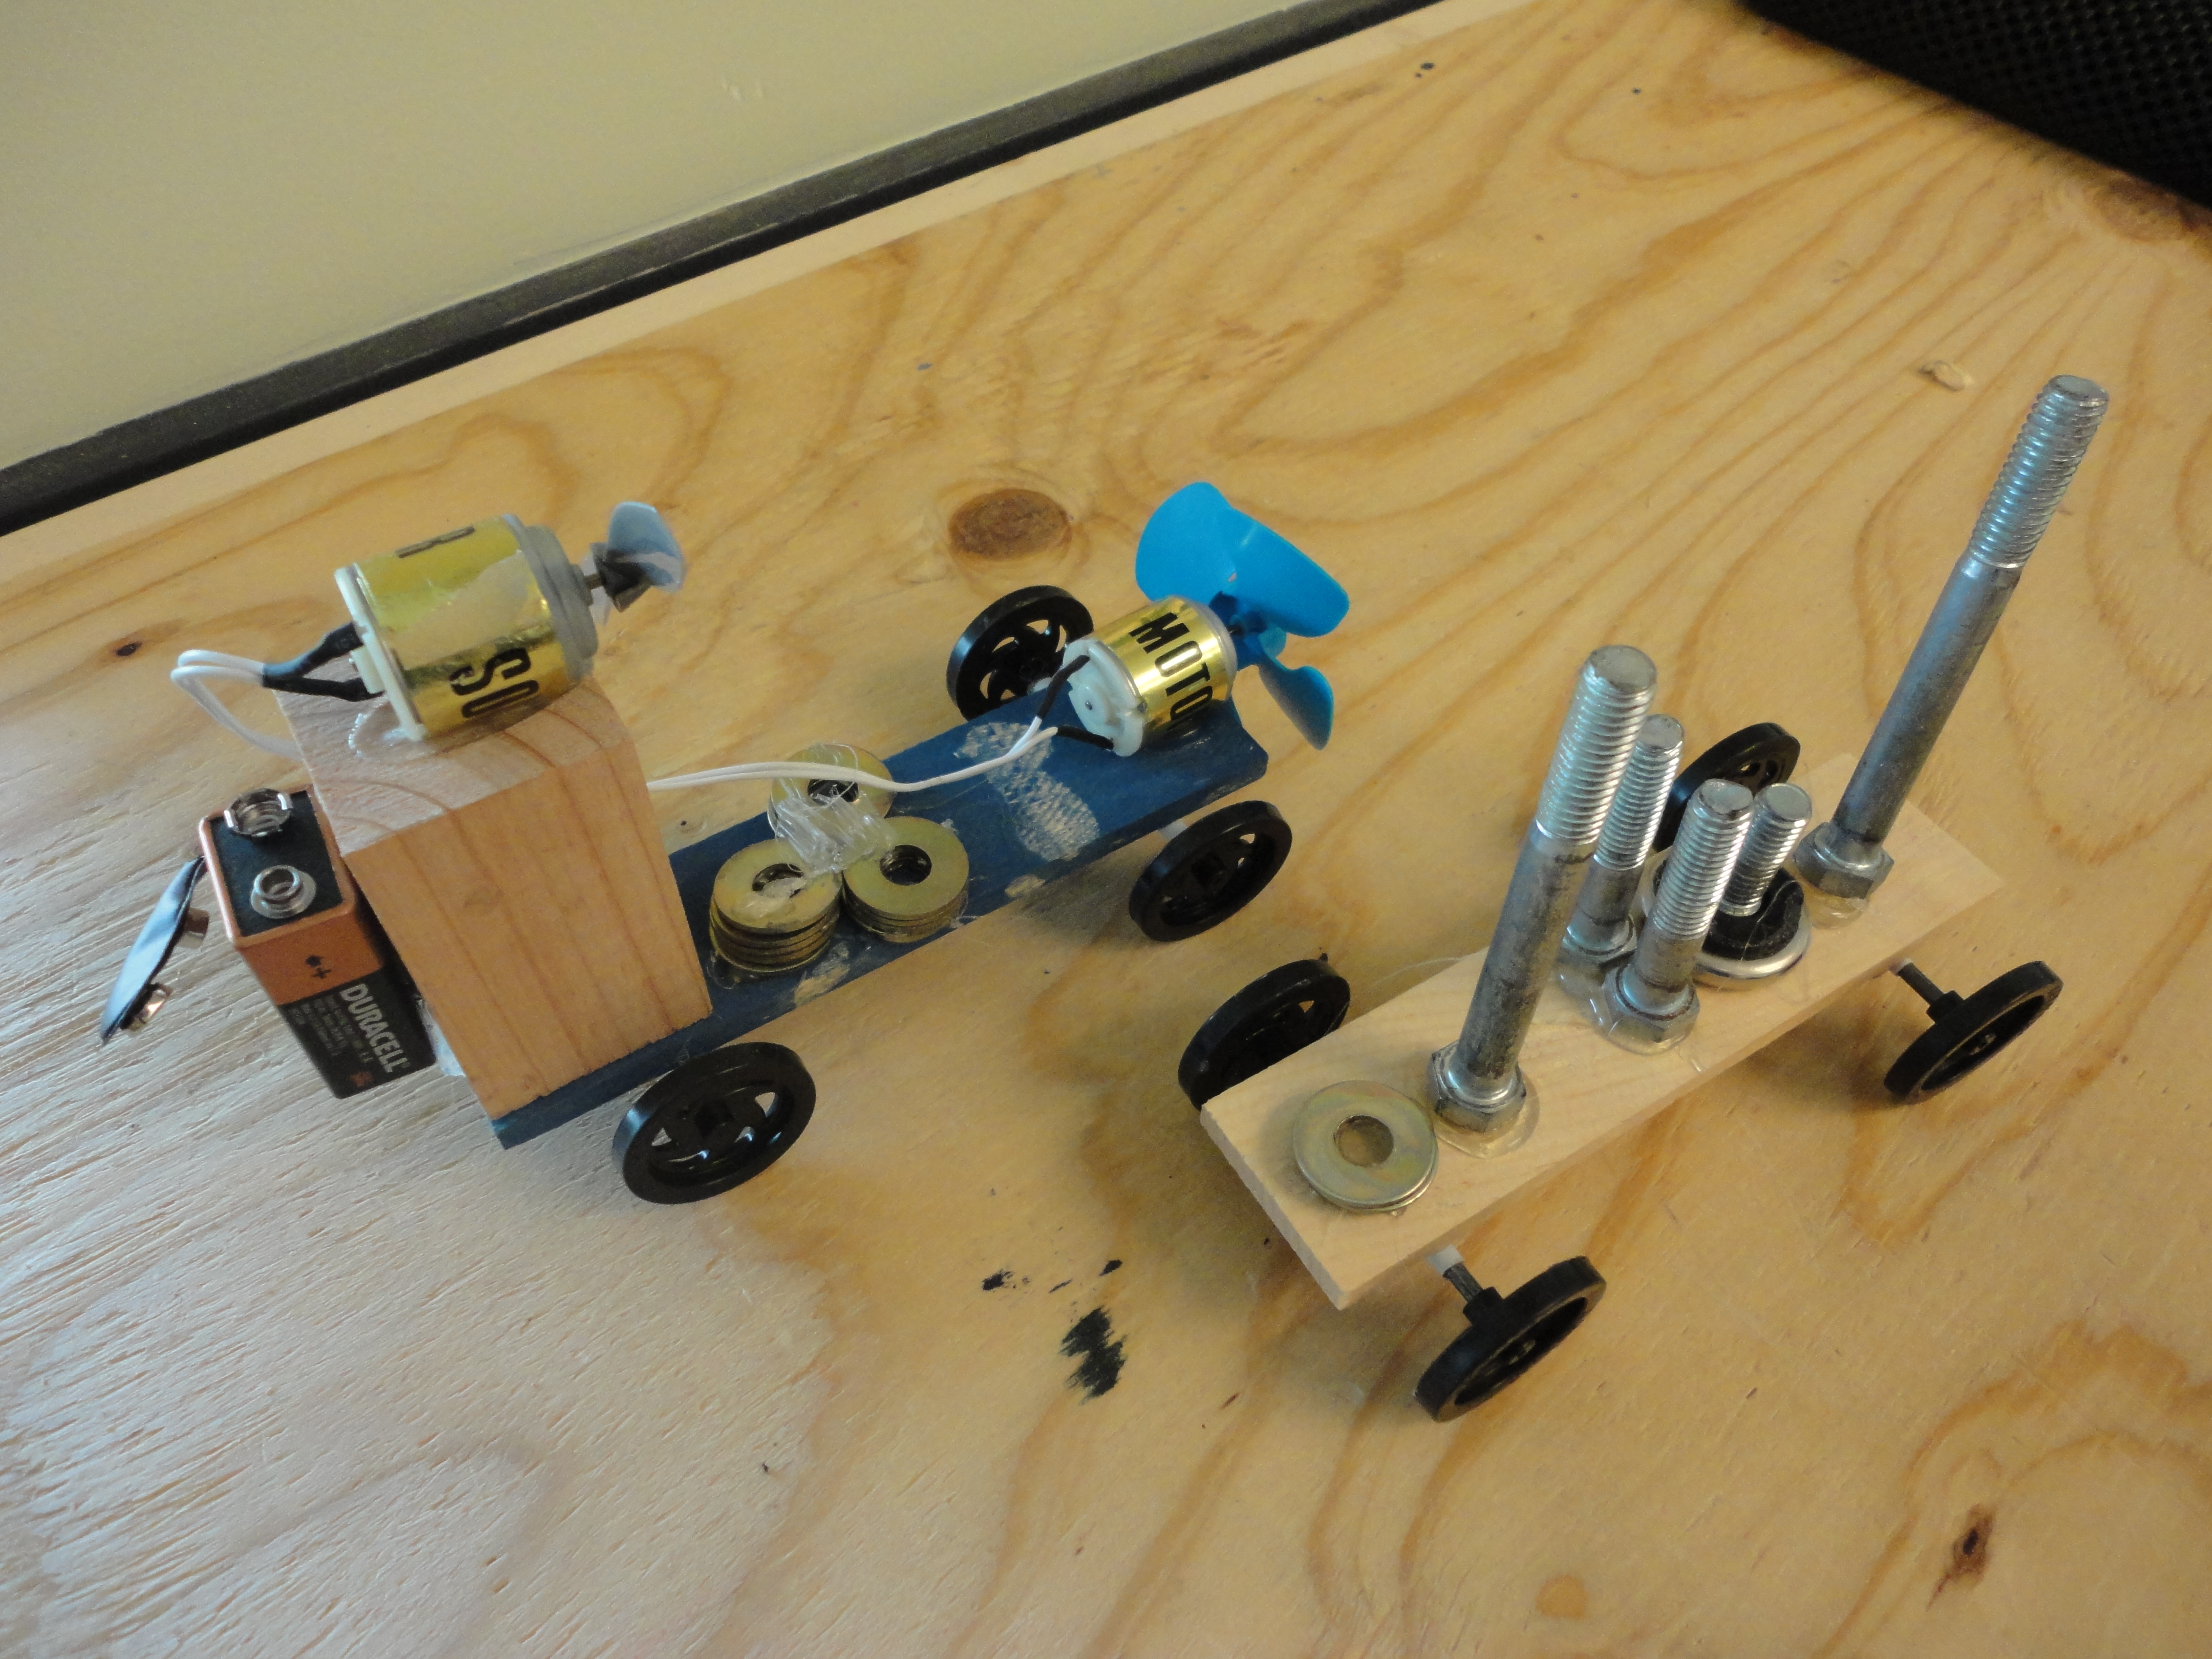
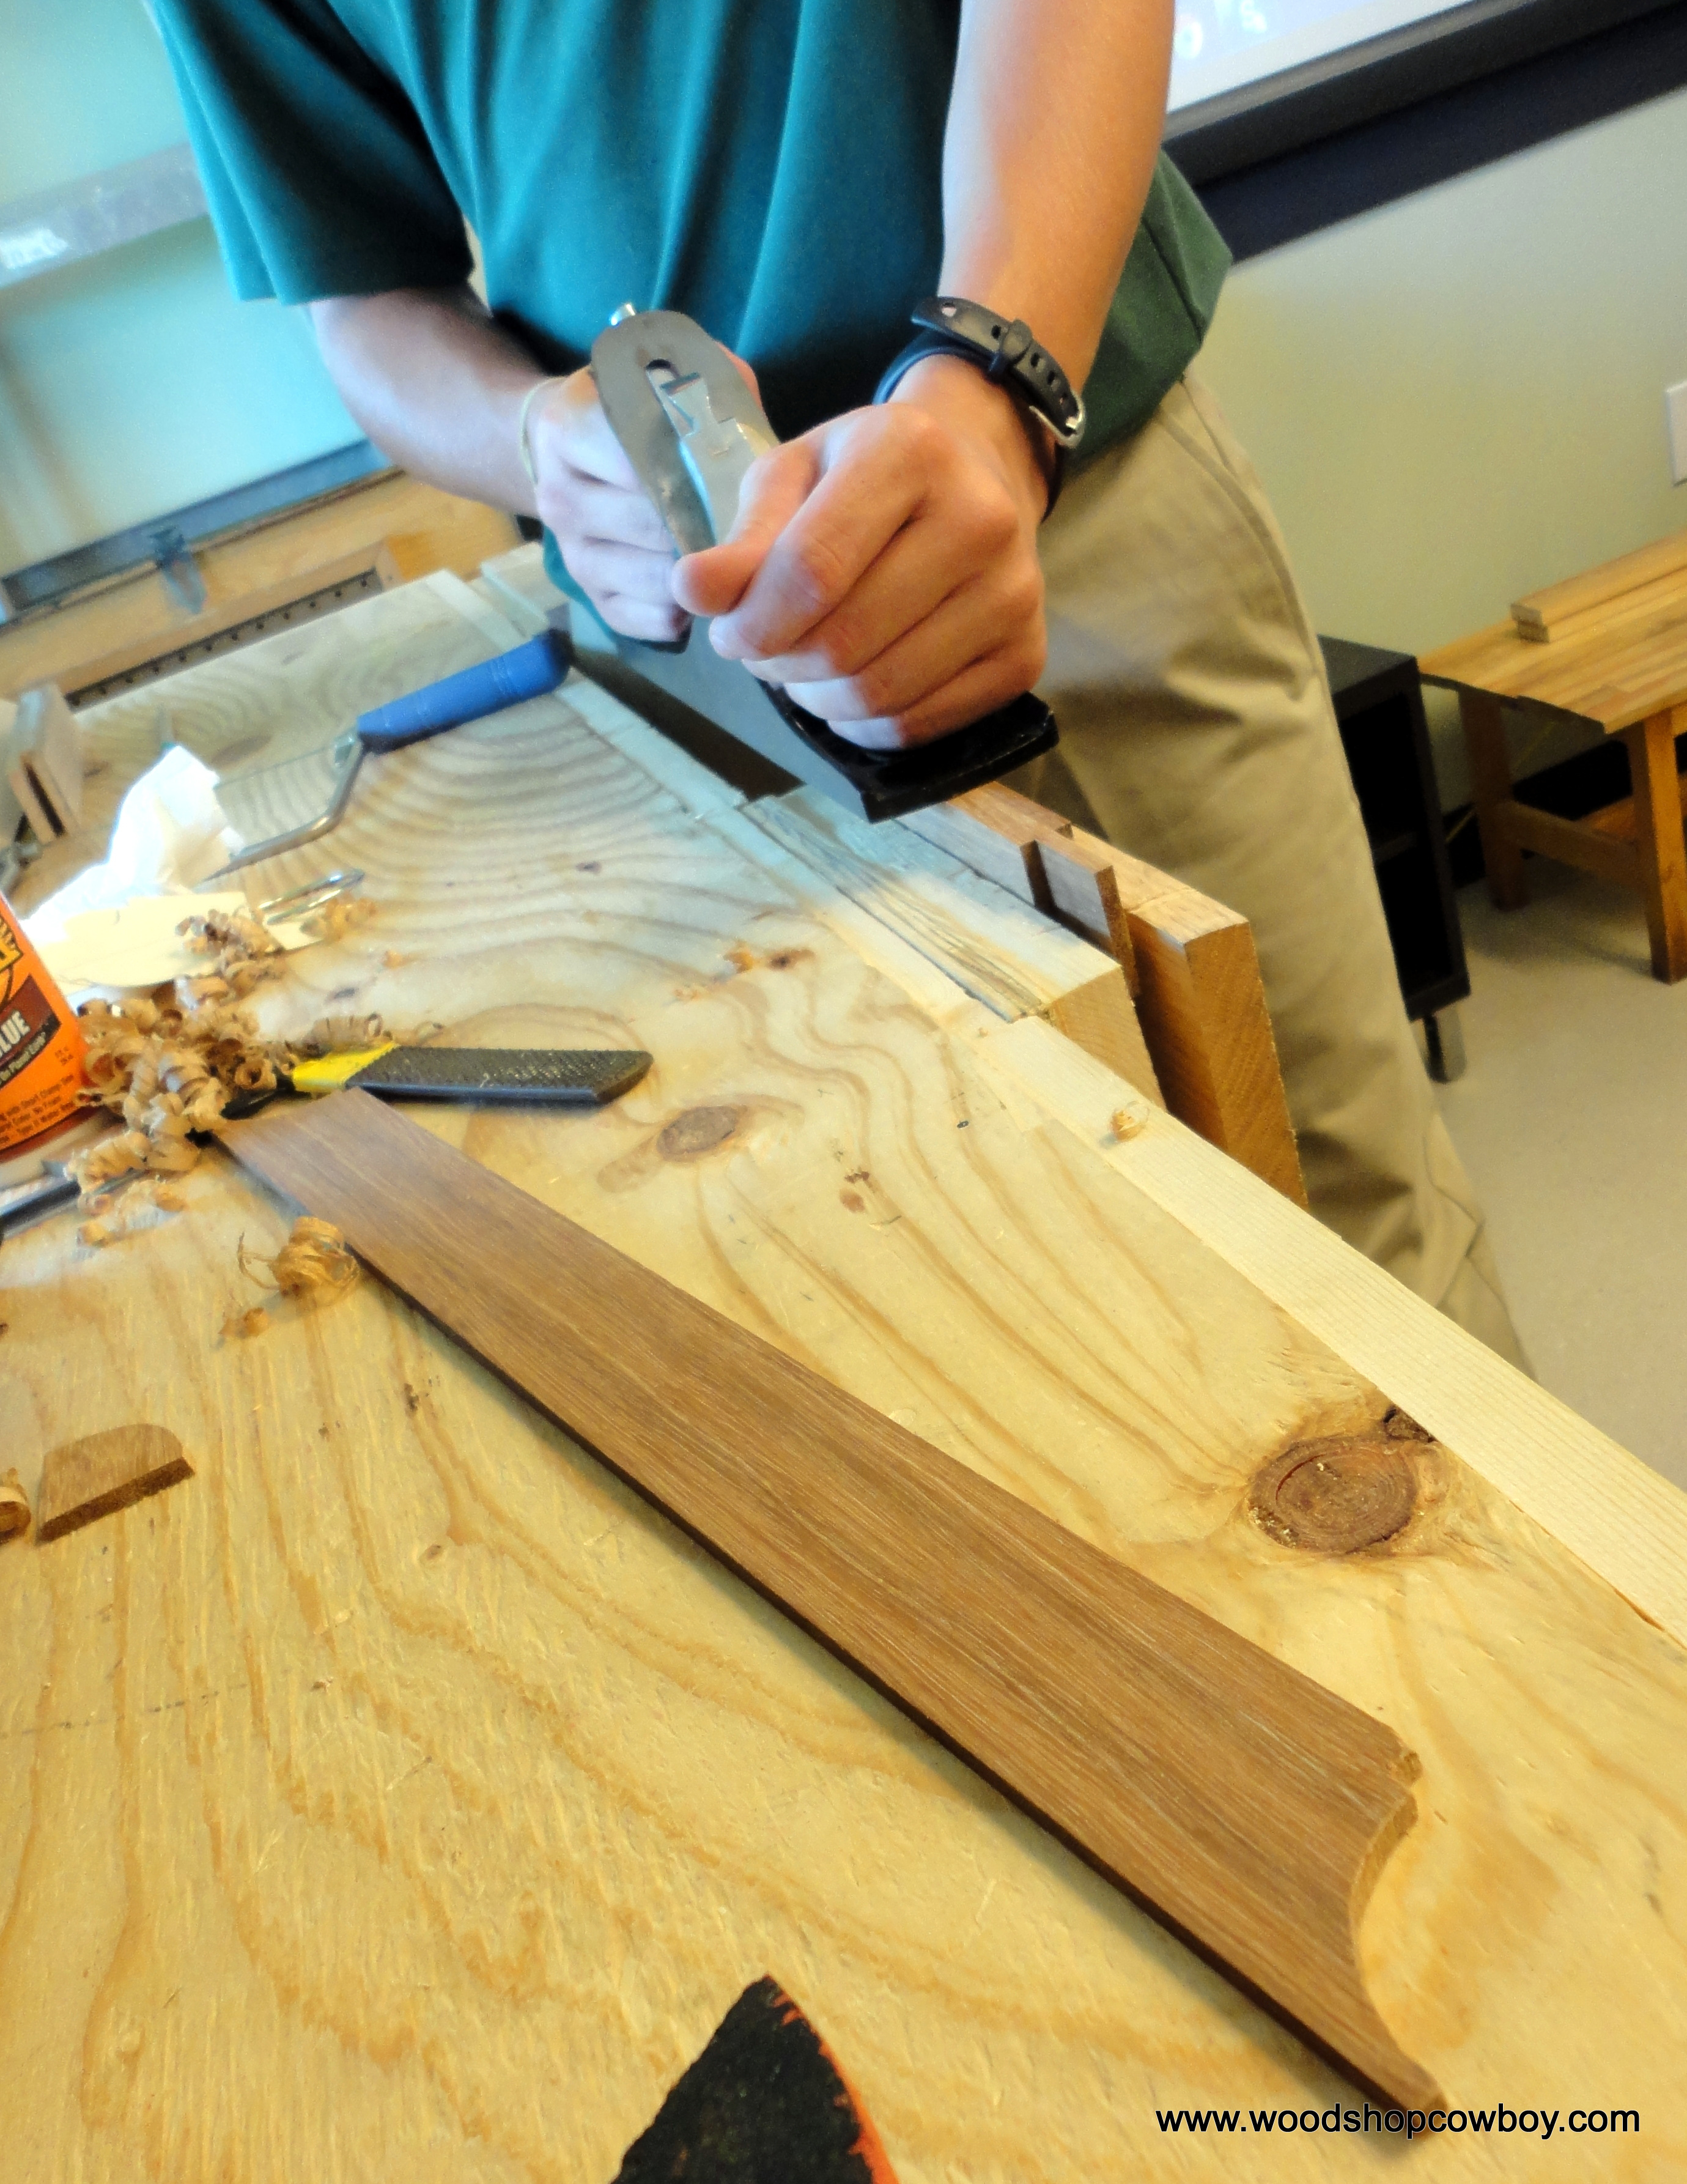
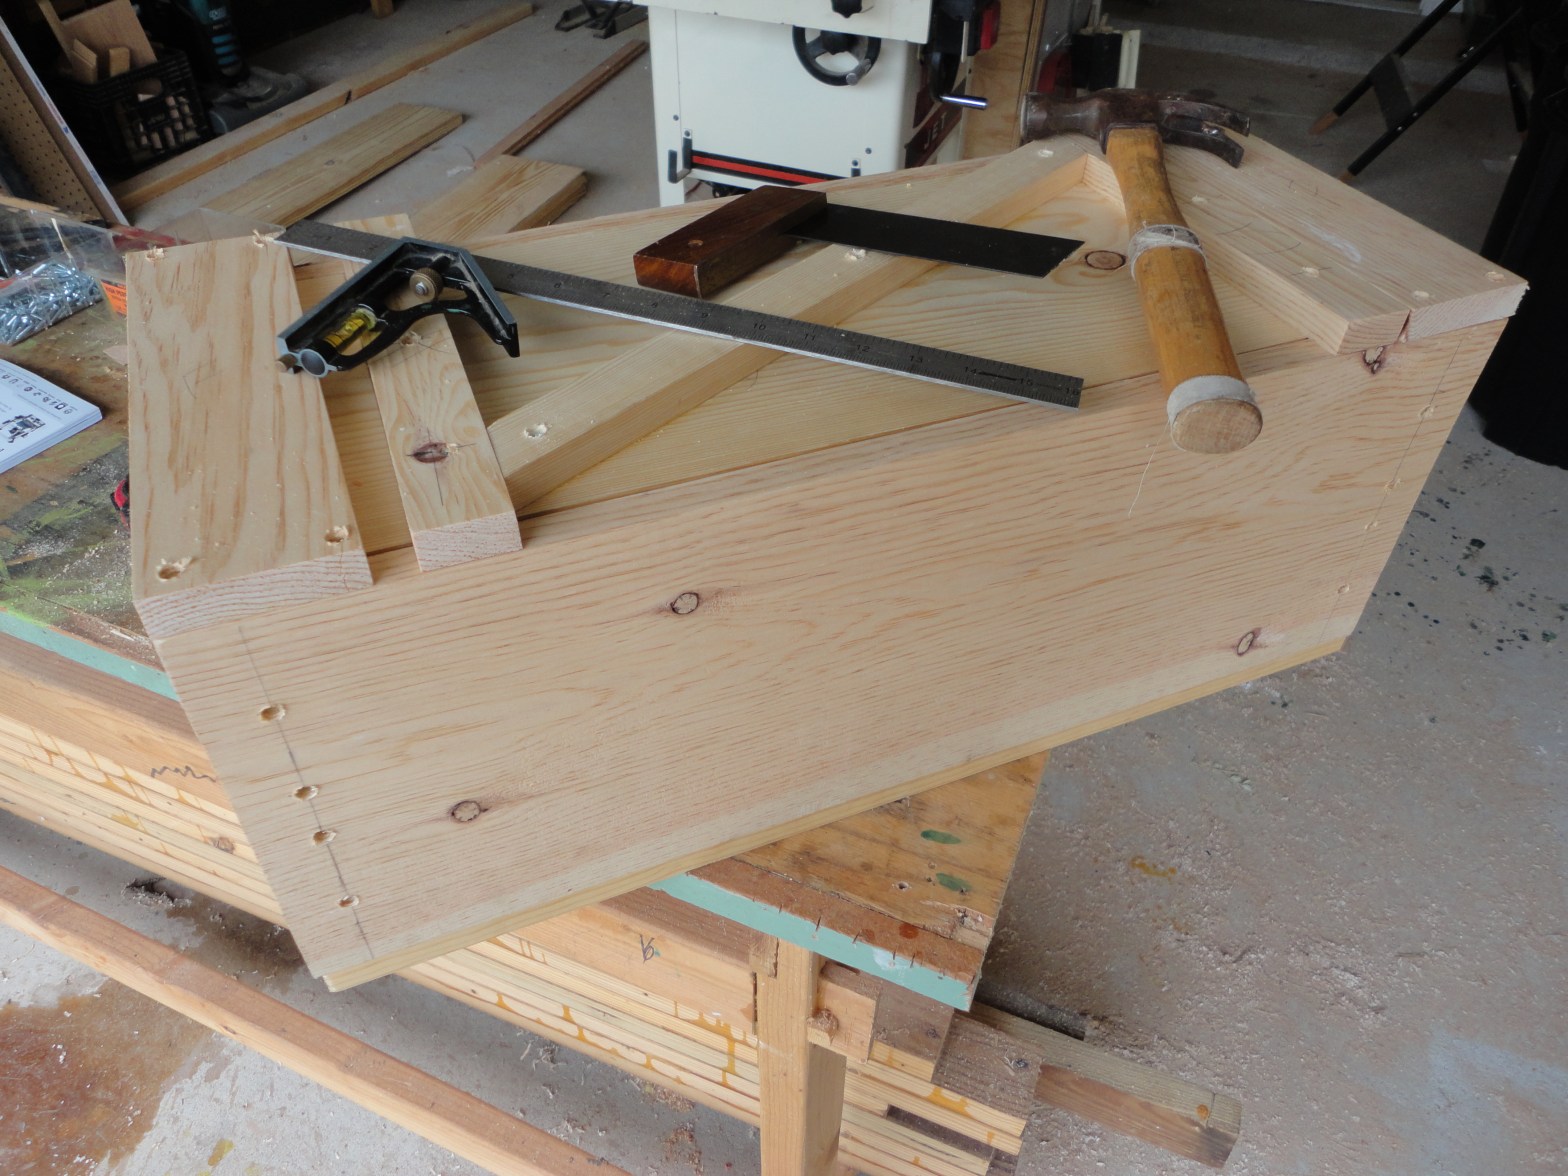
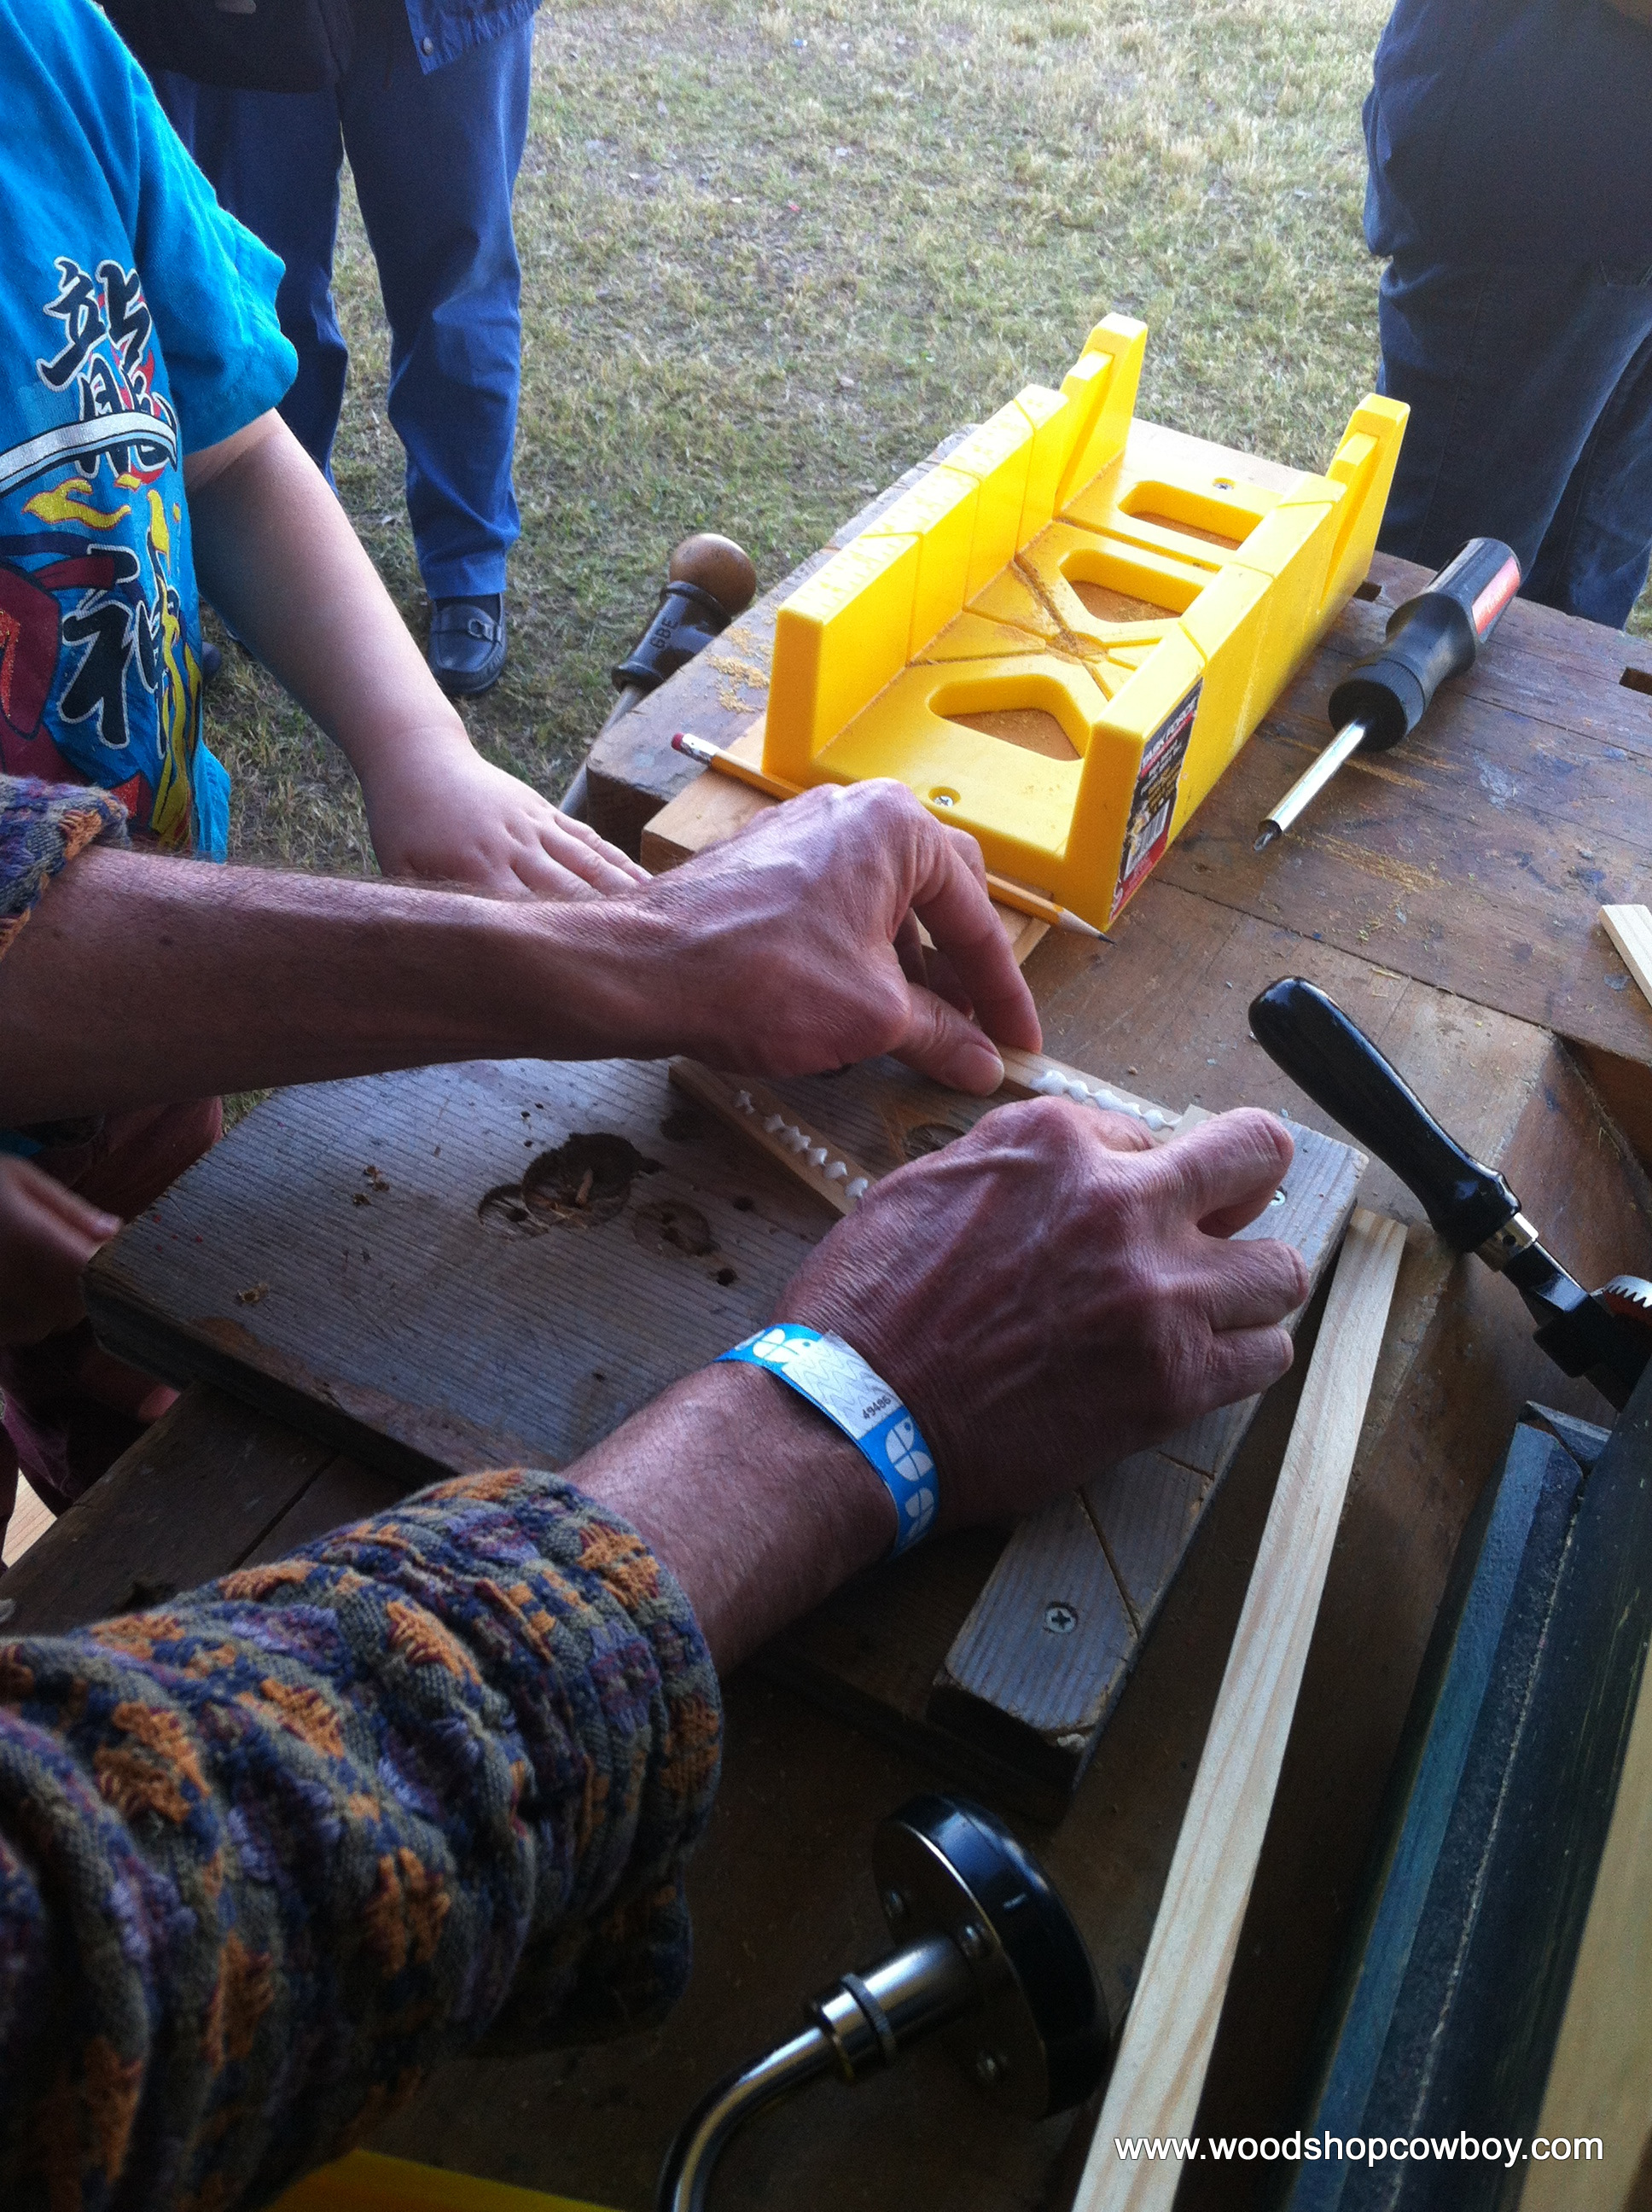
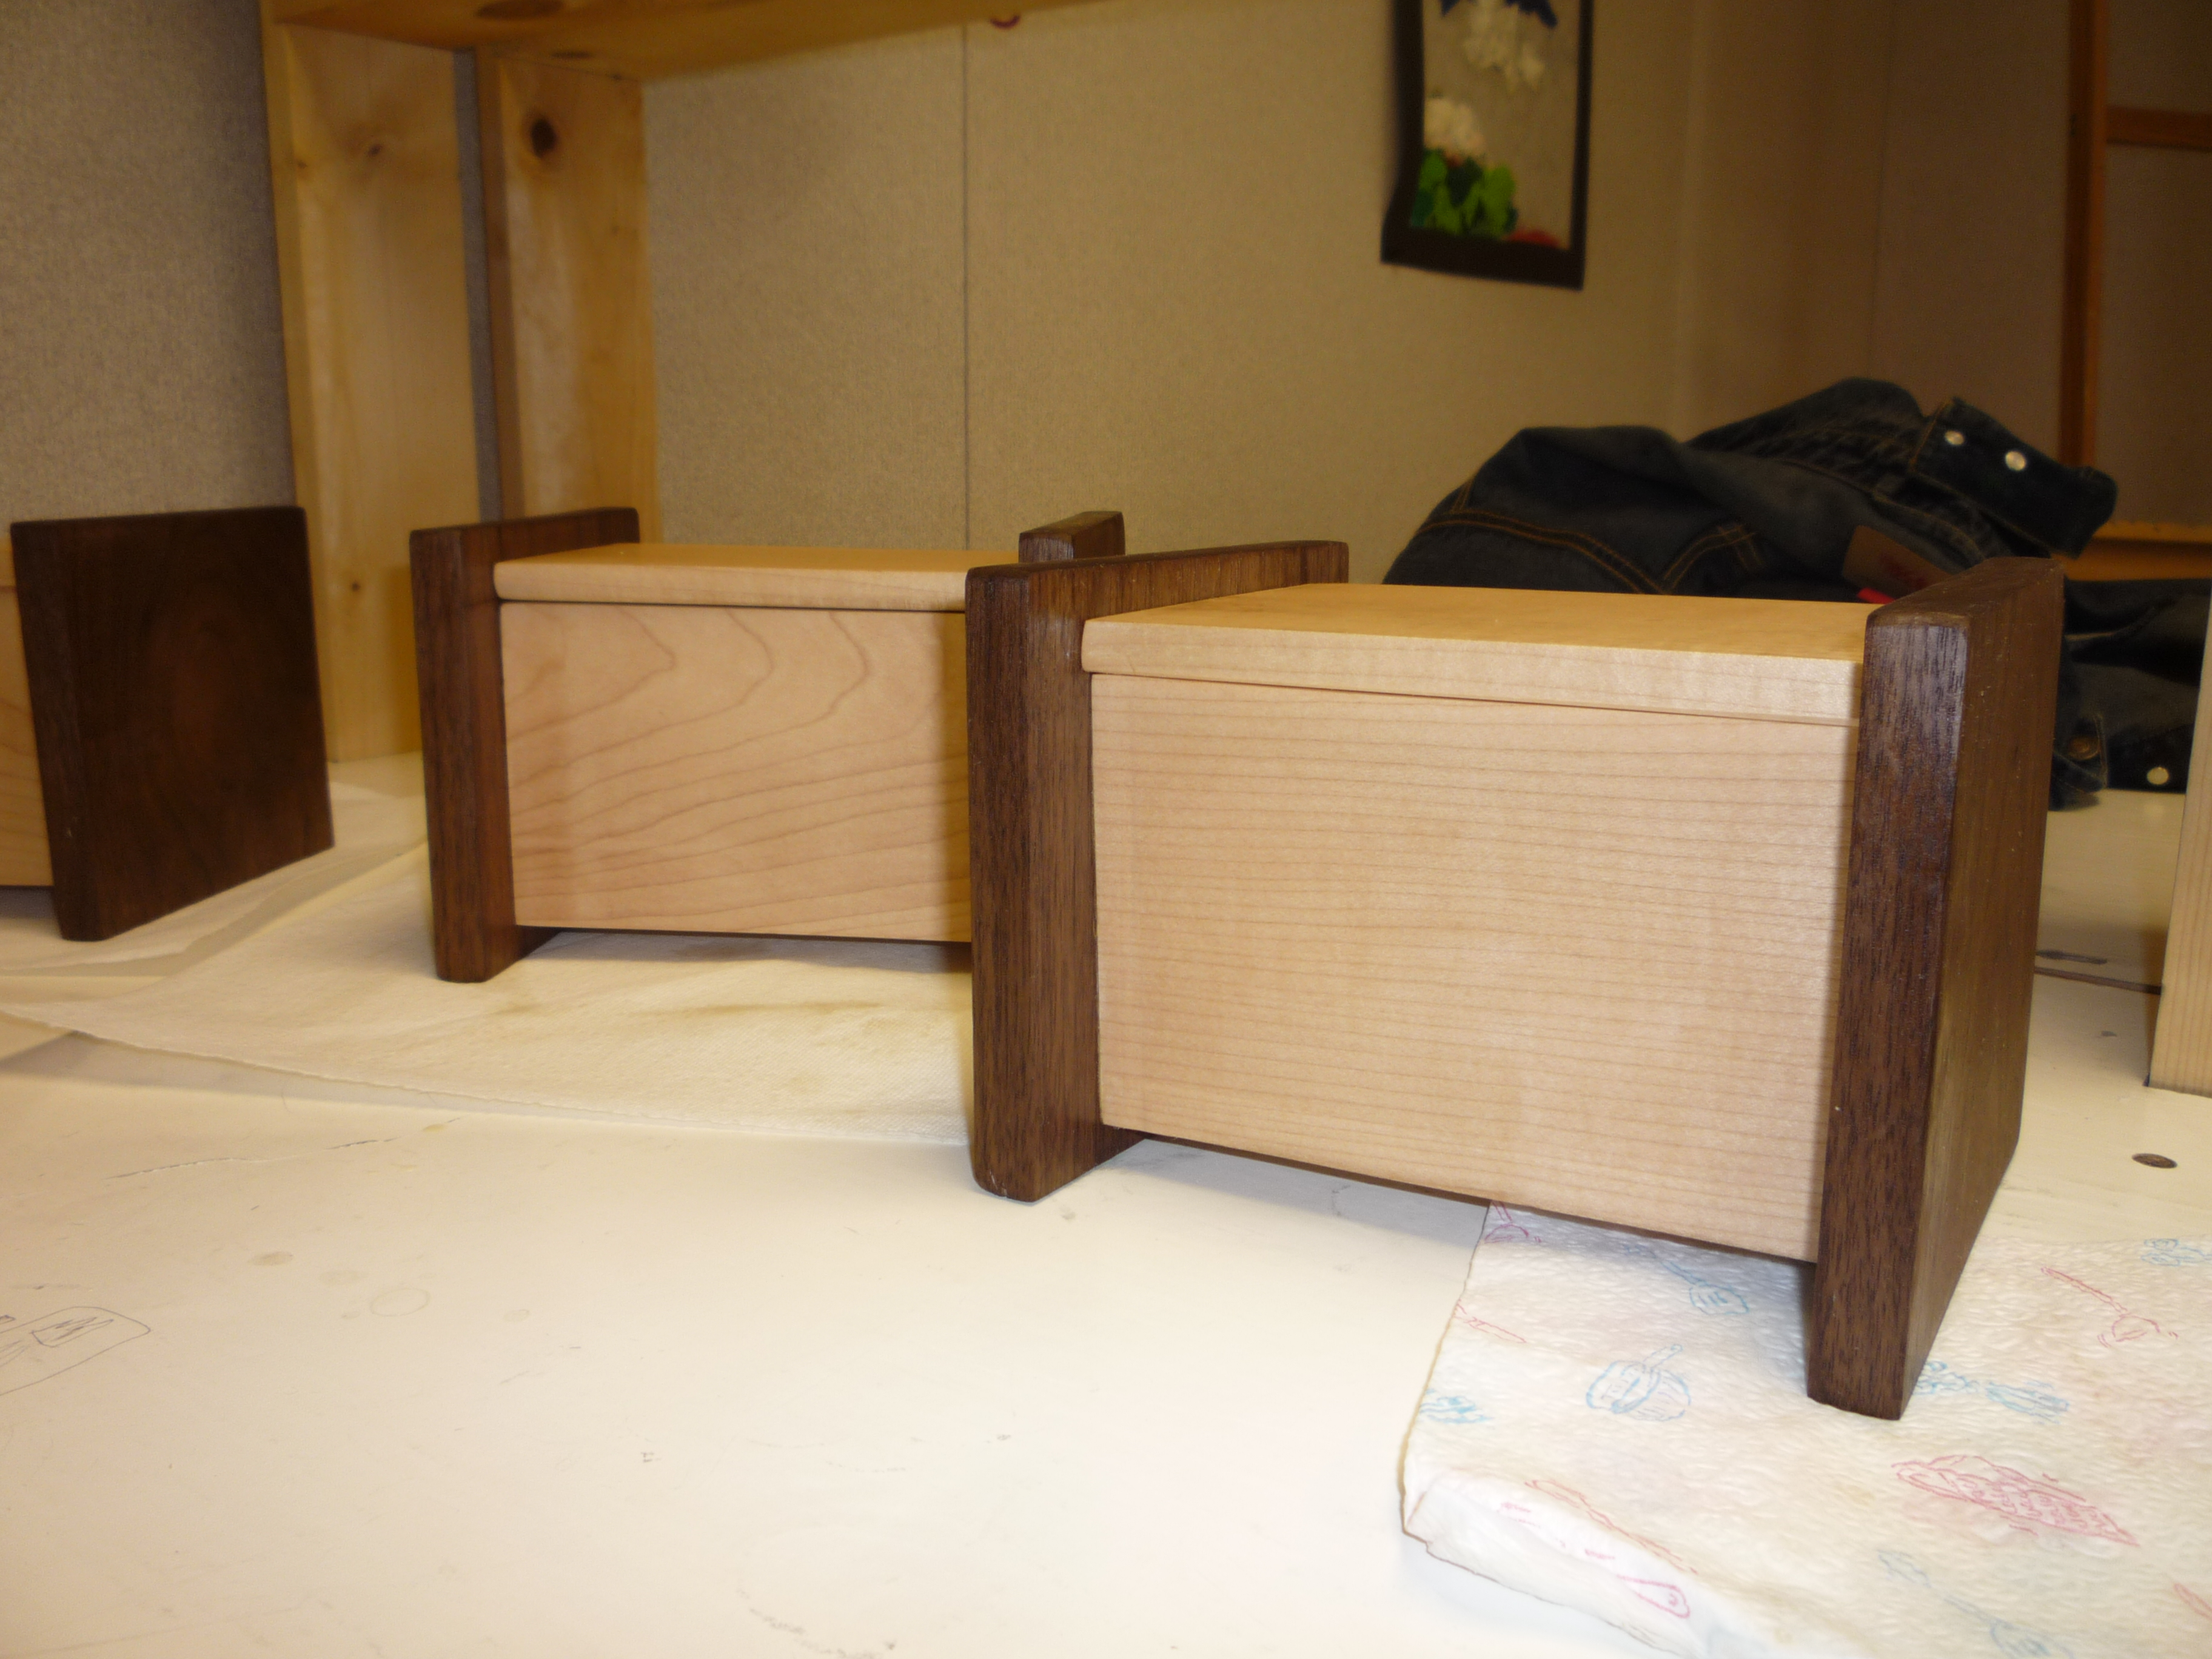
Once a project is designed, it’s time to build something.  Prototyping is the rapid creation of a product.  In a classroom, this might be the building of a catapult, repainting of a bicycle, or the design of a geometric object to be 3-d printed.  Our STEAMworks would attempt to accommodate the widest range of projects while respecting the limits of the space, safety, and health considerations of our students.  We focused on three main sub-domains of prototyping:  wood-working, 3-d printing, and electronics.  Woodworking is a basic skill.  Mastery of measurement, angles, and cutting implements means nearly any project that can be imagined can be created out of wood.  Better yet – local reuse organizations provide free materials.  3-D printing provides students an avenue or production and novelty which excites, engages, and ignites students’ learning.   Electronics allow explorations into higher-order mathematics – and make killer halloween decorations.

If student cannot test their theories or their products, they can never truly progress along their developmental pathway.  Testing is a way of evaluation and reflection.  Students must have access to numerous measurement devices, such as scales, tape-measures, dial calipers, sectors, stop watches, rulers, compasses, dividers, decibel meters, refractometers, and laser thermometers.  In Physics, students will film their motion experiments and model the results via video capture software.  Algebraic and geometric modeling software allows deeper exploration and presentation of their learning.

I knew we would capture everything on camera – in fact, one of my favorite strategies for engaging a reluctant learner is handing them a camera and saying, “take as many pictures as you can.”  This allows my students to document, manipulate, and publish all sorts of media.  We needed a blogging platform to reach an interested audience, video editing software to present professional artifacts of learning, and literacy tools for those students who needed extra support expressing themselves, such as dictation, speech recognition and audio software for podcasts.

DSC02540

Finally, the MakerSpace should be conductive to iteration.  None of these steps happen in a linear manner, nor should it.  The capabilities must be flexible enough to include all sorts of stops and starts, false trails and bridges into competence.

The cost of a MakerSpace is not an insurmountable hurdle.  Careful consideration of the needs of your students and the scope of your curriculum will naturally guide your material and tool purchases.  Begin small – a few hand tools, a carpenter’s box and lots and lots of cardboard.  One laptop.  You’ll be surprised what shows up.


Make it safe & keep the rubberside down this week.

Community Watch: Build a Box on Nov. 2 & 3

Some people say that hand-made gifts are the best gifts to receive.  Others, like myself, say hand-made gifts are the best to give.  Still others, namely fishermen and women, claim teaching a skill may be the best gift of all.

DSC02490

Whichever you are, I’m teaching Build A Box on Nov. 2 & 3rd at TX/RX Labs in downtown Houston.  Come  and build a box for yourself, for someone else, or just for fun.  Give the gift of a class and begin woodworking!  At $70, you learn to use the table saw, miter saw, some hand tool lessons and basic shop safety.  Best deal in town, I gar-un-tee it.

This Week In the Shop: Queen-Sized Bed

It has been a while since I’ve shared a completed project from my bench.  I haven’t been particularly inactive, just an inactive blogger.  Recently, I completed a queen-sized platform bed for my wife and I.  I completed the footboard over last winter break, and this summer I took on the headboard.

DSC00027

The headboard and rails are put together with pocket hole joinery.  The headboard, made out of solid birch and poplar, is way too heavy for the light rails.  Instead of raising the height of the bed and creating thicker rails, I used a french cleat in my wall to hang the headboard.  The bed is rock solid now.  Finished with amber shellac and wax.  Check out the Sketch-Up drawing for more info.Continue reading “This Week In the Shop: Queen-Sized Bed”

This Week in the Shop: A Quiet Place

20130723_180909This project was for my mother.  In order to do it though, I had to build a woodworking shop for my father.  Interesting how that works out.

All told, this project cost under $50.  My father’s garage stuff collection netted me tons of scrap wood for the work spaces, paints and some hardware while my uncle’s garage stuff collection provided the wood for the benches.  I brought my own tools to Virginia for this adventure.  Lastly, the creek bed provided free rocks for the garden.

I carved my mother’s favorite Bible verse across the crossbeam.  1 Corinthians 13:13 “And now these three remain: faith, hope and love. But the greatest of these is love.”  I was able to get the last phrase to fit.

This slideshow requires JavaScript.

Thank you for your support of WoodshopCowboy.  This blog is a labor of love, and likingWoodshopCowboy on Facebookfollowing me on Twitter or adding your name to email list keeps me invigorated  and writing.

Make it safe and keep the rubber side down.

Making a Makerspace: Building Out the Steamworks

This is the second in my “Making a Makerspace” series.  Catch part 1, Planning the STEAMworks, here.

With my planning done, I turned my attention to “building out” the makerspace.  My original plan called for a long woodworking bench against a pair of bay windows with two tool cabinets and four mobile workstations with integrated tool storage.  I thought the makerspace would look something like this:

STEAMWORKS Plan Final As the new school came closer and closer to completion, I realized my room would begin to more like this:

DSC02897

Keep with me after the jump, as I show of my workspace and even provide plans on how to build a Long Bench and Mobile Workstation for your own makerspace.

Continue reading “Making a Makerspace: Building Out the Steamworks”

Making a Makerspace: Planning the Steamworks

This fall, I move into a brand-spanking new classroom.  As part of this move, I’ve been heavily involved in the planning, organizing and logistics of moving my school’s Math & Science program into our new digs.  In the words of a close colleague of mine, what a great problem to have!  Long term readers of this blog have probably noticed a distinct drop off in posts over the past year – well, this massive move has been the main focus of my long-term planning and energy, leaving little left over for blogging or new projects.IMG_6409

That’s about to change.  This is the first of a series of posts on how I’m transforming an empty 20′ x 20′ room into a Makerspace.  I will be posting progress reports throughout the Fall 2013 semester, so keep checking back.  This post will focus on planning out the Makerspace, which I’ve named the STEAMworks.Continue reading “Making a Makerspace: Planning the Steamworks”

We Have A Winner!

Congrats to Pam for winning the Facebook “Race to Thirty” contest.  She wins a Simple Tea Box (or maybe some new designs I’m working on).  She can claim her prize by messaging the Facebook page or sending an email to woodshopcowboy at gmail.com.  Hey, even if you didn’t win, drop me a line!

Maple/Walnut Tea Boxes

Thank you to all of those who have supported this page and my work over the past year or two.  Onward and upward – at 50 likes, I will give away another prize.  Not yet sure what of, but I guarantee it should be interesting….

Keep supporting WoodshopCowboy.com by liking the Facebook page and making it safe & keeping the rubberside down!

This Week in the Shop: 4 Joints For Picture Frames

I’ve been experimenting with picture frames this year.  I’ve made a few in school, developed a brindle-jointed Arts & Crafts influenced design, even filled the frame with mirrors and clay.  I figured it was about time to report on my experiments.

Anatomy of a Picture Frame (for archival purposes)

First, a little anatomy lesson. The decoration we hang on the wall has quite a few parts when its done professionally.  The outer frame or molding, a plastic or glass glassing, paper or cloth matting, etc.  In my experiments, I’ve cut down the number or parts to three – the frame, glazing and dust cover.  Of these three pieces, the hardest part to manufacture is the outer frame.

The outer frame has a few critical components:  the rabbet, the width of the outer molding and the joints.  The rabbet should be deep enough to accept all the glazing, mats, artwork, etc.  The width of a piece should be somewhat proportional to the size of the artwork itself.  Lastly, the joint keeps everything stiff.  Miter joints, the classic look cut at 45° angle, look amazing, but often need reinforcement.  I haven’t experimented yet with miter joints, so I won’t be discussing them in this article.

I’ve used a number of different methods to create the rabbets in my frames.  I started out by freehanding the rabbets using a rabbeting bit on my router table, in a manner similar to the video below.  I then cut out the corners with a sharp chisel.

In my current set of frames, I just use a straight bit and fence to create the rabbet, running the outer frame like so much molding. I find I don’t notice the rabbets showing on the outside.

I experimented with four types of joints:  pocket screws, half-lap joints, bridle joints and mitered half-lap joints.   I’ve listed them from least complicated to most complicated.

Pocket Screw Joints:

I used pocket screws on two projects: the full-length mirror and an art piece.  Kreg makes an incredible jig and has a number of great videos on how to use them.  Pocket screws make tight, easy to assemble and dissemble joints.  Pocket screws, though, do have some mechanical limitations.  A miter frame, such as the one made below, would most likely crack open if dropped.  End-grain to end-grain is a terrible joint, mechanical fastener or no.

Pocket Hole Assembly

Half-Lap Joints

I used half-lap joints during my latest frame production run and a few other pieces.  Half lap joints offer several advantages over pocket screws.  First, tight joints are stronger since they are glued together rather than fastened together.  Second, unlike pocket screws, half-lap joints can be created using hand tools.  I like being able to export a home project into the classroom shop.  Here’s a diagram of the half-lap joint next to a completed corner.

A half-lap joint coming together.
Bridle Joints

I completed a number of pieces with brindle joints.  Bridle joints look classy and allowed for the introduction of curves into my pieces.  Unfortunately, this joint is fussy to set up, requires a table saw and some aftermarket accessories or it requires a few hand tools and lots of patience to complete.  I had a number of chances to practice and I was never satisfied with the results.

Bridle Joint Assembly
Mitered Half Lap Joints

As I stated early in article, the standard joint in professional frame-making is a reinforced miter joint.  A mitered half-lap joint combines the best of the visual aesthetic (the 45° angle) with the strength of a structural joint (half-lap).  Whether using hand tools or power tools, mitered half-lap joints fall into the intermediate category of difficultly to create.    They are, however, painstakingly hard to get right.  Each of the eight face angles must be exactly 45° or the whole piece won’t fit quite right.  And catching exactly 45° can be difficult, even with a table saw, miter saw or shooting board.  It takes a lot of fiddling to get those angles exactly right.

Of course, once you get them right, everything else is gravy…

Mitered Half Lap Joint disassembled and reassembled.

So there you go – 4 joints to include in your next picture framing project.  I do intend to make another This Week in the Shop post on a picture frame called the “Schoolhouse” or “Crossover” frame.  Keep an ear out.

Like WoodshopCowboy on Facebook, Follow WoodshopCowboy on Twitter (@woodshopcowboy), & make it safe & keep the rubberside down.

This Week in the Shop: A Simple Pin Marking Gauge

To end the year, my students have been making simple marking gauges.  My students learned to create a mortise and use hand planes to fit a tenon in this particular project.

20130412_115357

Here’s how we did it.

1.  Cut a 1″ or 3/4″ square oak strip into 8″ lengths.

2.  Cut a 2″ length from a maple strip about 2″ wide, giving you a 2″ x 2″ square.

3.  Use the oak strip to mark your mortise in the center of the maple square.  We did this by marking two diagonals across the maple square and then eye-balling the center.  Mark the square with a mechanical pencils.  If you feel really competent, use a try square to wrap the edges of the mortise around to the back side of the maple square.

4.  Drill a pilot hole through the center of the mortise (in the waste section).

5.  Use a coping saw with the blade threaded through your pilot hole to cut out the mortise.

6.  Clean up the mortise with a sharp woodworking chisel.

8.  Fit the tenon to the mortise – use a plane to trim the tenon enough to slide with some resistance.

7. Drill hole for the thumbsrew with a 7/16″ twist bit.  Move the drill in a circular motion, widening the hole slightly.

8.  Hand tighten the thumbscrew into the tenon.

9. Use a nail to drill a pilot hole through one end of the tenon.

10.  Hammer a nail into the pilot hole.  Clip the nail short.

11.  Use a file to shape the pin into a blade shape.  Do this by filing one side flat (the side towards your fence) and angling a mill file to make a spear point pin.

This slideshow requires JavaScript.