
Most of the time on this blog and @woodshopcowboy or WoodshopCowboy on Facebook, I showcase student-centered projects and articles. Sometimes I make projects for my own enjoyment and personal needs in my own personal makerspace/workshop. Here’s a peek behind the curtain.
Tag Archives: Woodworking
This Week in the Shop: 3 Simple Picture Frame Plans

Picture frames make fantastic skill building projects. You can practice joinery and create precision jigs. Frames reward practice and good finishes. They can be made from cheap materials and scraps – meaning they are easy on the pocketbook. All in all, the perfect project to start with. With one exception. Miter joints – that is,Continue reading “This Week in the Shop: 3 Simple Picture Frame Plans”
This Week in the Workshop: The Pot Rack
A quick plan and showcase of the latest project to come out of my personal workshop. This is a pot rack for my wife’s very expensive set of cooking pans. It keeps them up and out of the way when I’m working with her hand-me-downs while I’m learning to cook….
This Week In the Shop: The Simple Cutting Board

They say when it rains, it pours. For the past six months, I’ve inundated myself with cutting boards at every turn, in every one of my woodworking shops. At home, I made cutting boards as Christmas presents. At work, cutting boards as a fundraiser. At TX/RX Labs, I’ve tweaked my intro course to include aContinue reading “This Week In the Shop: The Simple Cutting Board”
This Week in The Classroom: The Simple Coffee Table in Spalted Red Oak

Earlier in the year, the great folks at Canyon Mesquite donated a number of spalted red oak boards to make furniture out of. It took a while, but we finally made some great use of them. Finished with Howard’s Feed-N-Wax. Make it safe & keep the rubber side down this week. Thank you for visitingContinue reading “This Week in The Classroom: The Simple Coffee Table in Spalted Red Oak”
Community Watch: Build a Box on Nov. 2 & 3
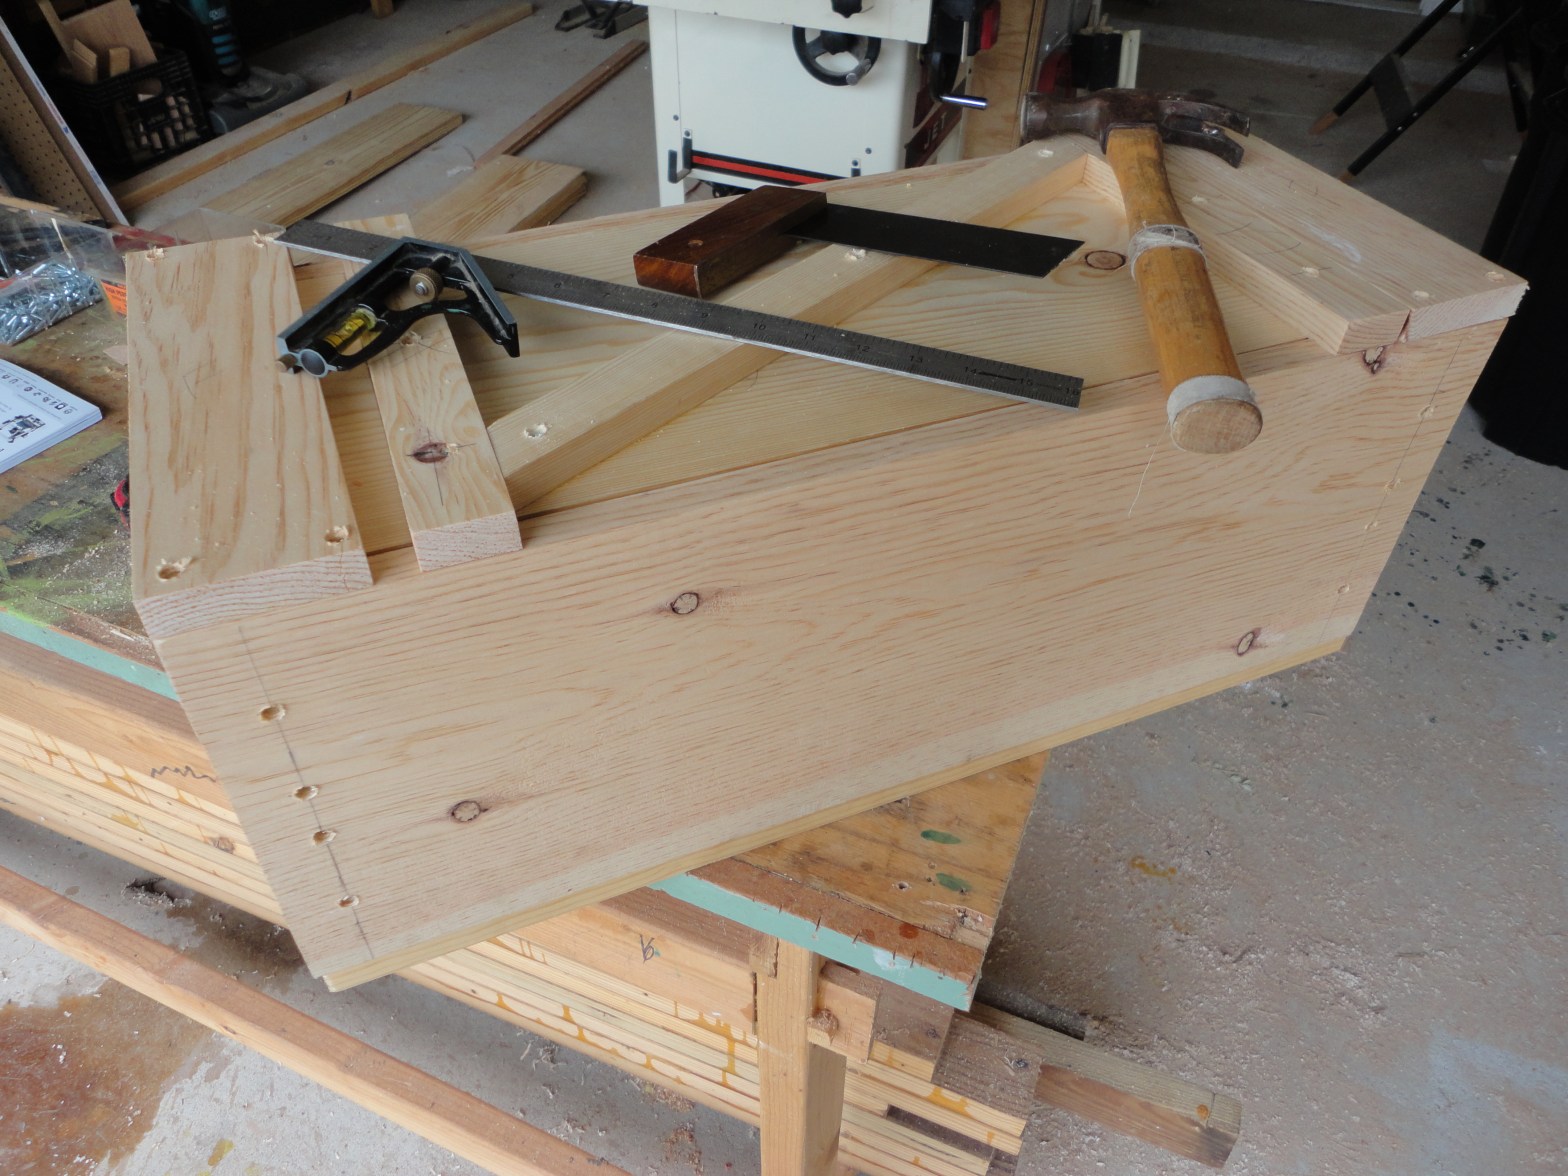
Some people say that hand-made gifts are the best gifts to receive. Others, like myself, say hand-made gifts are the best to give. Still others, namely fishermen and women, claim teaching a skill may be the best gift of all. Whichever you are, I’m teaching Build A Box on Nov. 2 & 3rd at TX/RXContinue reading “Community Watch: Build a Box on Nov. 2 & 3”
This Week In the Shop: Queen-Sized Bed

It has been a while since I’ve shared a completed project from my bench. I haven’t been particularly inactive, just an inactive blogger. Recently, I completed a queen-sized platform bed for my wife and I. I completed the footboard over last winter break, and this summer I took on the headboard. The headboard and rails areContinue reading “This Week In the Shop: Queen-Sized Bed”
This Week in the Shop: A Quiet Place

This project was for my mother. In order to do it though, I had to build a woodworking shop for my father. Interesting how that works out. All told, this project cost under $50. My father’s garage stuff collection netted me tons of scrap wood for the work spaces, paints and some hardware while myContinue reading “This Week in the Shop: A Quiet Place”
Making a Makerspace: Building Out the Steamworks

This is the second in my “Making a Makerspace” series. Catch part 1, Planning the STEAMworks, here. With my planning done, I turned my attention to “building out” the makerspace. My original plan called for a long woodworking bench against a pair of bay windows with two tool cabinets and four mobile workstations with integratedContinue reading “Making a Makerspace: Building Out the Steamworks”
Making a Makerspace: Planning the Steamworks
This fall, I move into a brand-spanking new classroom. As part of this move, I’ve been heavily involved in the planning, organizing and logistics of moving my school’s Math & Science program into our new digs. In the words of a close colleague of mine, what a great problem to have! Long term readers ofContinue reading “Making a Makerspace: Planning the Steamworks”
