
Bench hooks are portable work surfaces used to make basic woodworking tasks, such as crosscutting boards and drilling holes, easier to perform. As a bonus, they help protect the surface of your woodworking bench from bumps and dings. In the makerspace, bench hooks can be used for numerous tasks and roles (such as a surfaceContinue reading “Home #Makerspace: The Bench Hook is a Secret Weapon for #Woodworkers”
Tag Archives: kids woodworking
Home #Makerspace: Simple Kid’s Game Boards for Young Makers #Woodworking

This week, we made a quick foldable checkerboard inspired by my youngest child’s love of the game. This basic folding design can expanded and modified to play any board game. Just let your imagination run wild!
This project incorporates measuring, marking boards square, using a hand drill and hand saw, and an all natural, no-fuss stain (although it is stinky!). Super quick, super cheap and super easy for young makers between K – 3rd grade.
Home #Makerspace: Miter Boxes for #Woodworking #Makered
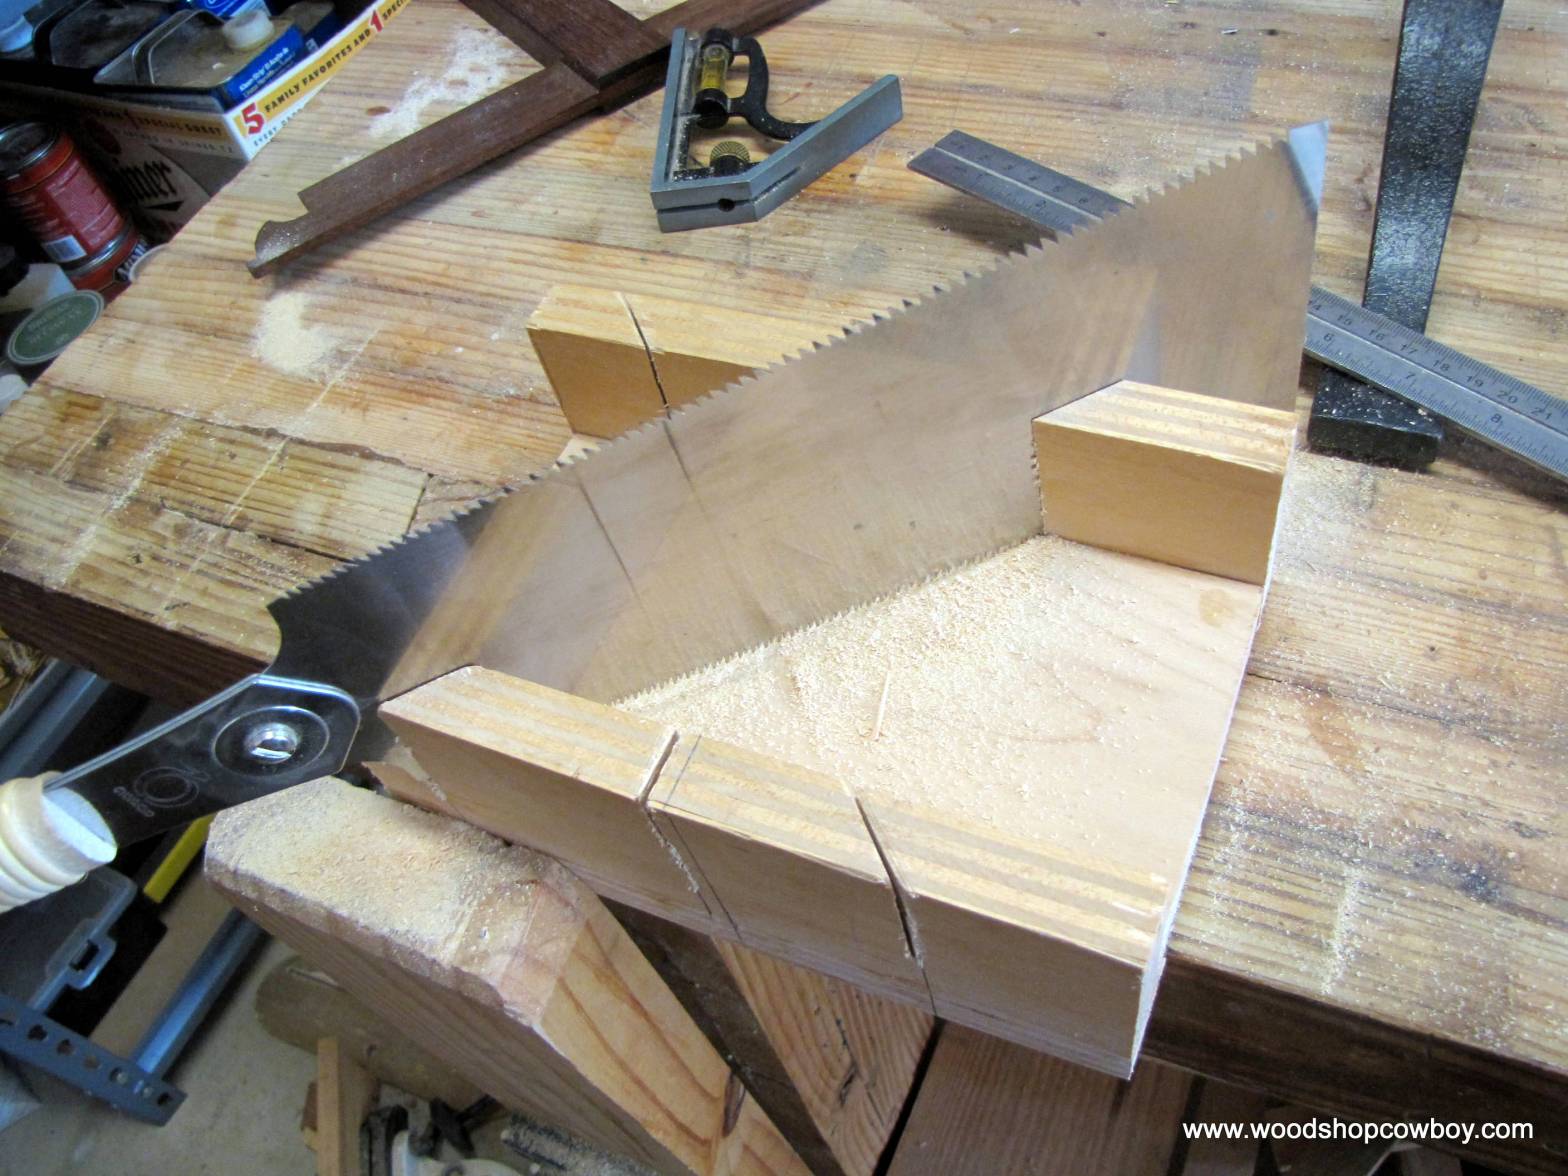
Sometimes, young (and old…) woodworkers can use a little help sawing a board accurately, especially if the board must have a specific angle or length. A miter box helps a woodworker saw a 90 or 45 degree angle into a piece of wood. They are cheap to make, easy to modify and cut accurately. MiterContinue reading “Home #Makerspace: Miter Boxes for #Woodworking #Makered”
Home #Makerspace: The Bread Box Project #woodworking #makerEd
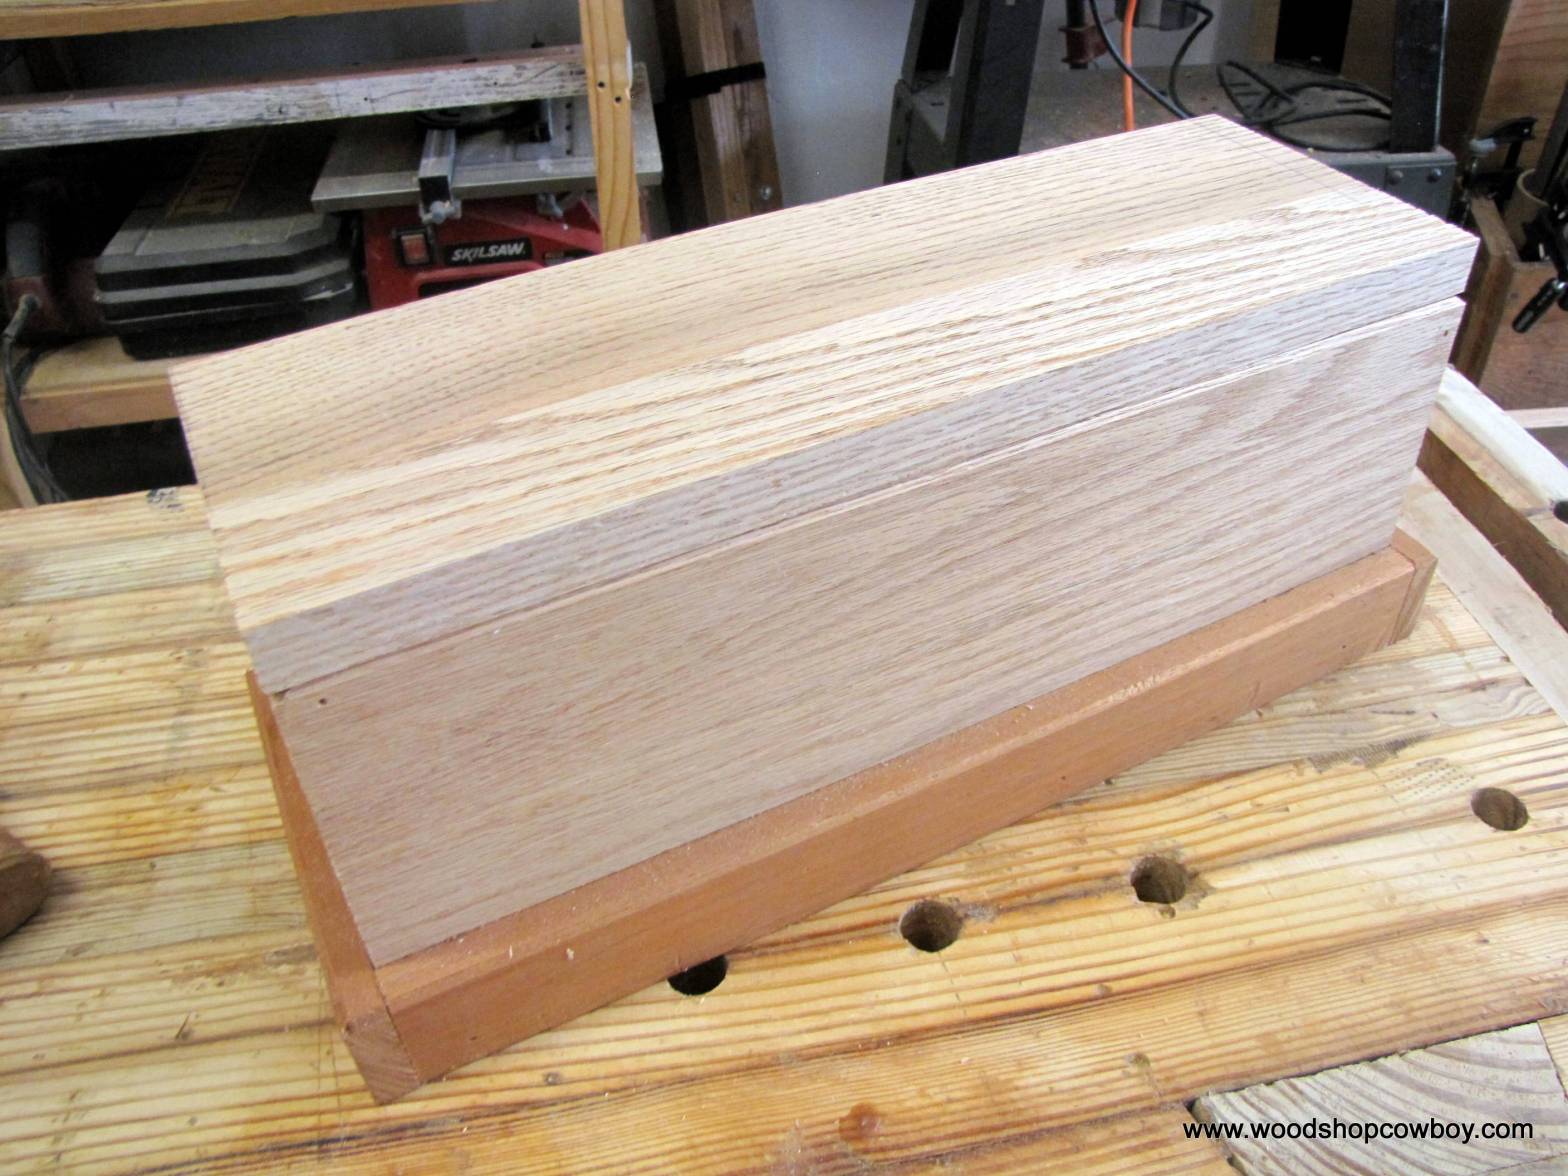
This quick project makes a great starter box for grown woodworkers, but it especially shines as an approachable young person skill builder. This slick box teaches three major skills: measurement, accuracy in manufacture of parts and joinery. A teacher or parent can use this simple project to differentiate between beginning, intermediate and expert woodworkers byContinue reading “Home #Makerspace: The Bread Box Project #woodworking #makerEd”
Home #Makerspace: Natural Material Sculptures & Glue Gun Safety

Check out kid-made sculptures created using glue guns. Learn how to keep your kids safe when using the glue guns.
Making a Makerspace: Shop Tour 2015

Most of the time on this blog and @woodshopcowboy or WoodshopCowboy on Facebook, I showcase student-centered projects and articles. Sometimes I make projects for my own enjoyment and personal needs in my own personal makerspace/workshop. Here’s a peek behind the curtain.
This Week in the Shop: New Tools, New Projects

I found these boxes inside a log from a tree felled in my parent’s backyard, in the house my brothers and I grew up in. I’m now in my thirties and my youngest brother is closer to thirty than twenty-five. We’ve grown up, moved out, moved back, gotten married, had kids, and brought our kids back. This holiday season, we’ll be together for a few days and hours. Then, like many families, we’ll scatter to the wind. A few years ago, I stuffed my suitcase with a log instead of presents. This year, I made matching boxes for every person in my immediate family – mom, dad and four sons.
This Week In the Shop: The Simple Cutting Board

They say when it rains, it pours. For the past six months, I’ve inundated myself with cutting boards at every turn, in every one of my woodworking shops. At home, I made cutting boards as Christmas presents. At work, cutting boards as a fundraiser. At TX/RX Labs, I’ve tweaked my intro course to include aContinue reading “This Week In the Shop: The Simple Cutting Board”
This Week in the Classroom: Build Your Own CO2 Rocket Cars & Launching System

When I look at the popularity of CO2 rocket cars in STEM programs, its ubiquity and age hide a lot of potential for makers and project-based learning opportunities. The biggest drawback, as I see it, is the high cost of entry. Launching systems cost somewhere in the hundreds of dollars, tracks take up teaching spaceContinue reading “This Week in the Classroom: Build Your Own CO2 Rocket Cars & Launching System”
This Week in the Classroom: Pantographs
My school spends a lot of time, energy and financial resources on project-based learning. In my experience, teachers use project-based learning as a catch-all term for anything from make-it-take-it projects which last twenty minutes to inquiry-driven, rubric-graded, long-term explorations. Calling the former project-based learning is lazy and misdirection. Creating incredible experiences for students with theContinue reading “This Week in the Classroom: Pantographs”
