Sometimes, young (and old…) woodworkers can use a little help sawing a board accurately, especially if the board must have a specific angle or length. A miter box helps a woodworker saw a 90 or 45 degree angle into a piece of wood. They are cheap to make, easy to modify and cut accurately.


Miter boxes are channels with slots cut into them. The slots guide the hand saw blade for accuracy and precision. The sides allow the user to clamp down the miter box and work pieces to the table or work bench, which greatly increases safety.
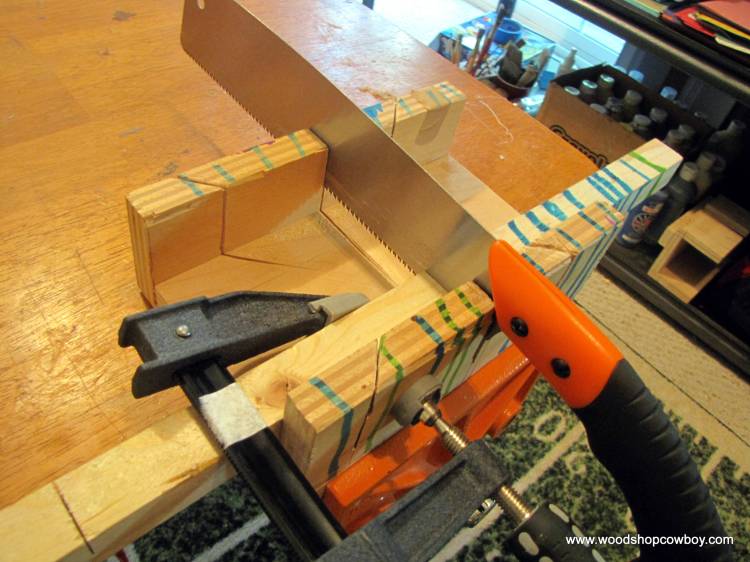
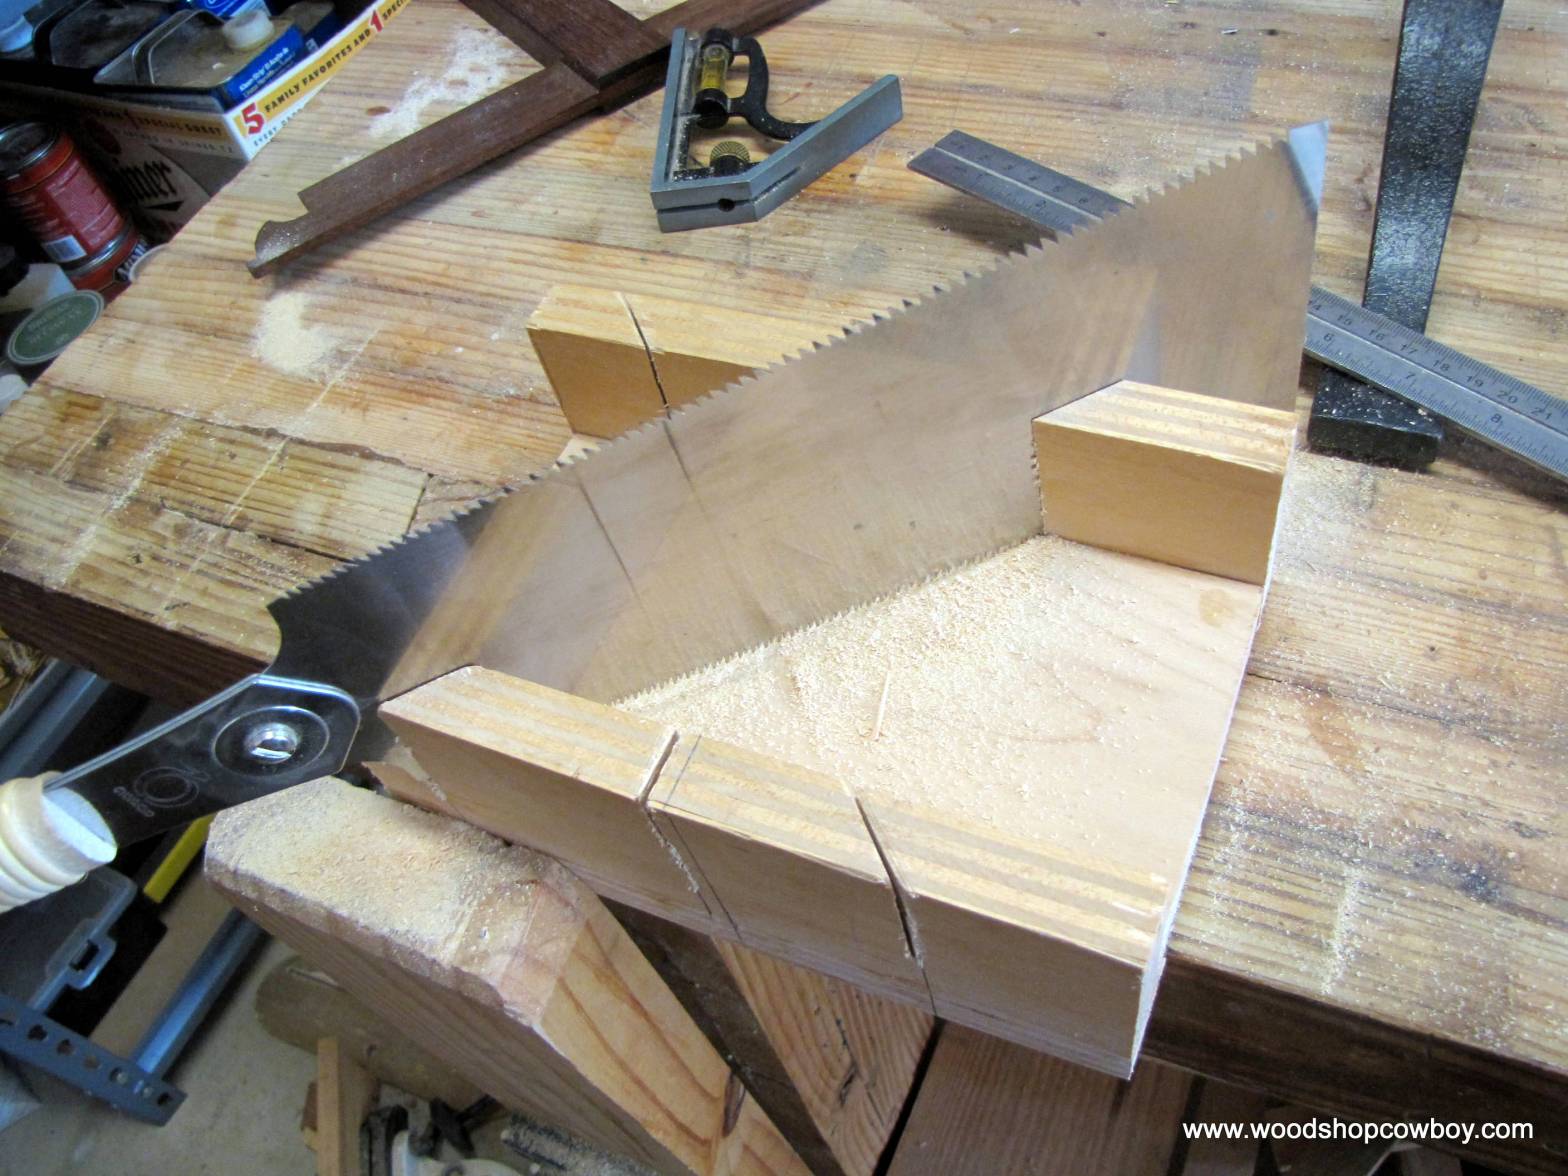
To use a miter saw, place your work piece in the channel, with your cut line against the kerf of the wood. Use a clamp to clamp the work piece and miter box to the table, as shown. Then place the saw in the cutting slot and saw away!
Take the jump to build your own.
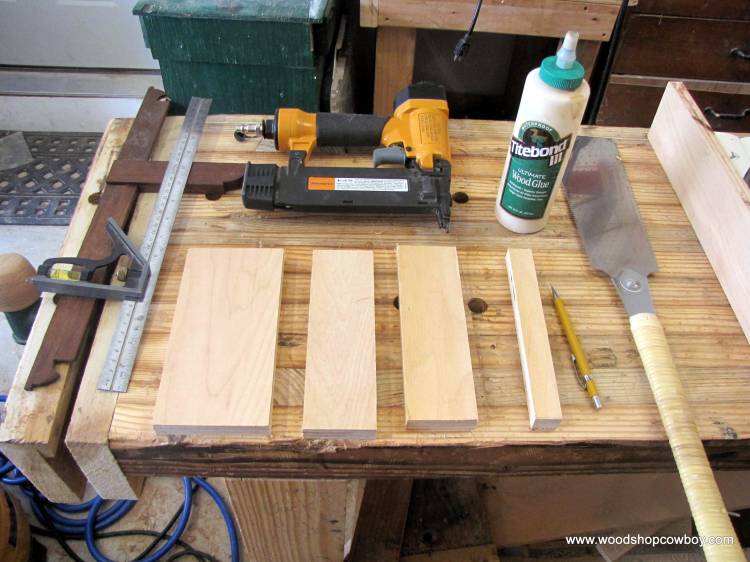
Materials
-
3 strips of plywood, 3 1/2” wide by 6” long. You can also use 1” x 4” x 6’ pine from the big box store, as straight as possible.
-
1 strip of plywood, 1” by 6” long. Use long dowels from the big box store if you can’t prep the wood with a table saw.
-
Nails or screws.
-
Glue.
Tools
-
Hammer or screw driver.
-
Hand saw.
-
Woodworking vise or small bar clamps.
-
Large combination square or square.
The Build
-
Glue and nail the 3 1/2” x 6” plywood strips together in a U shape as shown.

-
Pre-drill, glue and nail the 1” strip to the bottom of the U as shown.

-
Use the combination square to mark a 90 degree and 45 degree cuts as shown.

-
Install miter box in vise so the strip is captured in the vise.

-
Use the saw to carefully saw out saw slots. Cut EXACTLY on the line.

A Few Tips

Japanese saws work wonderfully in projects like this. You might notice one of my miter boxes has a strip missing from the front side. This spot acts as an access point for a small clamp during use. Check out the picture above to get a better view.

Thank you for your continued support.
Thank you for visiting my blog. To support for this site, please like WoodshopCowboy on Facebook or follow me on Twitter. If you are interested in making and education, why not check out Work Notes, a semi-curated set of articles from the web, published every week?

3 thoughts on “Home #Makerspace: Miter Boxes for #Woodworking #Makered”