It’s not all kid-projects and makerspaces tours in this space. I have a little time for personal projects. After sorting my shop in my recent relocation, I cannibalized the irons from some really terrible (and I mean terrible) hand planes. I’ve reused those planes in three hand planes. I made two smoothers and one blockContinue reading “This Week in the Shop: Wood Hand Planes & Spray Finish”
Category Archives: This Week In the Shop
Making a Makerspace: Shop Tour 2015

Most of the time on this blog and @woodshopcowboy or WoodshopCowboy on Facebook, I showcase student-centered projects and articles. Sometimes I make projects for my own enjoyment and personal needs in my own personal makerspace/workshop. Here’s a peek behind the curtain.
This Week in the Shop: 3 Simple Picture Frame Plans

Picture frames make fantastic skill building projects. You can practice joinery and create precision jigs. Frames reward practice and good finishes. They can be made from cheap materials and scraps – meaning they are easy on the pocketbook. All in all, the perfect project to start with. With one exception. Miter joints – that is,Continue reading “This Week in the Shop: 3 Simple Picture Frame Plans”
This Week in the Shop: New Tools, New Projects

I found these boxes inside a log from a tree felled in my parent’s backyard, in the house my brothers and I grew up in. I’m now in my thirties and my youngest brother is closer to thirty than twenty-five. We’ve grown up, moved out, moved back, gotten married, had kids, and brought our kids back. This holiday season, we’ll be together for a few days and hours. Then, like many families, we’ll scatter to the wind. A few years ago, I stuffed my suitcase with a log instead of presents. This year, I made matching boxes for every person in my immediate family – mom, dad and four sons.
This Week in the Workshop: The Pot Rack
A quick plan and showcase of the latest project to come out of my personal workshop. This is a pot rack for my wife’s very expensive set of cooking pans. It keeps them up and out of the way when I’m working with her hand-me-downs while I’m learning to cook….
Tool Primer: How to Finish Your Project: Film Finishes

This is the third Tool Primer article on finishing your woodworking project. You can find Part One: Sanding here and Part Two: Penetrating Oils here. In this article I will discuss the film finishes available for woodworking projects at most local big-box hardware stores. The first step is creating a clean, dust-free uniform surface byContinue reading “Tool Primer: How to Finish Your Project: Film Finishes”
This Week In the Shop: The Simple Cutting Board

They say when it rains, it pours. For the past six months, I’ve inundated myself with cutting boards at every turn, in every one of my woodworking shops. At home, I made cutting boards as Christmas presents. At work, cutting boards as a fundraiser. At TX/RX Labs, I’ve tweaked my intro course to include aContinue reading “This Week In the Shop: The Simple Cutting Board”
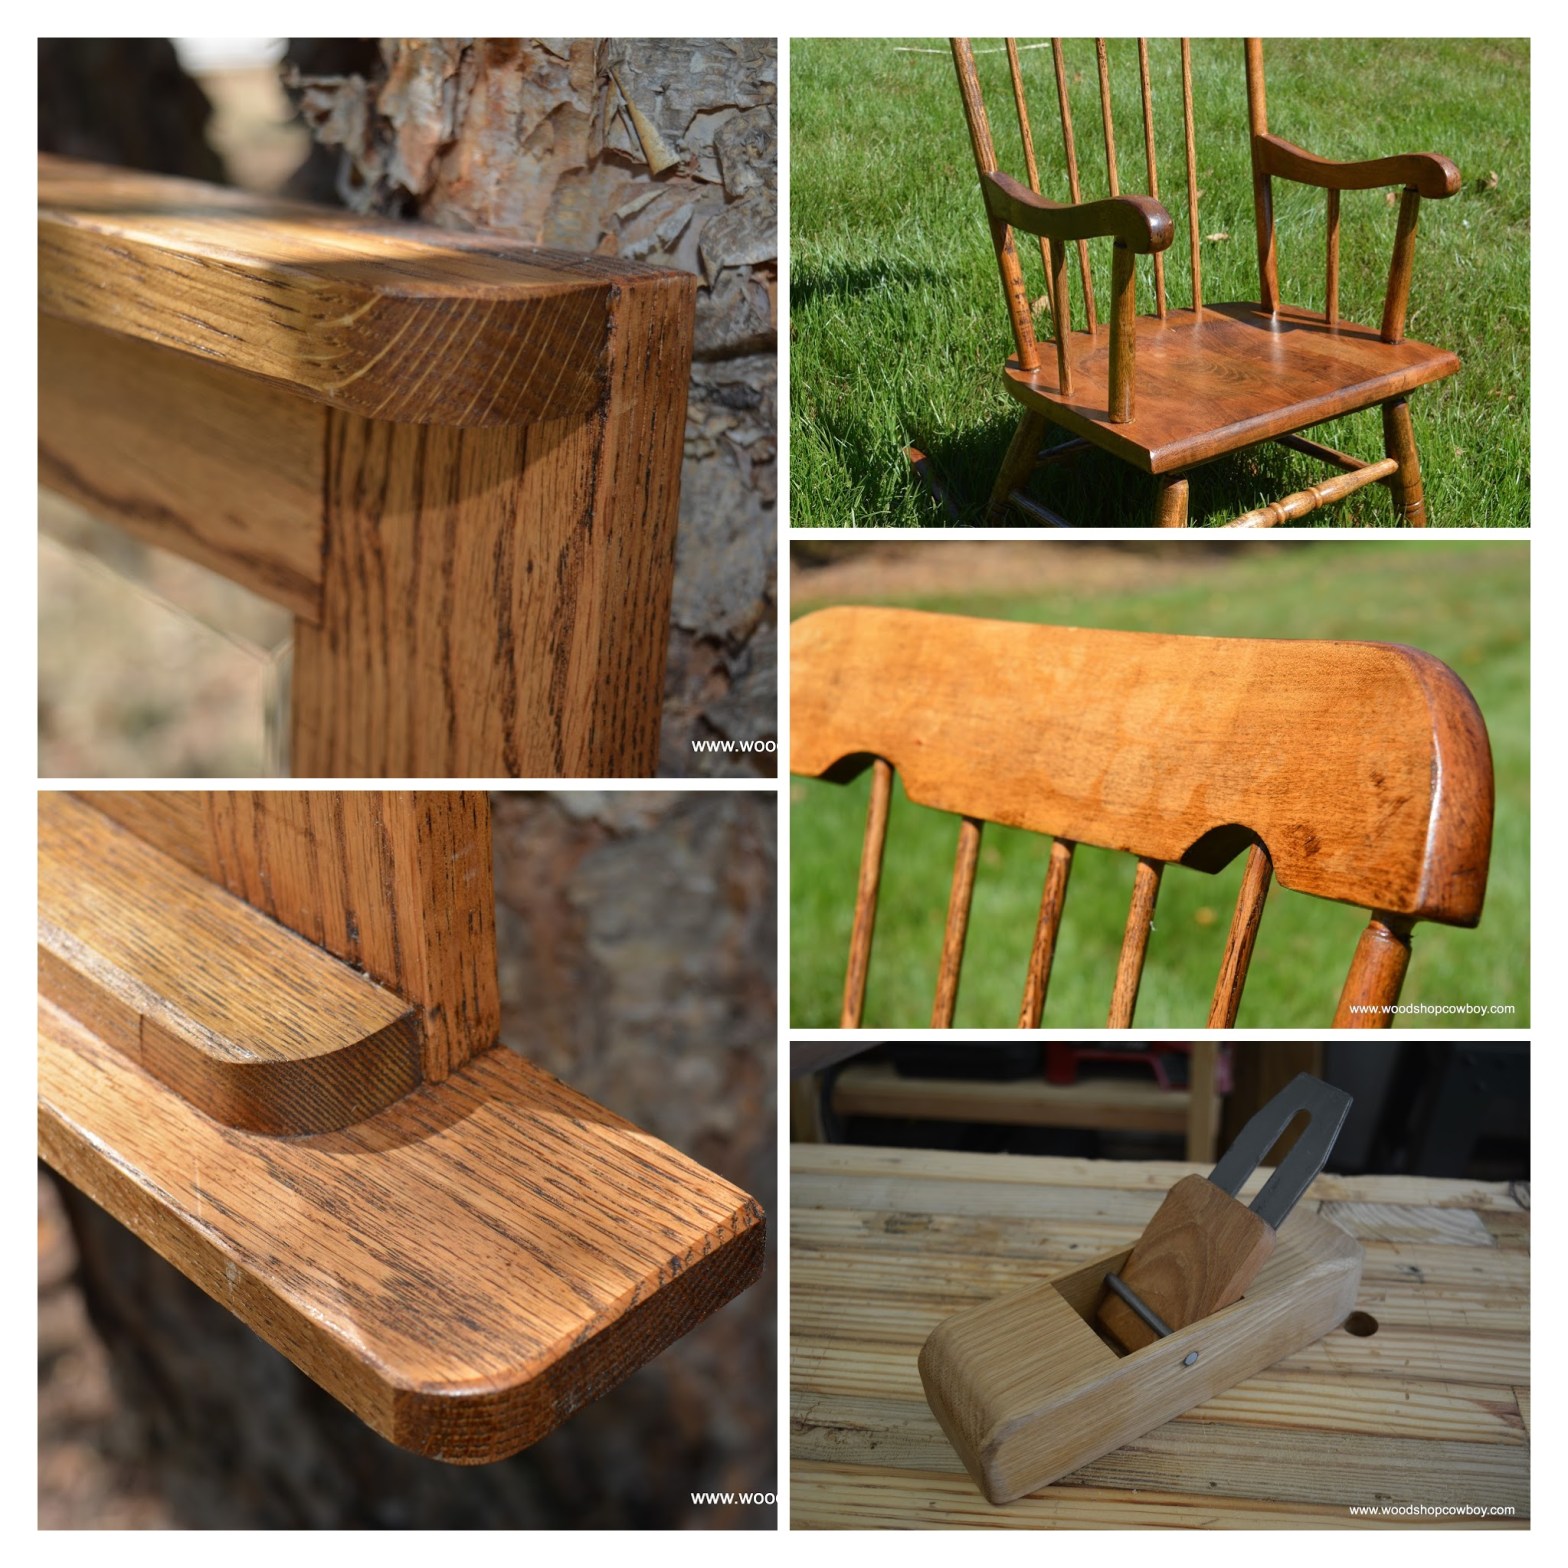
This Week In the Shop: Dining Bench Made from Upcycled Bed Frame
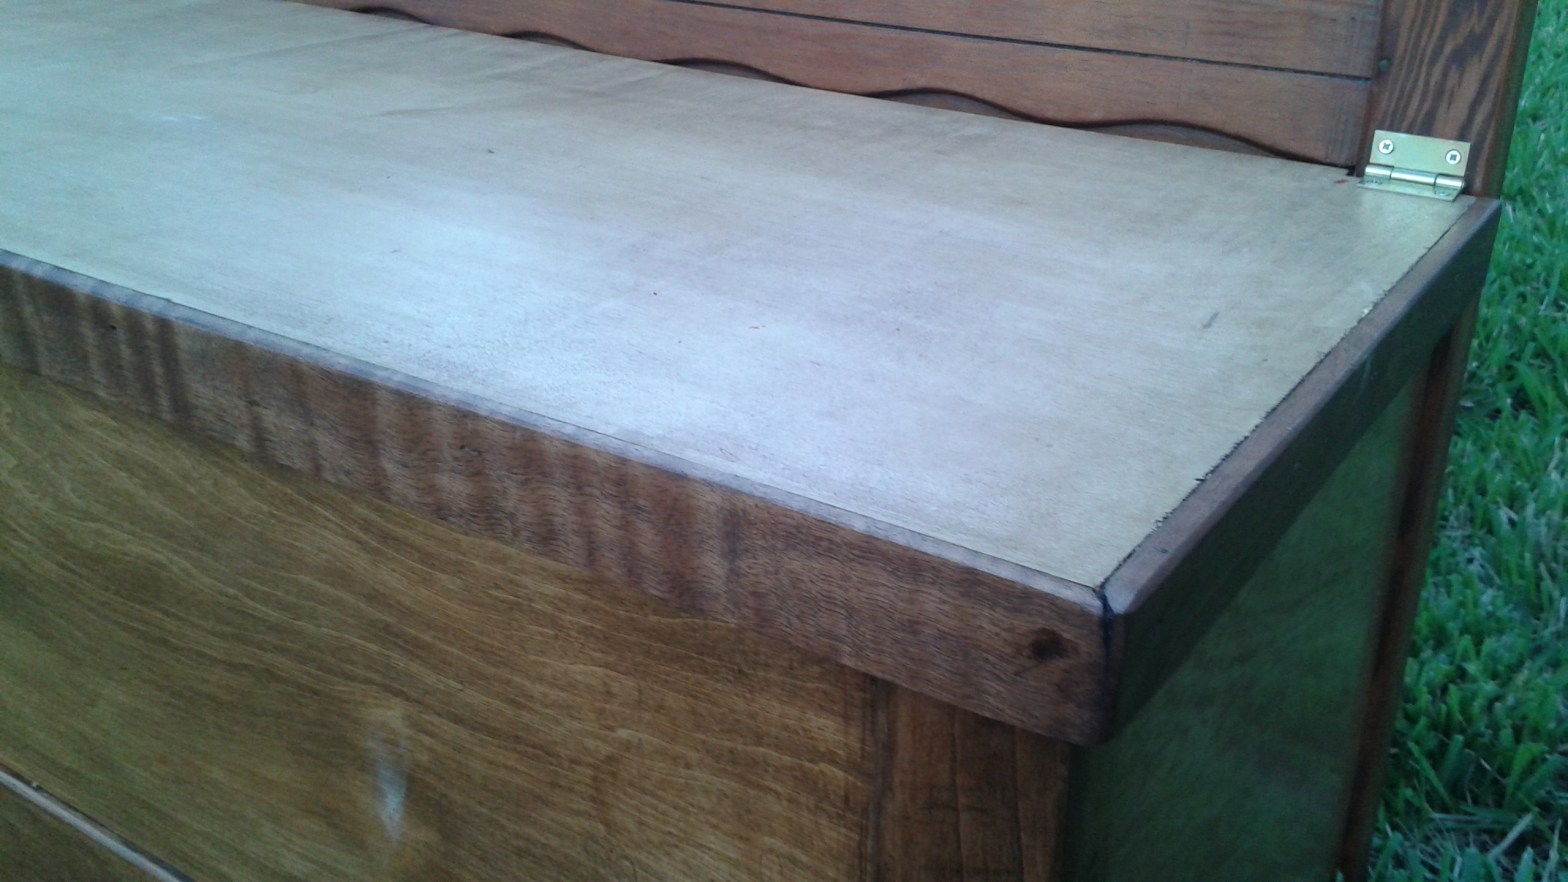
The newest piece to walk out of my home workshop. A dining bench up-cycled from a bed frame. If you are interested in seeing plans, drop a line to me, my contact is below. Make it safe & keep the rubber side down this week. Thank you for visiting my practice zone and project showcase. Continue reading “This Week In the Shop: Dining Bench Made from Upcycled Bed Frame”
Making a Makerspace: Top Five Materials in an Educational Makerspace

This is part four in my “Making a Makerspace” series. You can catch the other articles here. Makers use stuff. Lots and lots of stuff. Sylvia Libow Martinez & Gary Stager dedicated an entire chapter to the various materials necessary for a makerspace to function in their book, Invent to Learn. I’m just going toContinue reading “Making a Makerspace: Top Five Materials in an Educational Makerspace”
Tool Primer: How to Finish your Project: Penetrating Oils
This is the second Tool Primer article on finishing your woodworking project. You can find Part One: Sanding here. In this article I will discuss the finishes available for woodworking projects at most local big-box hardware stores. The first step is creating a clean, dust-free uniform surface by sanding all a parts to a highContinue reading “Tool Primer: How to Finish your Project: Penetrating Oils”
