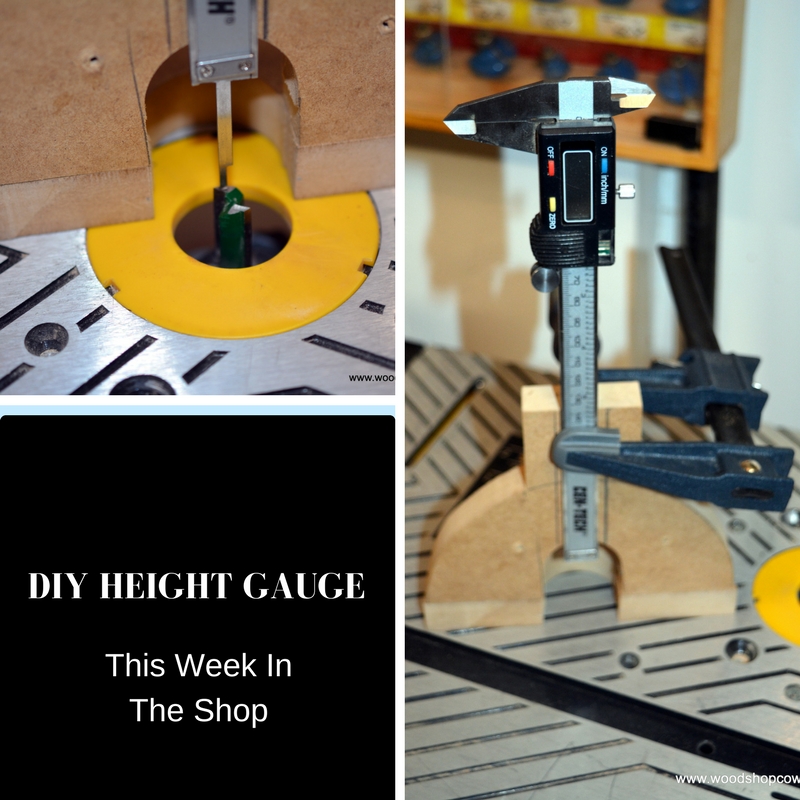
A quick jig can make the difference in a woodshop. This height gauge helps measure and set cutting tool heights and thicknesses for rabbets, dadoes, chamfers, etc. Since it incorporates a digital caliper, the dial is easy to read, precise and accurate.
This tool came in handy building the light box project – I hit the rabbet depth and thickness dead-on each time.

In the next few weeks, I will be developing new projects for NoVA Labs and this blog which utilize more intermediate woodworking skills. Build this jig now and it will be used over and over again.
DIY Height Gauge
Materials:
- Small Clamp, either F- or C-style will work, but the clamp must clamp well. I find spring clamps don’t work.
- 2 #8 1-1/4” Wood Screws
- MDF, roughly 6”x10”, either 1/2” or 3/4” thick
- Calipers with a depth bar
Tools:
- Scroll saw or band saw
- Miter Saw
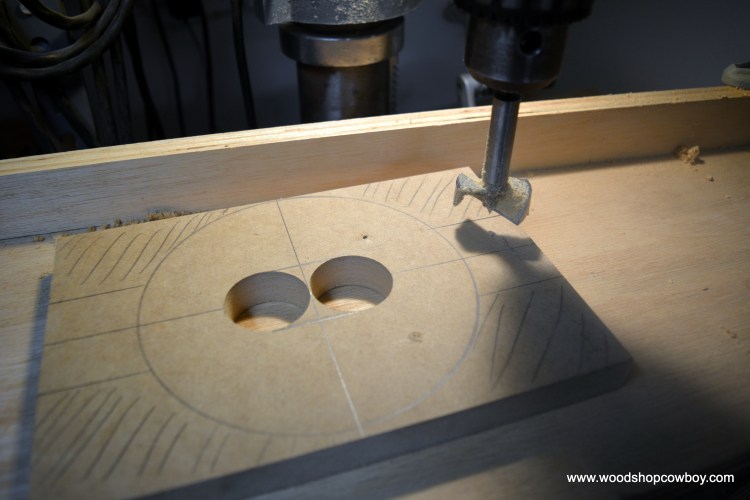
- Drill Press with 1-1/2” Forestner Bit
- Drill with Countersink & #2 Phillips Bit
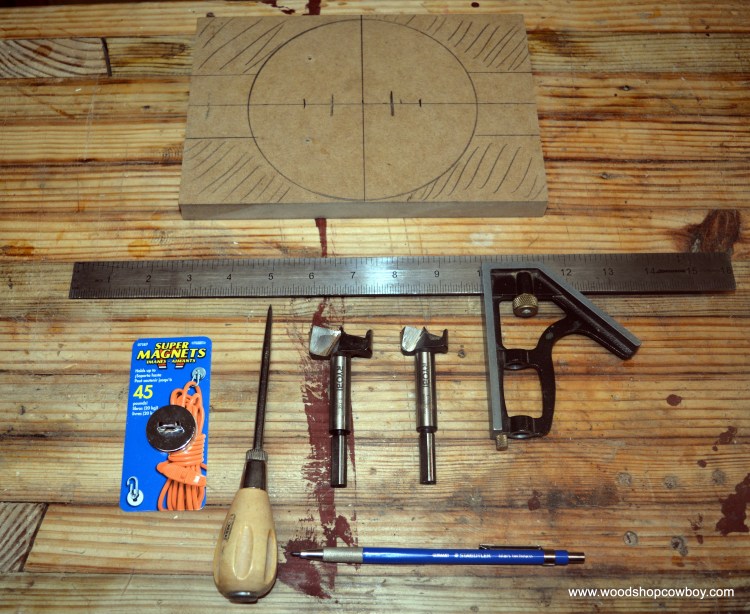
Assembly:
- Lay out the gauge on a piece of MDF. I have linked to a SVG & DXF for those readers with access to a CNC or laser cutter. You can also use this PDF to print out a template.

- Use a drill press to drill out the top of the cut out.
- Use a miter saw to cut the gauge into two halves.

- Use the scroll saw to trim the waste and complete the cut out.

- Drill two pilot holes, countersink and attach the halves with wood screws.

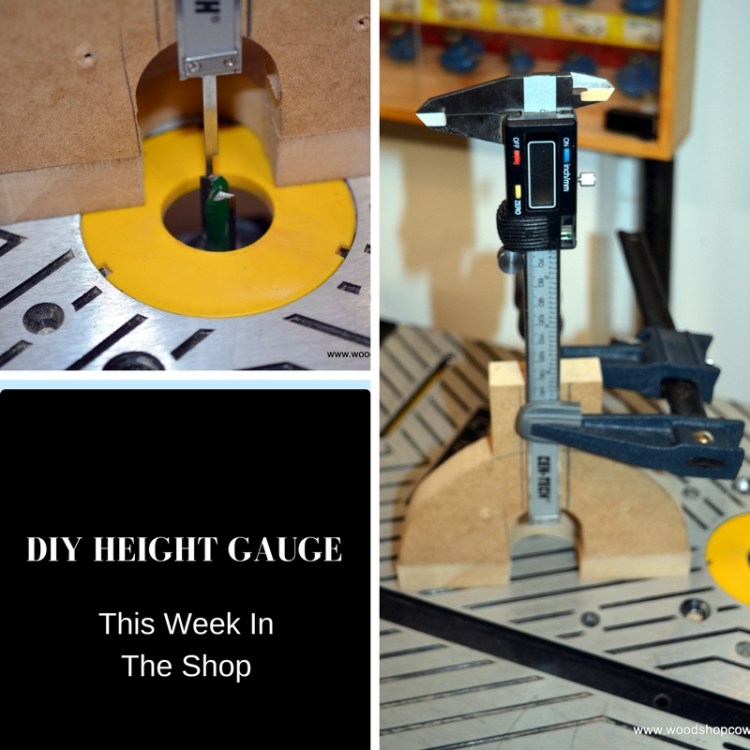
Use:
To use, clamp the fractional dial caliper to the upright. 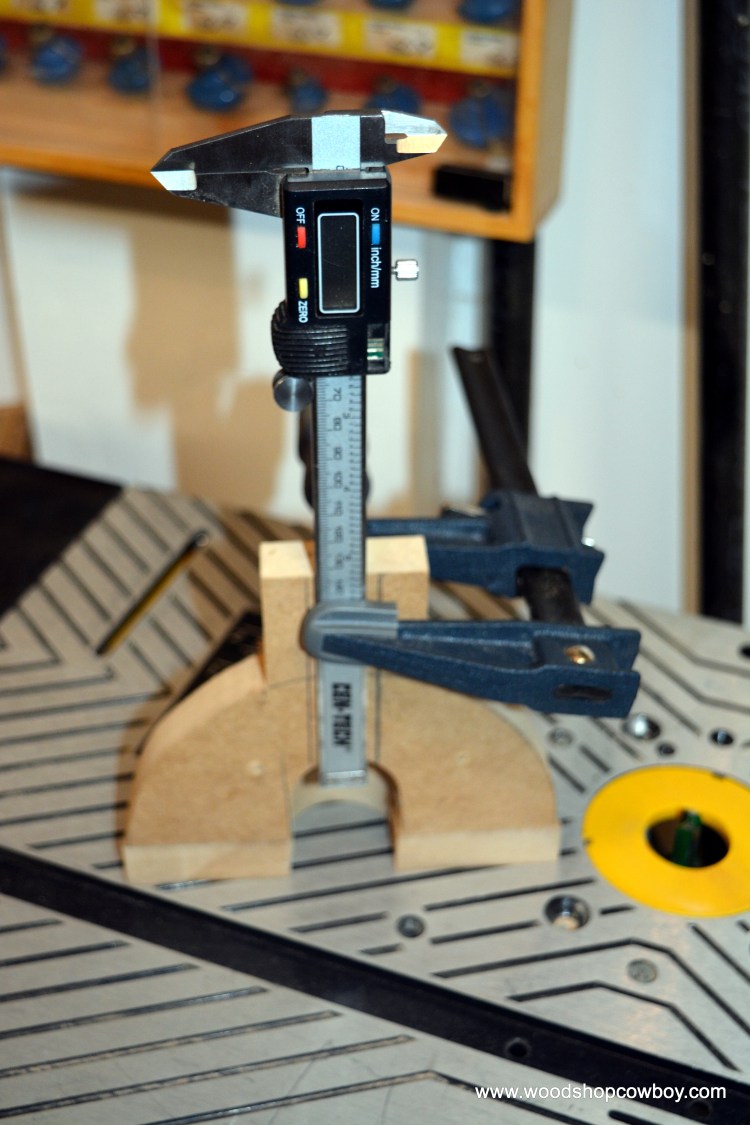 Set the gauge on the tool table. Then, drop the depth gauge so it touches the table surface.
  Zero out the reading.
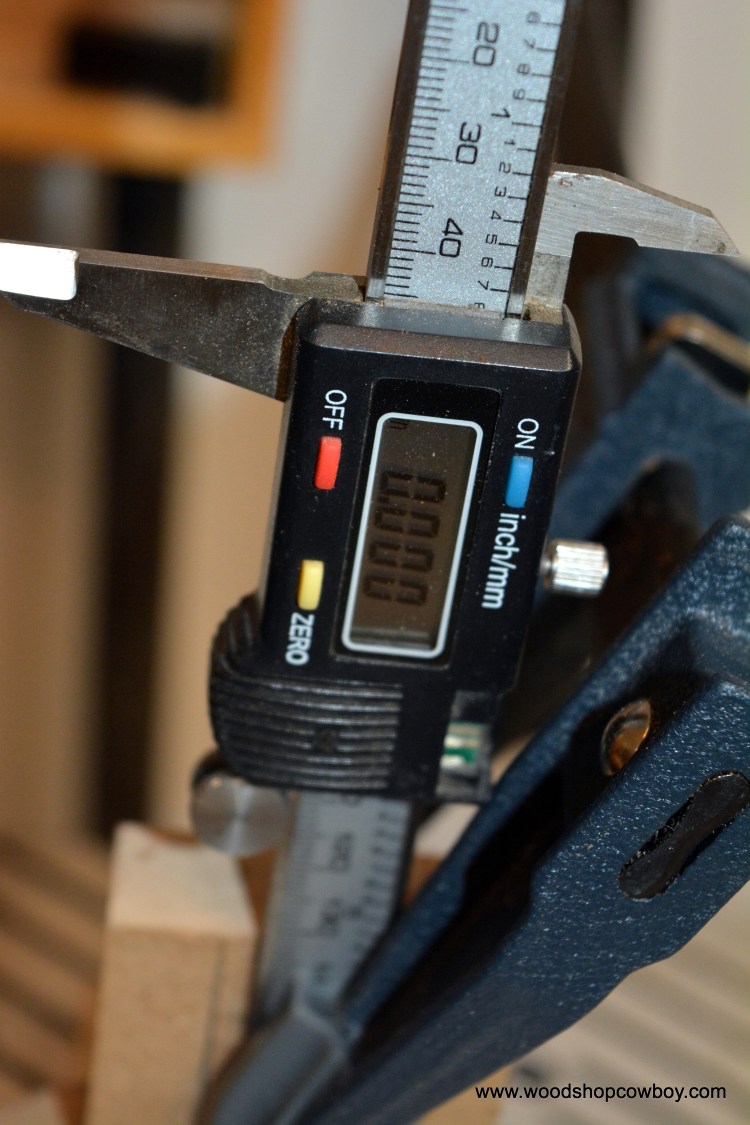 Reposition the height gauge over the tool itself.
 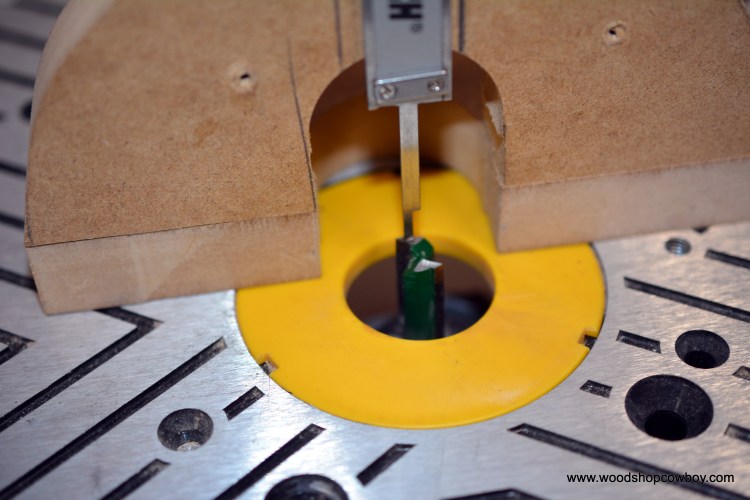 Raise the tool itself until the dial reads the negative of your needed height.
Thank you for your continued support.
Thank you for visiting my blog. To support for this site, please like WoodshopCowboy on Facebook or follow me on Instructables. Twitter, Pinterest or Instagram. If you are interested in making and education, why not check out Work Notes, a curated set of Maker articles from the web, published every week?
