
When I look at the popularity of CO2 rocket cars in STEM programs, its ubiquity and age hide a lot of potential for makers and project-based learning opportunities. The biggest drawback, as I see it, is the high cost of entry. Launching systems cost somewhere in the hundreds of dollars, tracks take up teaching space (60 linear feet for a good one) and wind-tunnels impress upon me the fine line between awesome and inappropriate. At a basic investment of $1000 to $3000 from the big companies. We still haven’t covered the cost of a classroom pack of car building supplies.

Betcha I can do it for less. What’s a makerspace for, if not developing your own infrastructure?
In order to incorporate CO2 racers into your Maker curriculum, you need three things: cars & parts, the launcher & track space. I’ll tell you how I made mine after the jump.
A CO2 car starts off as a “blank”. “Blanks” can be made out of any number of materials in any size the teacher deems necessary. The ideal rocket car material is easy to shape, sandable to a high level and cheap. Pink insulation foam from a big box hardware store and wood are the most popular choices. Basswood is an amazing species of wood. It’s easy to carve, polishes to a fine luster and has a strong, even cellular structure. Unfortunately, basswood comes in small blocks because of its cost. A better wood choice is clear sections of No.2 pine. The clearest sections of No. 2 pine are sold as 2x10s or 2x12s at the local home improvement center. A teacher with access to a circular saw, table saw and band saw could cut out “blanks” of any shape at the cost of lumber (a 10′ long 2×10 might net up to 72 blanks at $0.10 each) and time. Wheels, eyebolts, washers and graphite lube can be bought at any number of hobby outlets. Axles can sourced from iron or steel rod at McMaster-Carr and cut to length with a pair of bolt cutters.
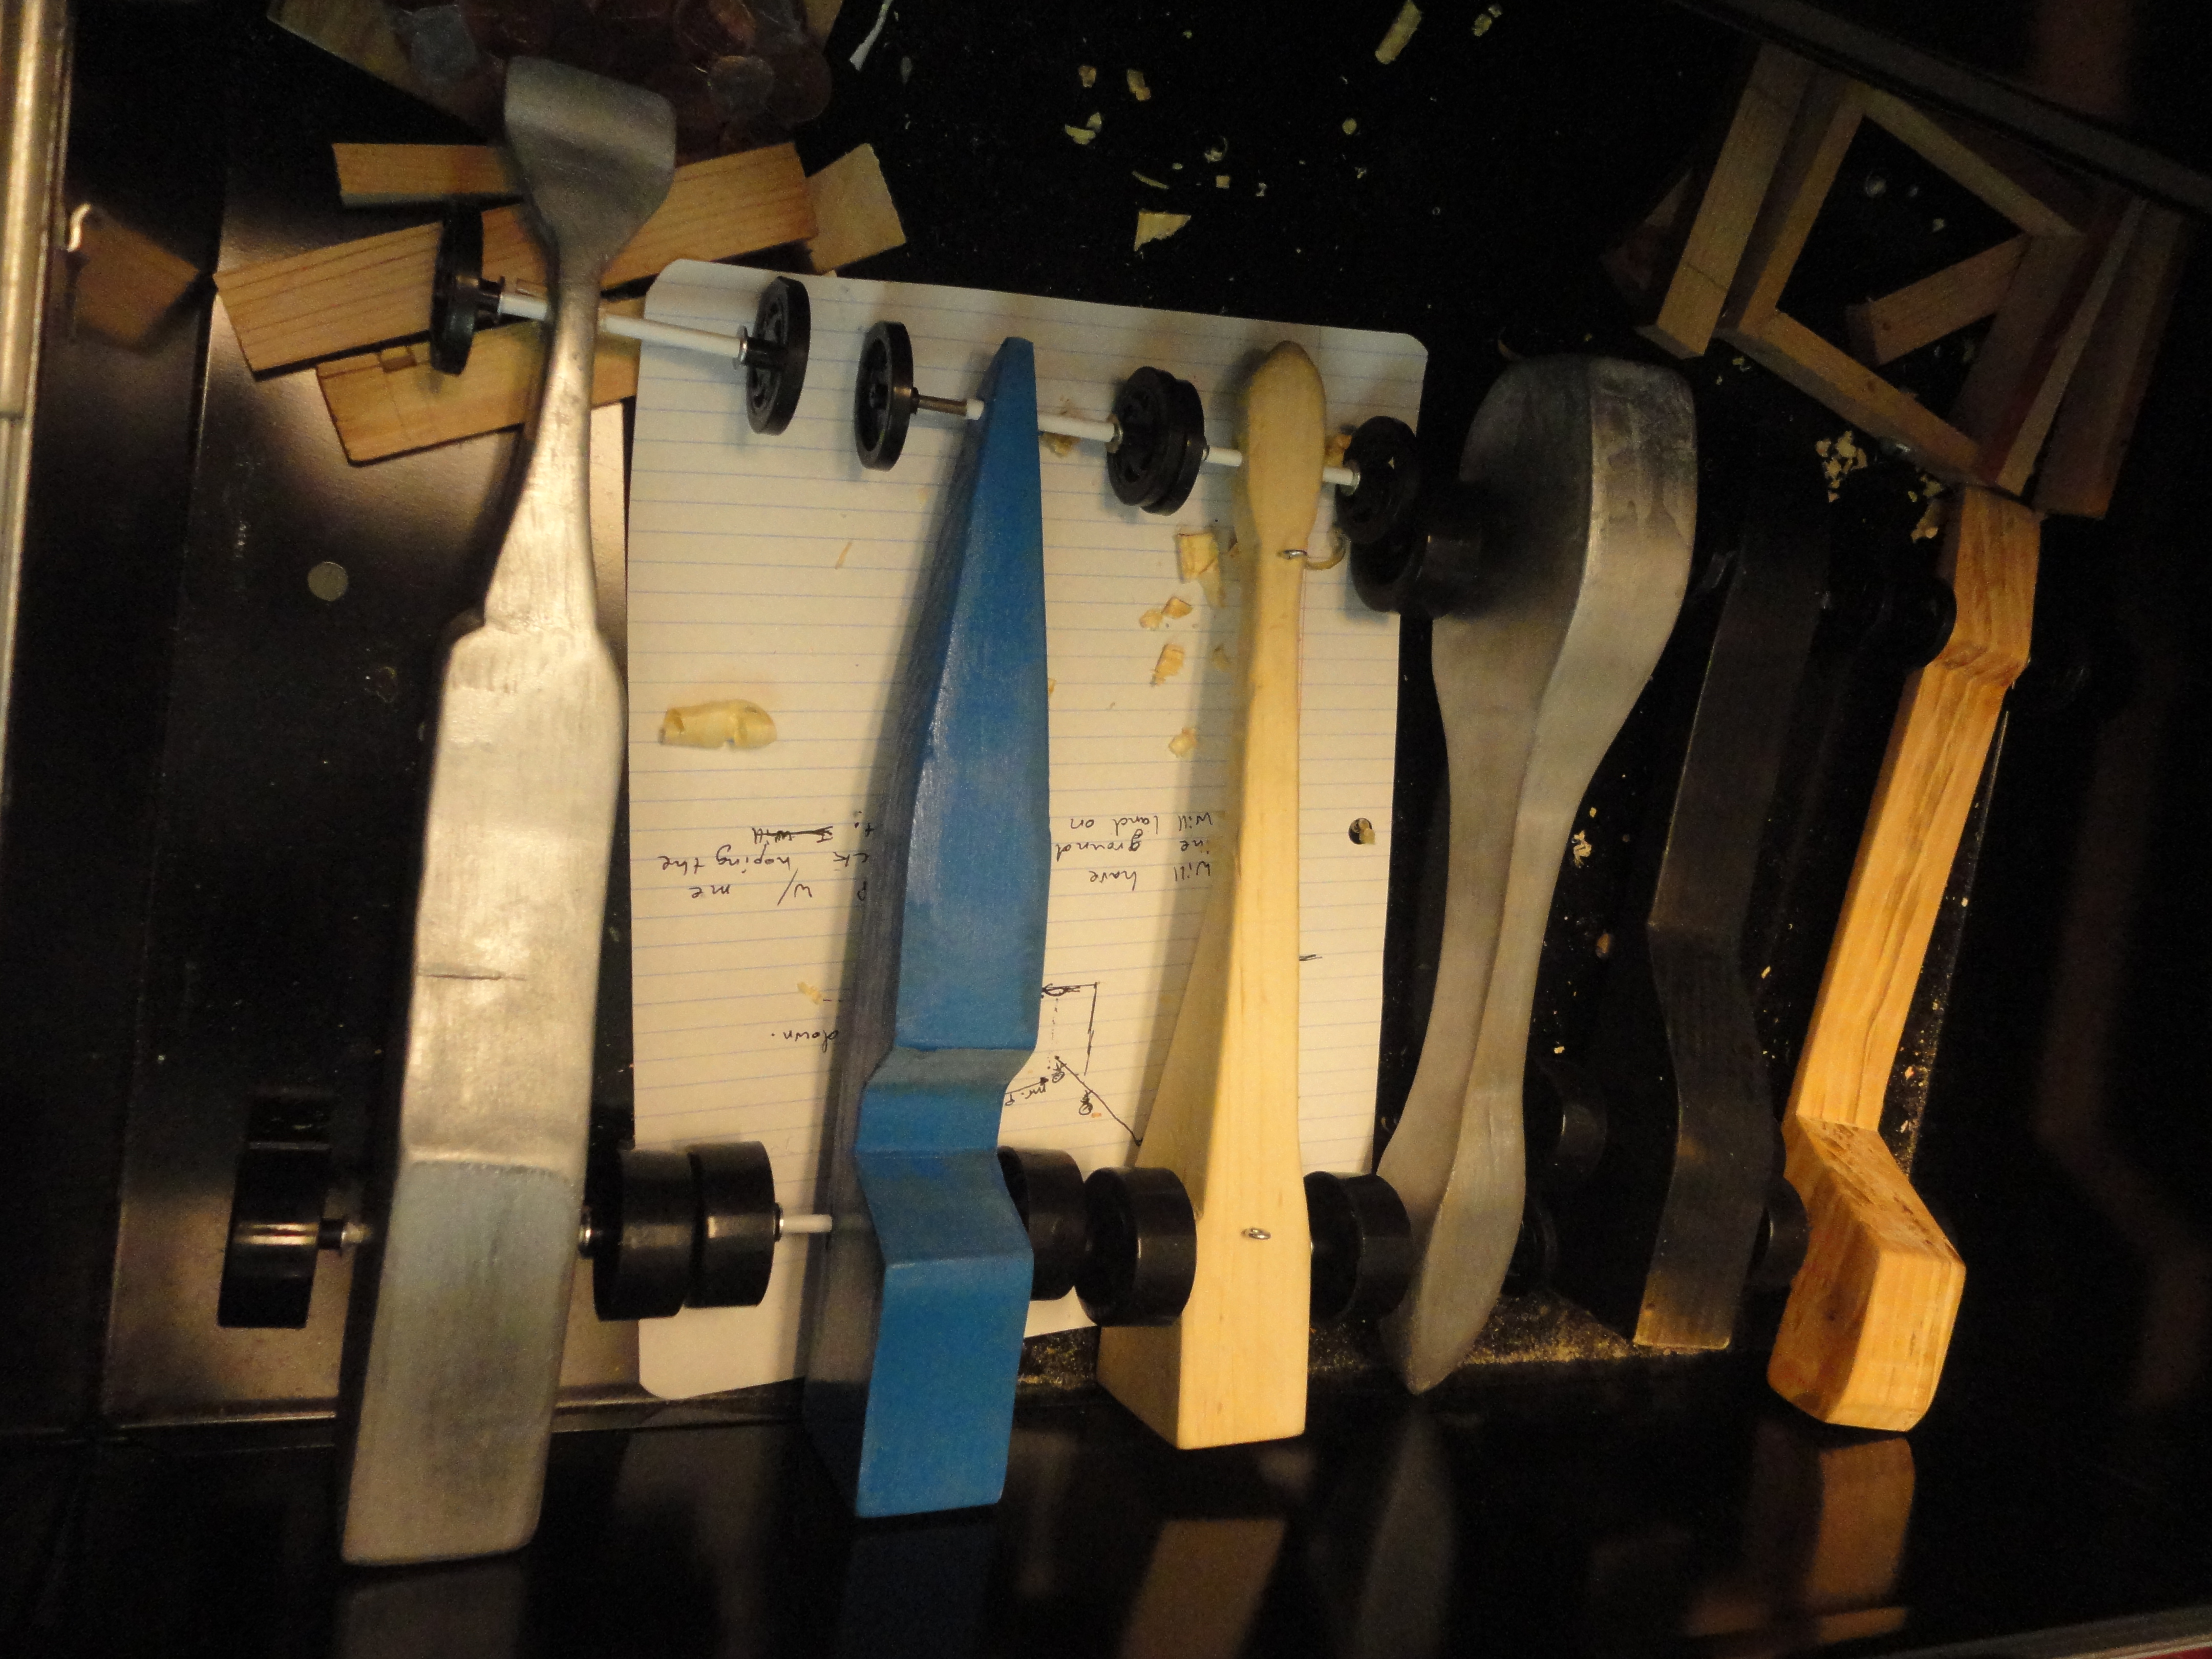
An easier way would be to buy the whole kit from a supplier. Kelvin Educational, is a American company which sells any number of technology products. Their CO2 kits supply blanks, wheels, etc. for this project at a very reasonable cost. Their kits come with “instructions”, wheels, eyebolts, straws, and “blanks” from No.2 pine, enough for fifty kids.
Once you procure your materials for cars, its time for your students to build. There are three phases at this point: design, build, test. At the high school level, my students will design three draft cars using this worksheet in class with student feedback and revision. We would have in-class discussions and demonstrations of aerodynamic principles. For homework we would research aerodynamics via online resources and videos, revise our drawings and defend our choices on a running blog. At the middle school levels, I drop the number of revisions, do a simpler introduction of the concept of aerodynamics and focus my energy on the physics of motion. The reflection process takes the same about of time at both levels and I focus on the process of discovery and extracting scientific conclusions from the available data.
The launching system consists of a launcher and backstop. Four pieces of 4″ wide x 3/4″ thick pine make up the framework of both launcher and backstop. Eyebolts anchor a guideline between the two. In the launcher, a homemade firing mechanism made from a trim nail, two bolts, two springs and a 1 1/2″ wide x 3/8″ thick short strip of hardwood. Simply hit the hardwood strip in the center with a hammer and the pin will pierce the Co2 canister, releasing the gas and sending your rocket car on its way. Rocket cars need long, smooth flat tracks to run. With this quick system, any school hallway will do. Give yourself about 60 feet for it to work.

This project was a resounding success at this year’s STEM Fair at work. We had tons of parents and students interested in the process and my students were able to describe the fabrication well. You can see the SketchUp files in the new 3D Warehouse. Check out the slide show for more details.
Make it safe & keep the rubber side down this week. Thank you for visiting my practice zone and project showcase. If you wish to lend your support for this site, please like WoodshopCowboy on Facebook or follow me on Twitter. If you are interested in making and education, why not check out Work Notes, a curated set of articles from the web, published every week?

nevermind..I see. It’s for 1 car. I need one for 2. Thanks
Dennis –
The basic mechanics of a firing CO2 launcher is a firing pin and a force which hits the pin forward, just like the inside of a firearm. You can always expand this design sideways, add a third bolt and you should get something that works.
Can you post a pic with the car and pin/nail installed? Thanks! I am not following this.
Where did you find the pink insert that holds the car/cartridge in place?
I had 3D printed it. Really, you just need to drill a small hole, slightly larger than the diameter of the nail. It will work just as well.
what type of spring did you use in the launcher?