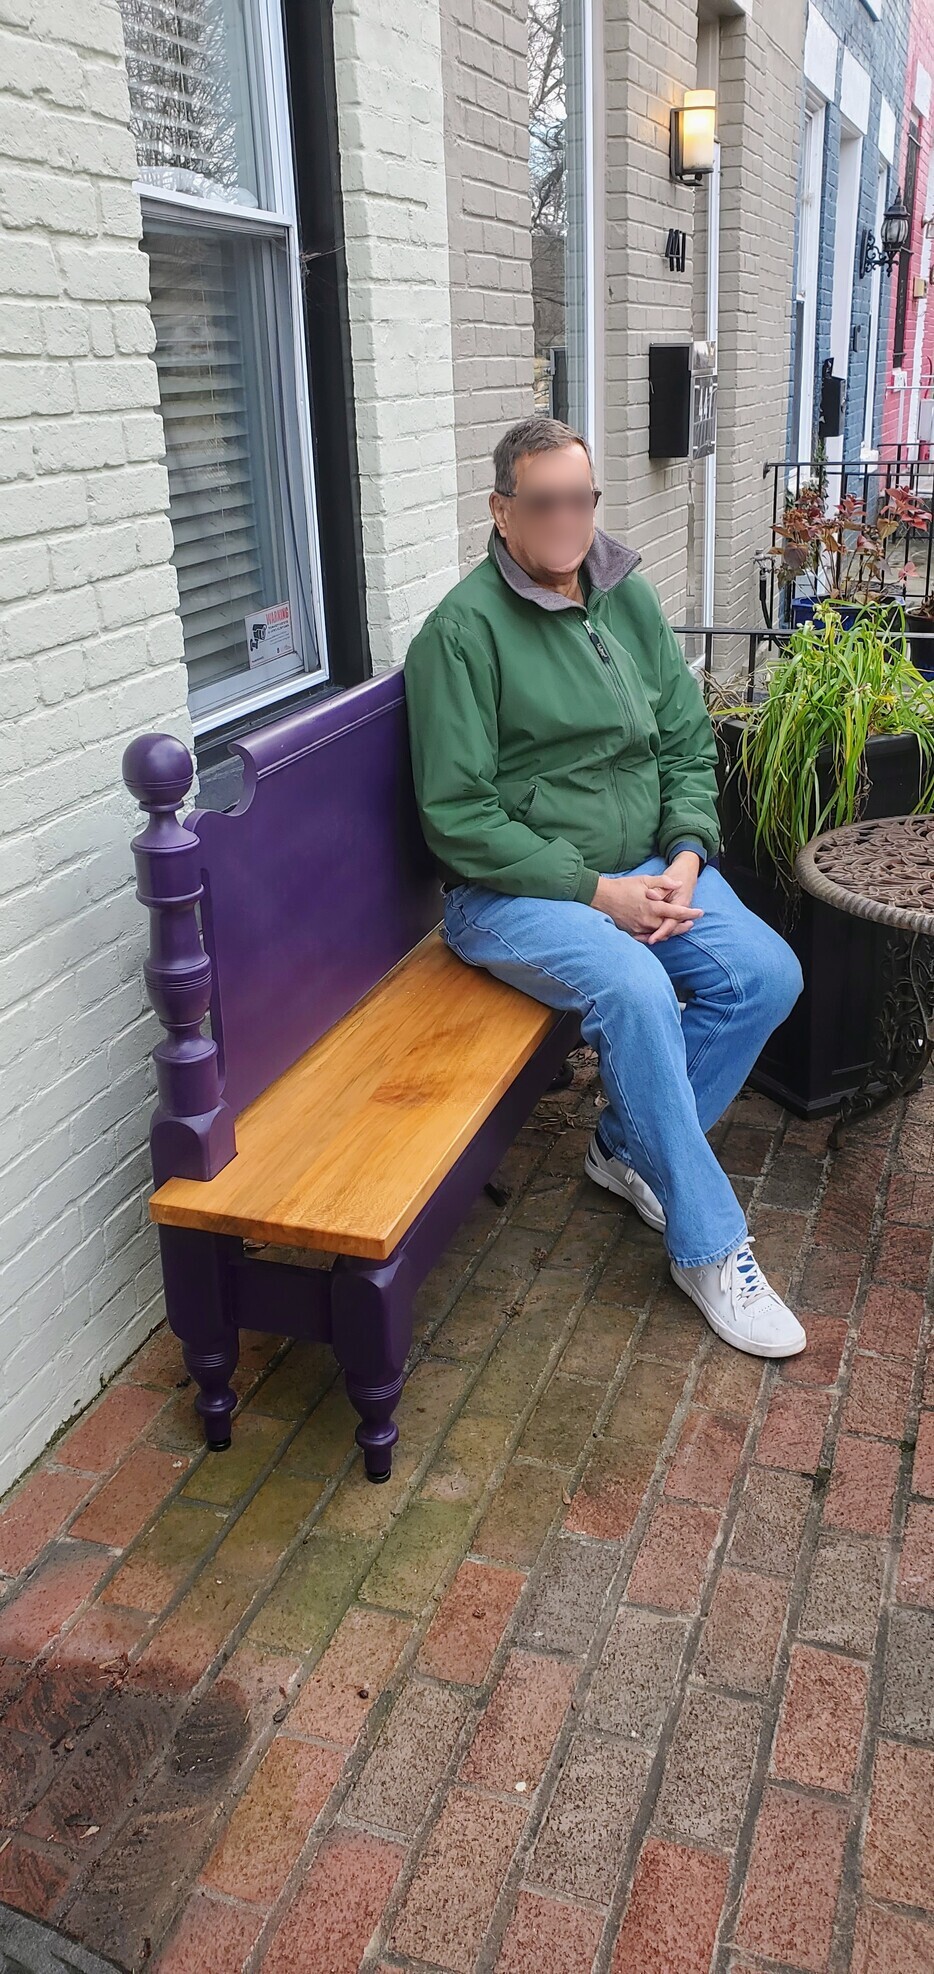

This past December I completed this bench for a close friend. He has served as a mentor and cheerleader for my professional education, woodworking and cooking endeavors for the last five years, so when he asked me to build him a special piece from his grandmother’s solid cherry bed frame, I couldn’t say no. I utilized several new techniques and processes to complete this unique piece.
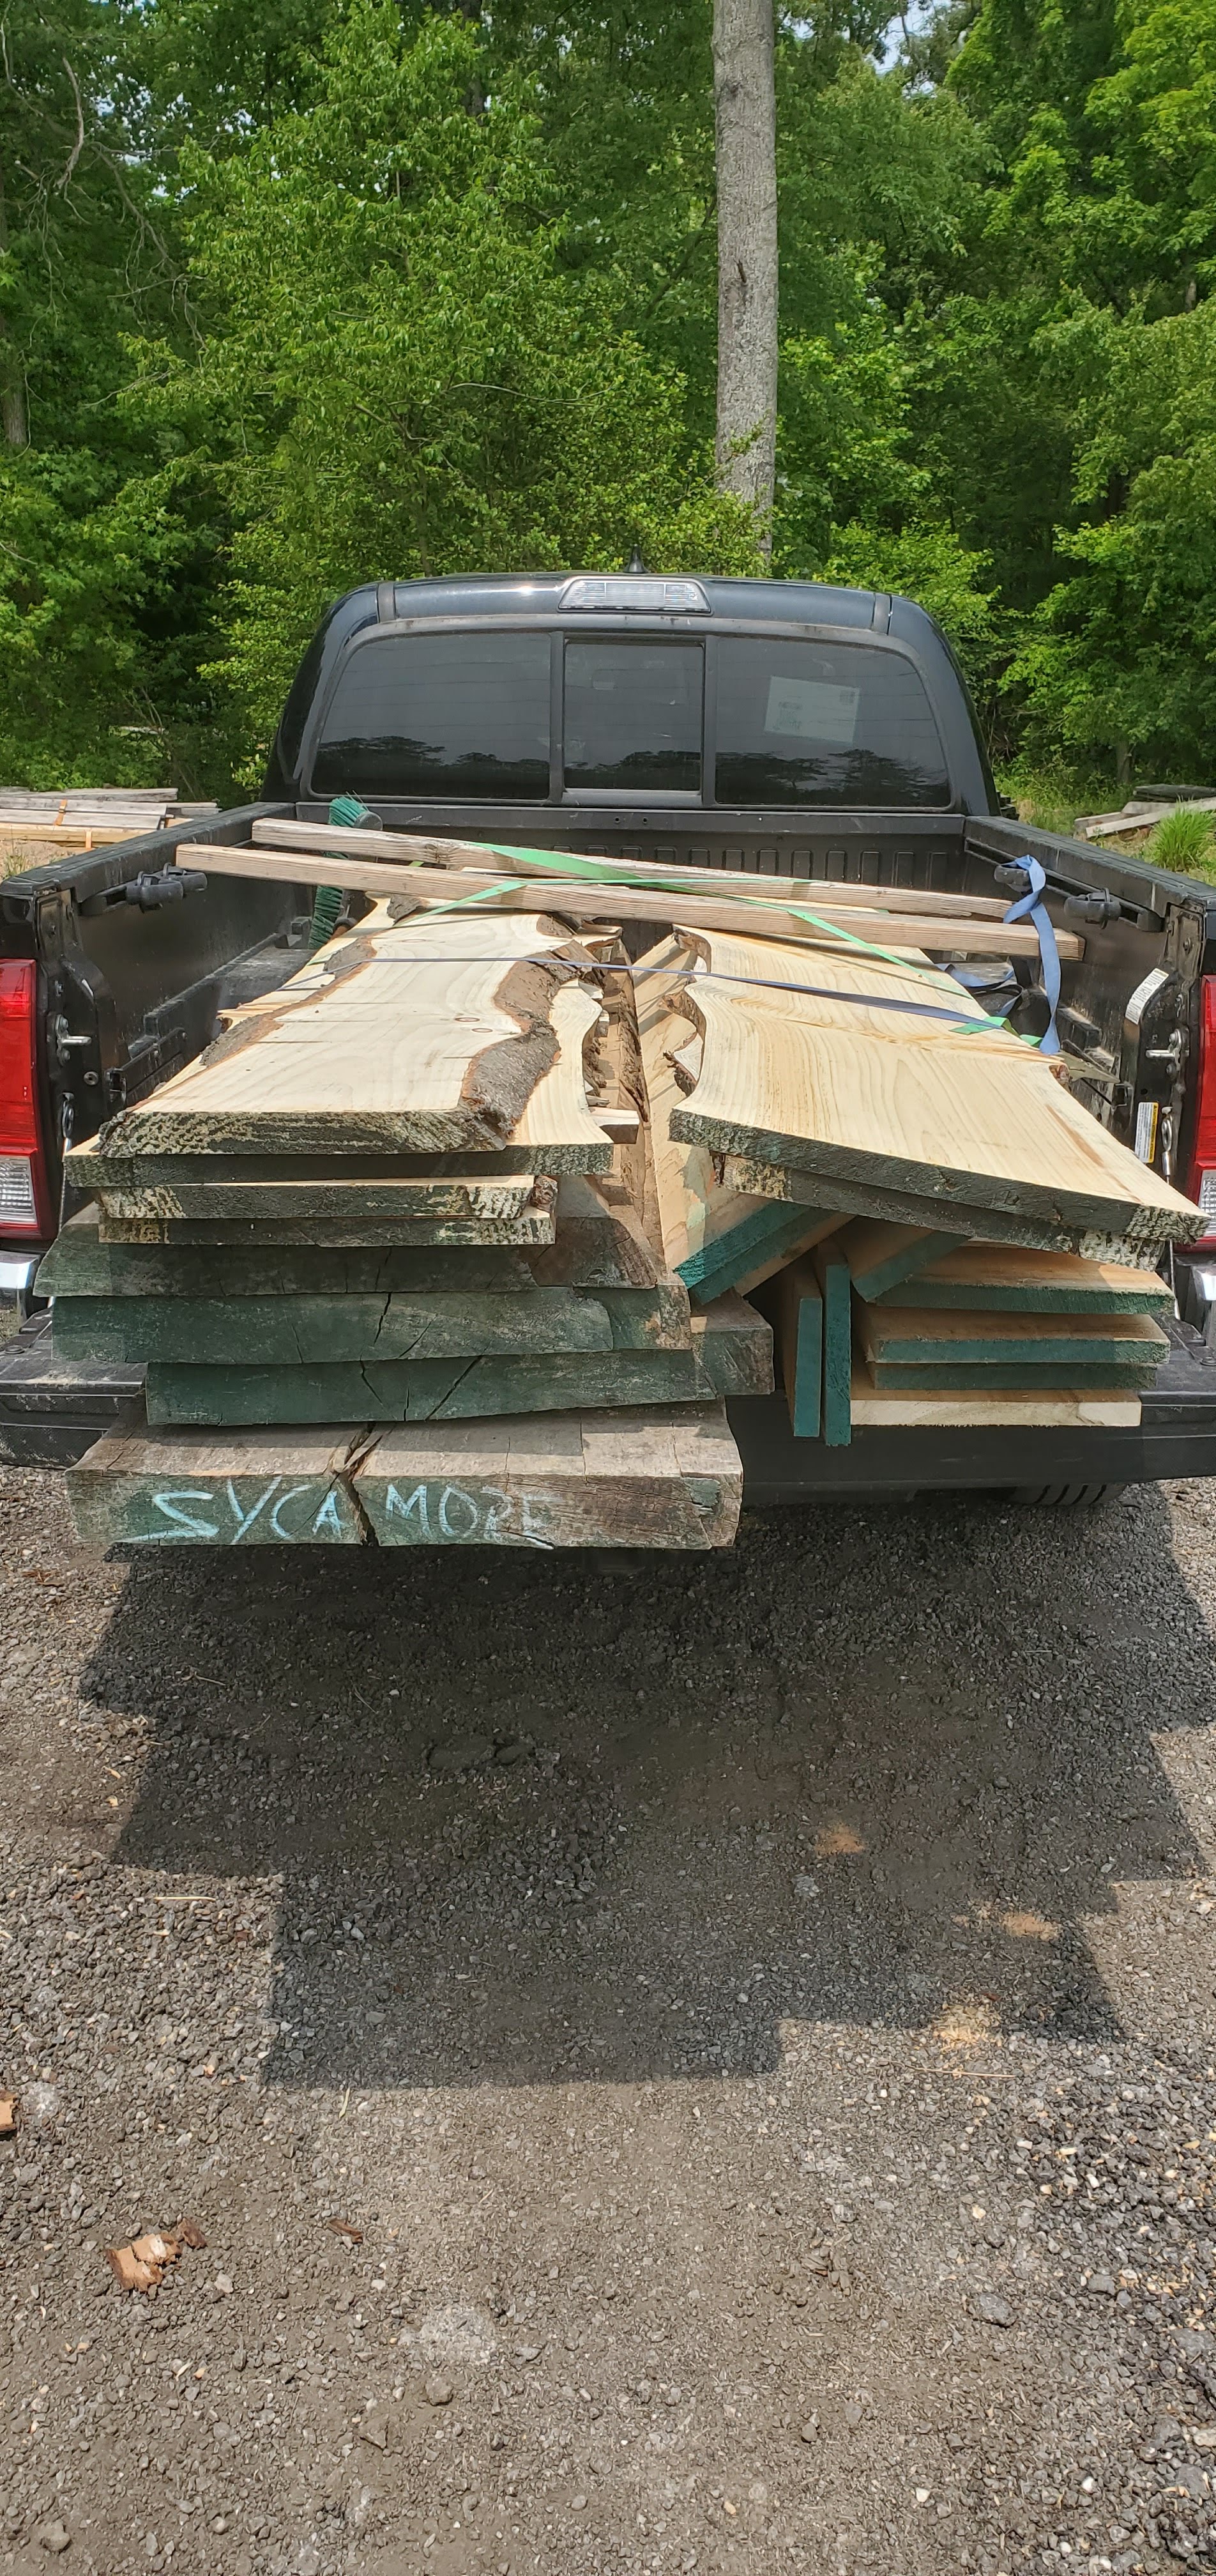
The bench’s seat was milled from a single slab of local air-dried sycamore. I was able to secure most of the trunk, but this seat came from the exact center of the trunk. I cut out the pith of the tree, creating two rift sawn sycamore planks. While I did lose the single-slabby-chic look I love, rift sawn sycamore moves very little, and the two planks match in color.
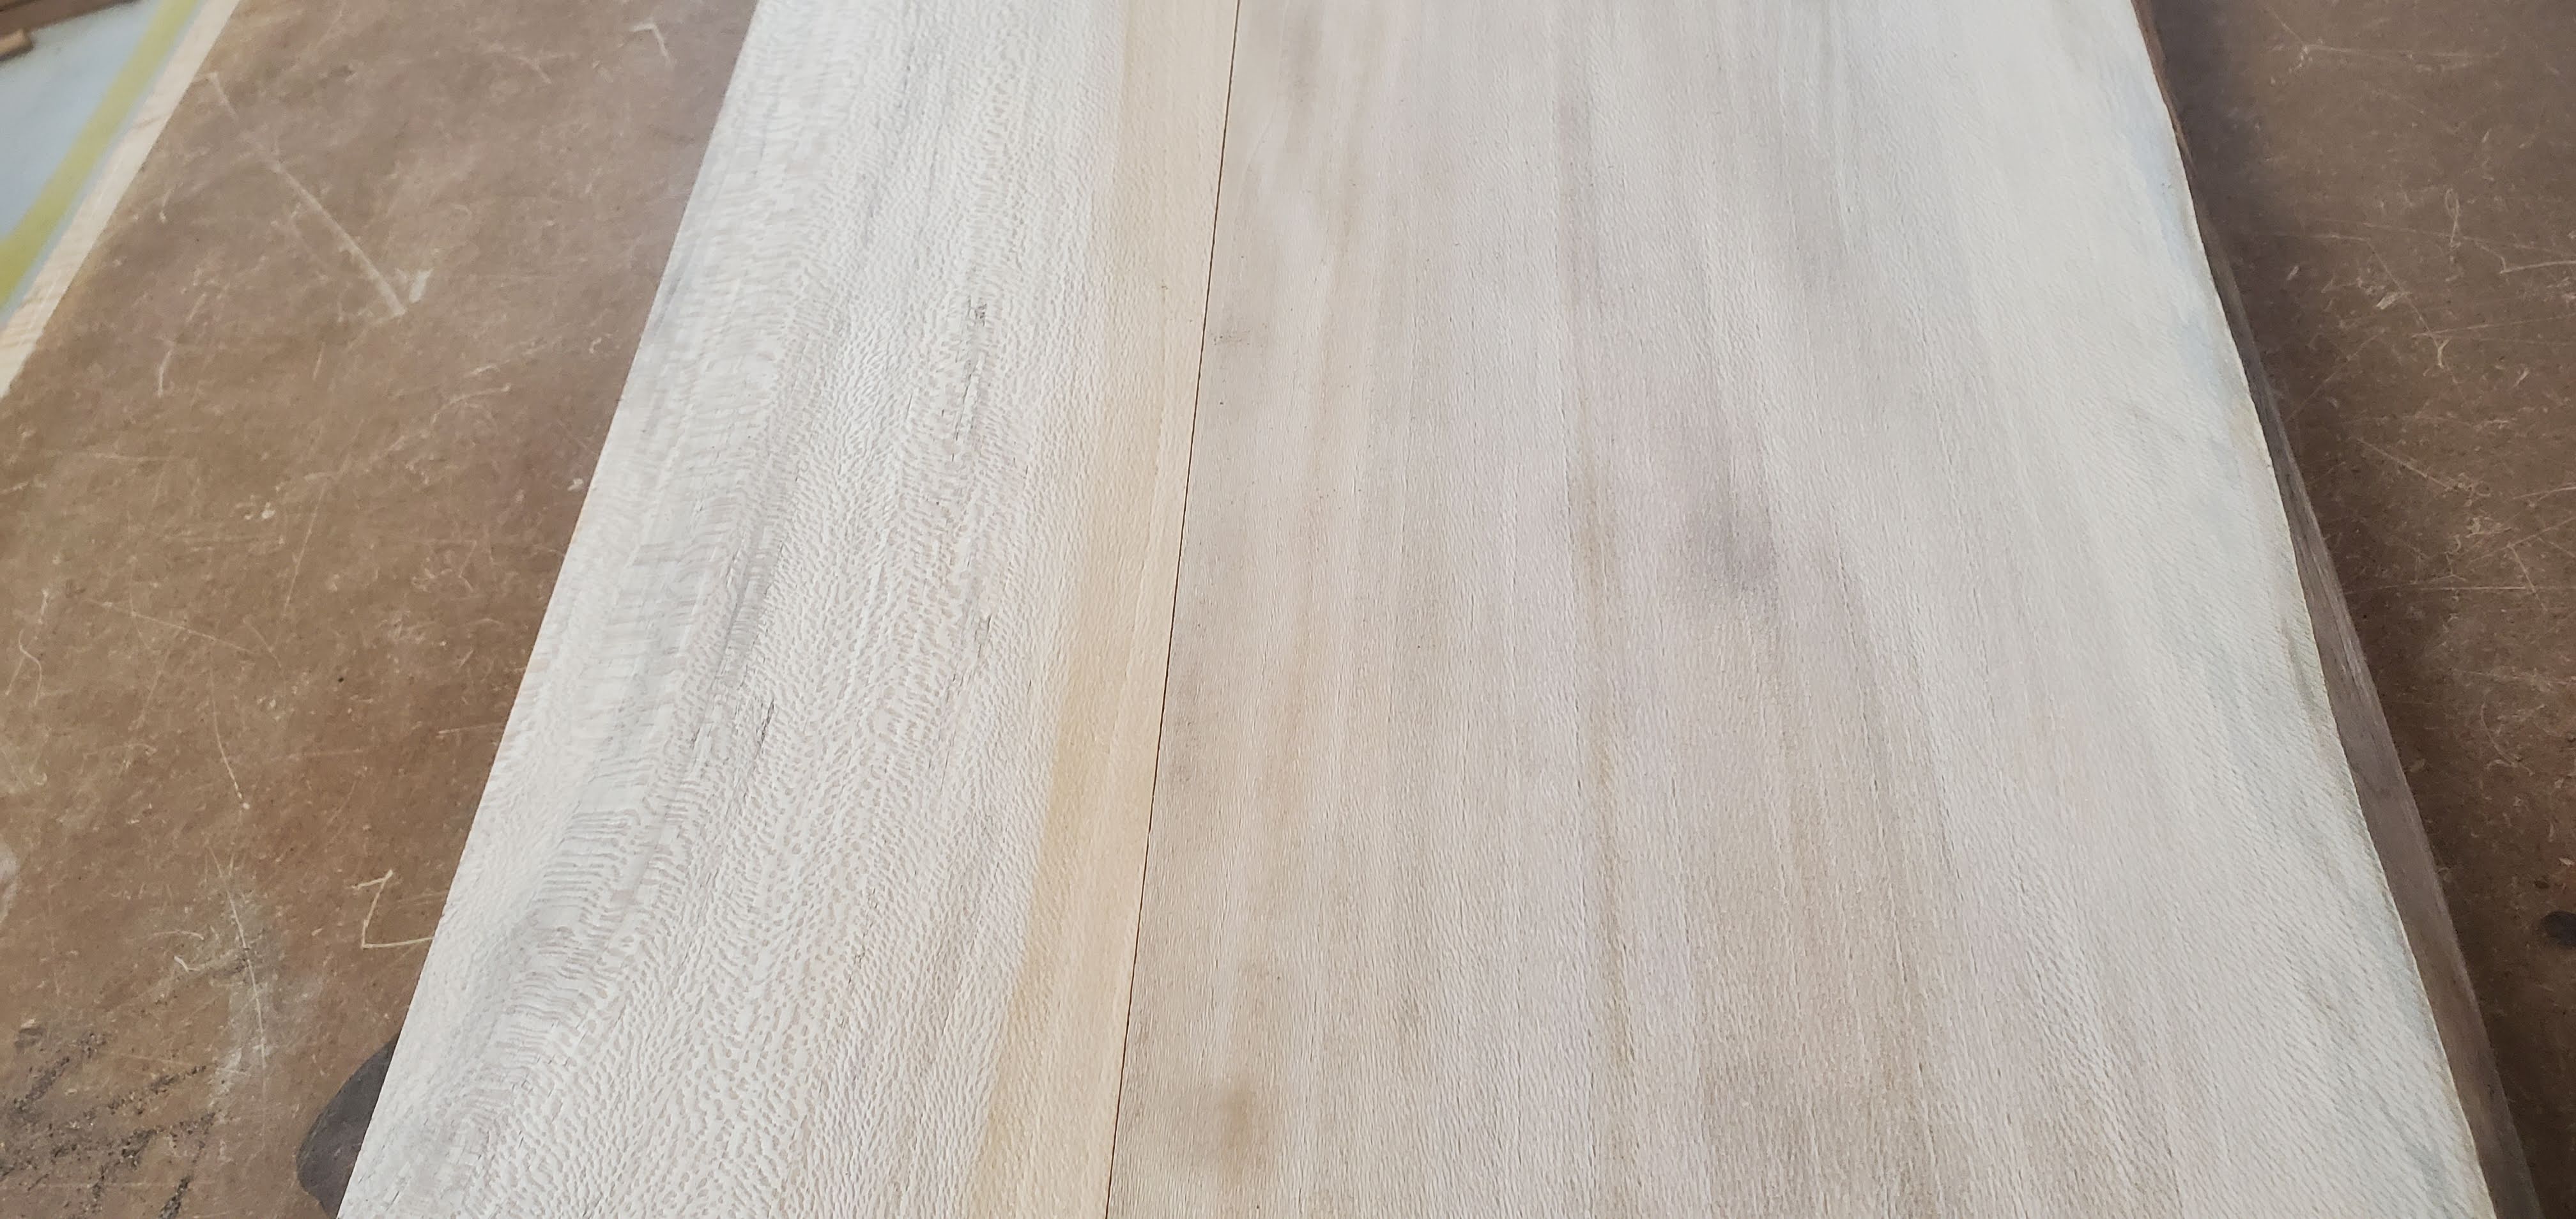
I used dominoes with polyurethane glue to get everything together. Weather-resistant polyurethane glue is perfect for outdoor applications like this. The raw slab wasn’t dried to perfect condition. The raw slab had water damage and some light spalting. Luckily, the milling process kept the spalting while removing the worst of the water damage.

The bench frame needed some wily construction and problems-solving. First, I needed to cut a straight line across the footboard, parallel to the plane of the feet. Each post contained squared sections with small roundovers and a number of turned feet and finials. I decided to make a plywood sled and utilize scrap wood to clamp the unwieldy frame down. A quick prayer, then cut, then flip and repeat later, and I had a front frame with a straight edge ready for a bench seat. The rails of the bench frame are made of scrap ipe. Strong, heavy, rot-resistant woods such as ipe work well in outdoor applications such as this. I utilized a doweling jointer to get the pieces together. Dowel joints provide a lot of strength but do require more accuracy in construction than domino or biscuit joints. In this application, biscuits wouldn’t have provided the necessary strength for a bench, while dominos would have been limited in number (and strength) while being difficult to install. My doweling jointer was just large enough with just a large enough fence to create a strong joint with very little fuss.
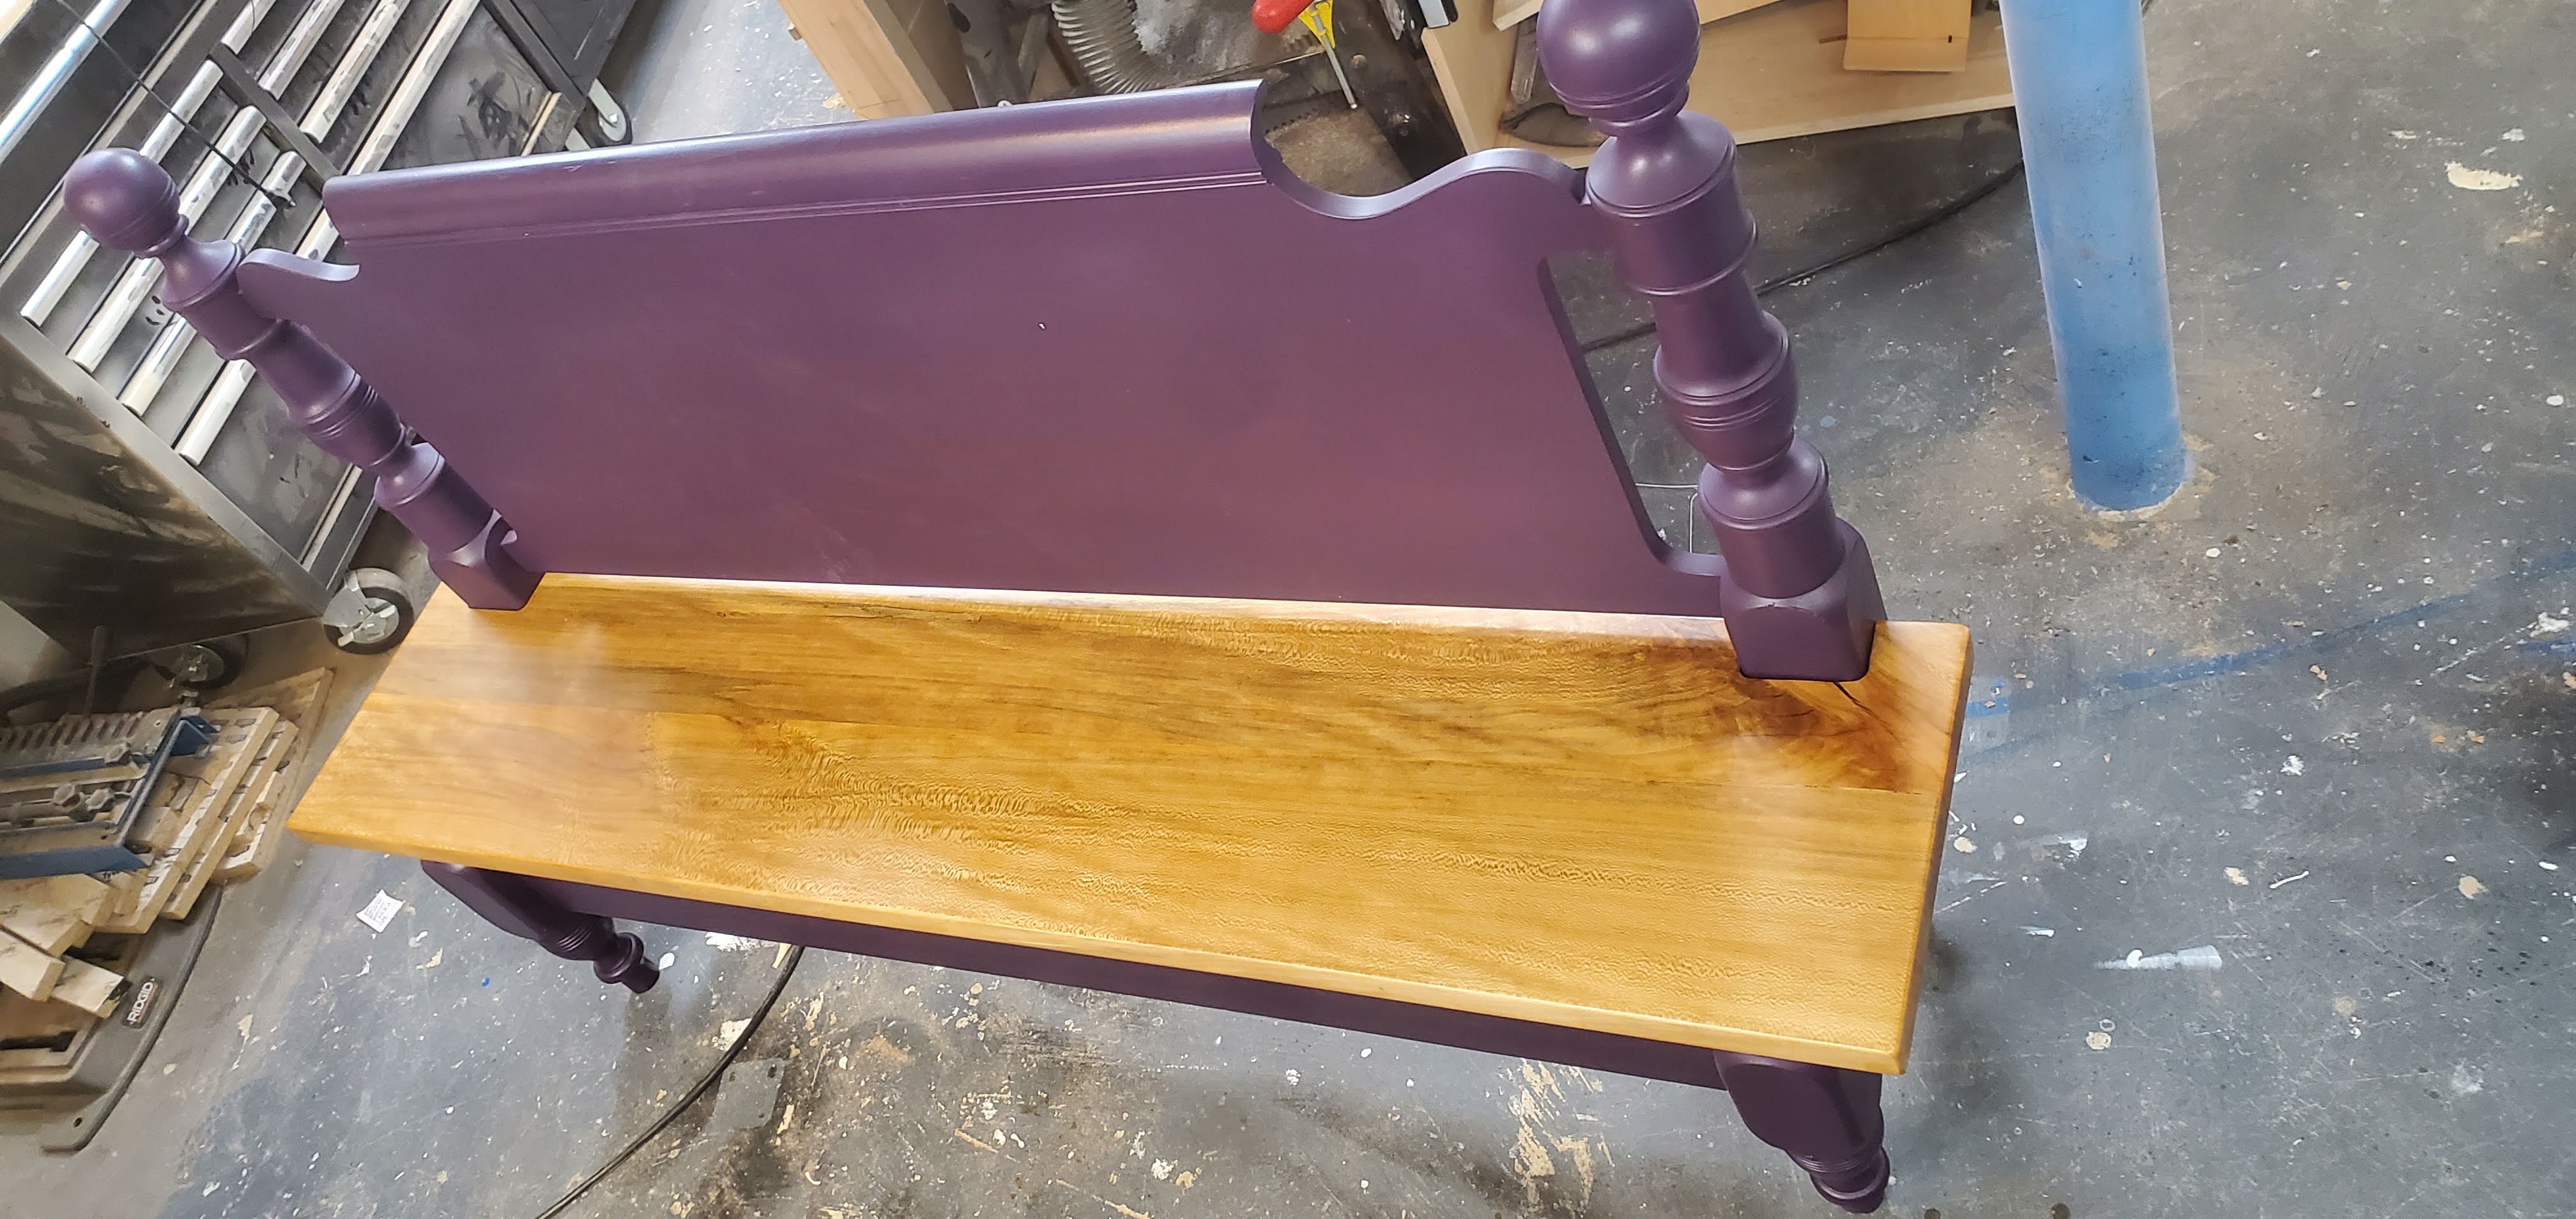
Once the bench frame was glued up, I needed to create the small cutouts that allow the seamless for the frame. I used a radius gauge to measure the round overs and created a template for the cut out on my laser cutter from acrylic. After cutting the bulk out with a jigsaw, I used a top bearing flush trim bit mounted in a hand router to define the curve, then used a bottom bearing flush trim bit mounted in a router table to clean the curve up. The fit was perfect.

Outdoor wood projects will move, split and rot if left to the elements. Some woods, such as the ipe used in this project, last longer in the elements, but all woods eventually rot and crack without protection. To protect this project, I sprayed the bedframe with 2 coats of exterior/interior primer and 3 coats of outdoor water-based acrylic enamel. I love spray finishes. High-gloss finishes, such as lacquers, polyurethanes and gloss paints, really respond to spray finishing. So smooth, so clean, so perfect. To protect and showcase the sycamore bench top, I utilized a matte/high-gloss clear polyurethane. I cut the water-based matte polyurethane with 10% water and sprayed several coats to build the finish up. I sanded the top with 300(ish) grit sandpaper, wiped off the dust, then applied two gloss coated. I brushed the last coats on but still looked amazing. High quality finishes really perform under less than ideal conditions. In this case, spray season ends sometime in October here in Northern Virginia, so I had to brush on my last coats. To protect the feet from wicking moisture from the end-grain, I installed adjustable metal feet and coated the bedframe’s foot bottoms in epoxy.
Assembly went smooth – figure eight fasteners make quick work of attaching bench or table tops while accounting for wood movement. As a final touch, I designed a special plaque congratulating my friend on his recent wedding and attached it to the back of the bench. I laser engraved the image using a dry moly lube coating on stainless steel. The lube heats up and turns into a permanent coating. I sprayed several coats of exterior spray lacquer to minimize rust.
This piece represents so much to me. I haven’t showcased my work in nearly 3 years here on WoodshopCowboy, not because I haven’t been making awesome projects, but because I my energy and heart has been tied up by a pandemic, trying to launch a woodworking business and nearly 3 years as a program director for a local makerspace developing workforce development and youth programs. Delivering this piece wasn’t just delivering on a long ago promise to a friend, but also the recovery of a long ago promise to myself, a promise to make beautiful things and to enjoy the journey.
Thank you for your continued support.
Thank you for visiting my blog. To support for this site, please like WoodshopCowboy on Facebook or follow me on Instructables. Twitter, Pinterest or Instagram.
