 Every woodshop, makerspace or garage could use more storage. If you have an unfinished wall in a shed, garage or basement, this project is for you! This Week in the Shop we build open shelving using simple brackets made from 2x10s with a table saw, power drill/driver and miter saw. This project easy to build, cheap to build and useful. Check out the build video!
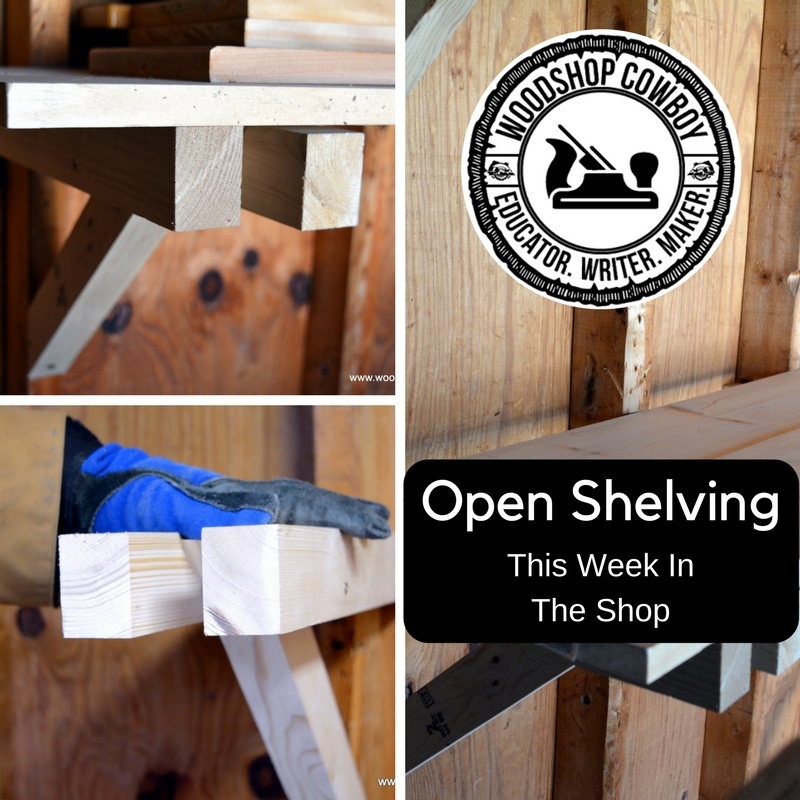
The Shop Open Shelving uses 2x10s and 1x8s to create open shelving to be installed in any type of unfinished stud wall. We start by creating a triangular bracket out of the 2×10 and install them and every two studs, roughly 32 in apart. On top of the triangular bracket we install a 1×8 pine board. You can screw it the shelf in or you can just let it float, as it doesn’t move when loaded.


¾” pine boards sag substantially over any span over 36”. While a great design can strengthen a pine shelf, it will also increase the complexity and cost of our project, so instead we will work within the limits of our chosen material. Plywood, MDF and chipboard have even less structural integrity as a pine board in this application, so I stick with solid wood shelves.
Open Shelving for the Shop
Materials:
- 2 x 10 pine, 6 ft. or longer.
- Two plank of 1” x 8” x 6ft pine
- 2.5” construction screws
Makes one 6’ shelf with 3 brackets.
Tools:
- Table Saw (or circular saw)
- Miter Saw (or circular saw)
- Drill with pilot bit
- Impact driver with appropriate bit
Milling and Dimensioning:
- At the miter saw, cut the 2×10 into 18 inch long sections.
- Square an edge on each 2×10 section at the table saw. Set your rip fence for about 9”.


- Rip the 2×9 work pieces in to 2 and 1/2 inch wide sections. These will become the struts.

- At the miter saw and using a depth stop, cut 45 degree angles on every third strut. Each strut should be roughly 16” long on the outside edge.
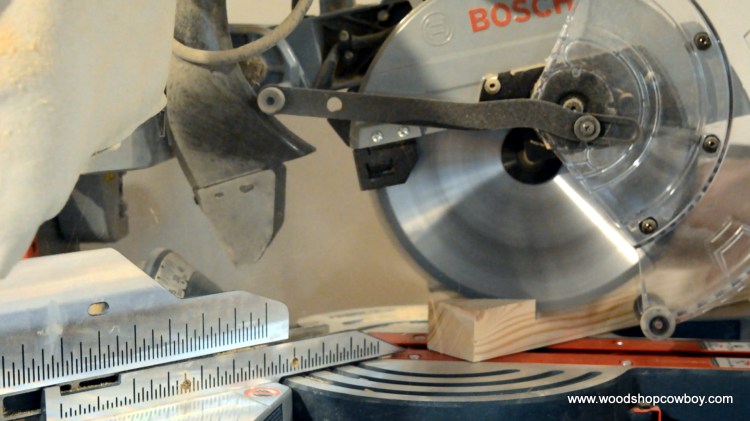
- Using a piece of using a piece of scrap, cut out a set up block for the assembly at the miter saw. I cut the 45 deg miter first, then chopped scrap 4.5” long on the outside edge.
Assembly:
- Use the set up block to mark location of the center strut on a side strut.
- Drill a pilot hole, then use the impact driver to screw the center strut to one side using 2.5” construction screws.

- Drill and screw the third strut in the proper location. You should have a completed triangular bracket.
Installation:
- Mark locations on the wall all be the same height from the floor to ensure the shelf will be level when installed.
- Drill a pilot hole then use an impact wrench to install the left strut of the bracket in the correct place.

- Use a drill and pilot hole to install the right strut in the right side of the stud.
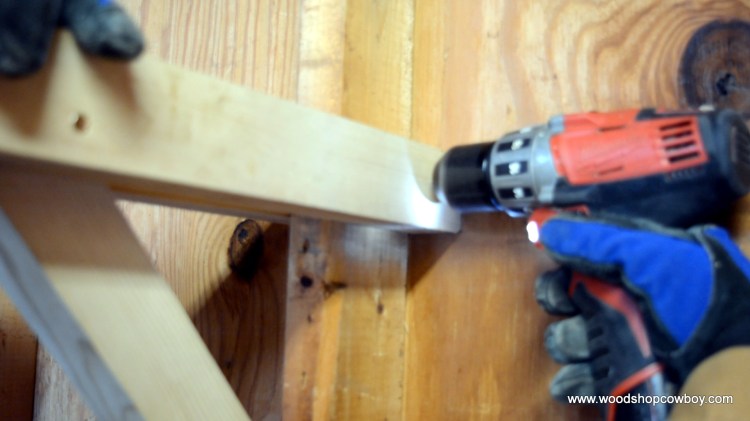
- Drill a pilot hole into the center strut. Drive a 2.5” construction screw into the pilot hole with and impact wrench, securing the center strut to the wall.


- Lay the 1x8s onto the brackets. Adjust bracket installation if necessary. Use 1.5” construction screws to attach the 1x8s to the bracket if necessary.

- Load it up!

Thank you for your continued support.
Thank you for visiting my blog. To support for this site, please like WoodshopCowboy on Facebook or follow me on Instructables. Twitter, Pinterest or Instagram.
