
Some things are impossible, such as unicorns, bipartisan agreement on the greatness of bacon and getting small boys to fold their clothes. While I didn’t do the impossible this week, I certainly made it easier to master.

A folding board is a cool little device that helps you fold clothes quickly. This is great for young children and people with mobility issues as it minimizes the physical effort while maximizing effect…it makes folding fun. Better yet, a folding board can be made with plywood, cardboard or any other stiff, flat material. There’s no need to spend $20, just use some scrap wood.
Here’s a picture tutorial of how to fold a T-shirts.


Folding Board
Materials:
Parts A & B: 24” Long by 9” Wide x 1/2” thick or thinner
Parts C & D: 11 1/2” Long by 9” Wide x 1/2” thick or thinner
Duct Tape
Tools:
Table Saw
Miter Saw
Milling & Dimensioning
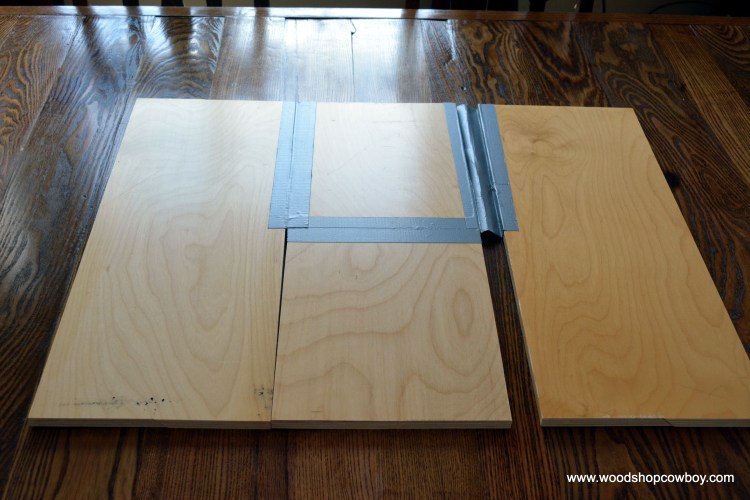
Use a table saw or other appropriate tool to trim your plywood to size. If you are buying plywood at a home center, have them cut a 2’ x 4’ or 2’ x 2’ panel of plywood to size. In that case, rip the plywood into 9” sections, then trim to the appropriate length.
Assembly:
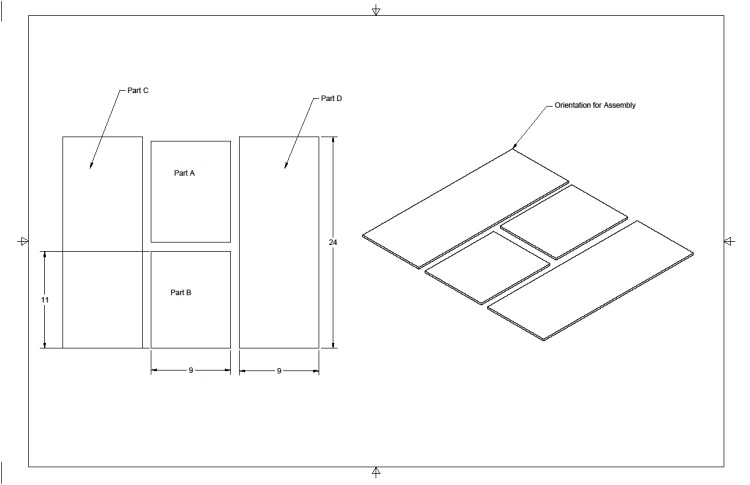 Align the Parts A & B vertically in portrait mode.
  Joining the two sides with a strip of duct tape. Flip the sides together vertically, then tape the joint. Now, there should be a one way joint between the two boards. Orient the assembly so the joint folds upwards.


Align right side, then tape the top joint only. Flip the joint to the front, then tape the back as shown in Step One.
 Now, fold the board together, and place the left wing on top of the assembly. Tape the joint, the unfold the board so a gap forms between the left wing and the center boards.
 Carefully tape over the gap with duct tape.

Fold everything together to make sure the joints move as necessary.
Use & Improvements:
1/2” plywood feels too thick for child use – this really lends itself to cardboard and thin plywood. Rounding over all the edges will help the hands, while cutting a radius on outside corners will give this project a cleaner look. Duct tape works well, but cloth attached with adhesive, similar to the DIY Notebooks I made in class years ago, would provide a sturdier hinge. Lastly, the pros make all sorts of cut outs to drop weight – I imagine a similar cut outs would work just as well in a DIY version.
Thank you for your continued support.
Thank you for visiting my blog. To support for this site, please like WoodshopCowboy on Facebook or follow me on Instructables. Twitter, Pinterest or Instagram.
