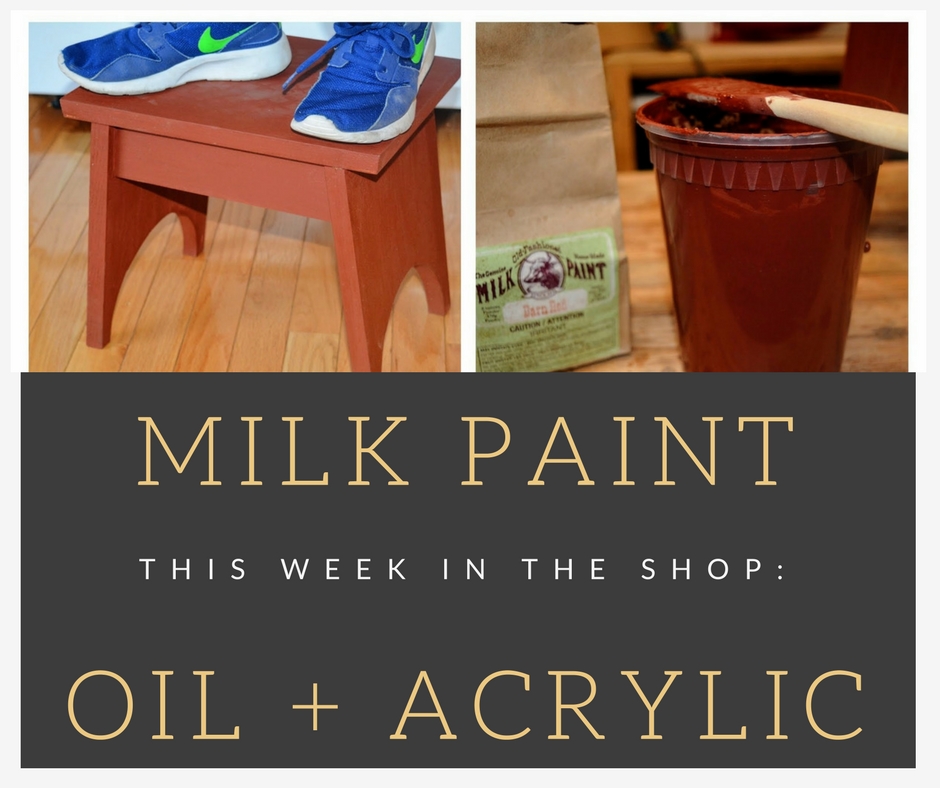
I’ve had three pieces recently come off the workbench recently. I used a two low-toxicity finishing techniques to complete them.

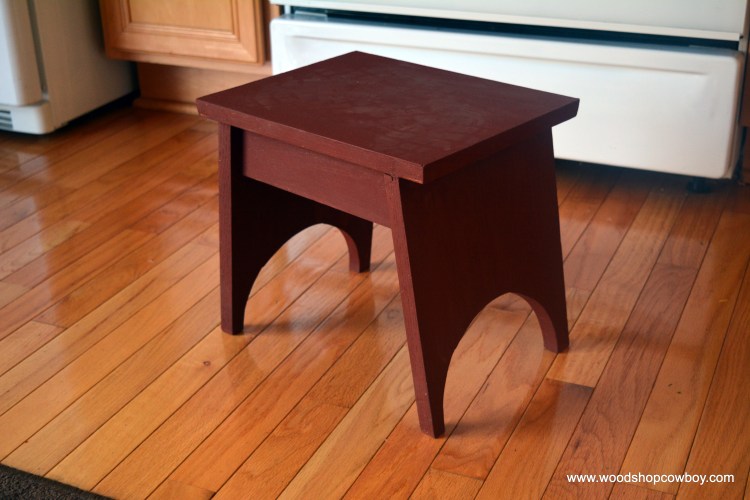
I experimented with milk paint to complete my Simple Stool and Simple Bookshelf projects. I teach both projects at NoVA Labs. Each class covers a different set of tools, but by attending both classes, students learn to use every machine in the shop, gain foundational woodworking techniques & skills and complete a pair of projects to take home.


For those following along at home, both pieces cost between $10 to $15 in materials and can be completed in a 6 hour shop day, start to last coat of finish.

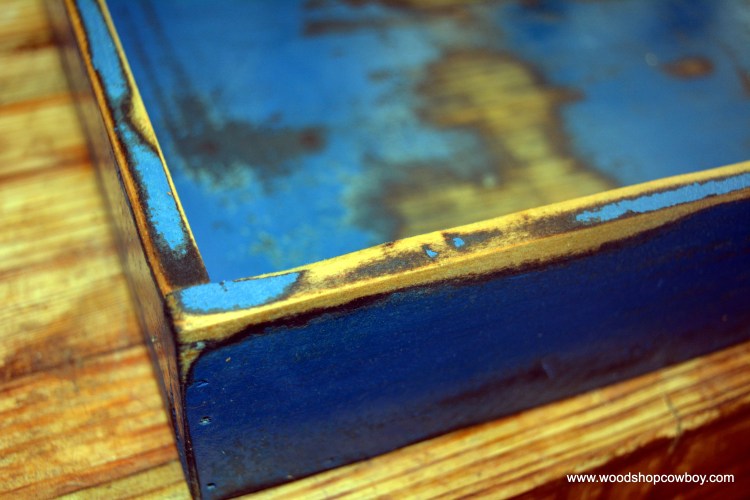
The tray received an acrylic paint & oil combination I have experimented with before. Learn to do both after the jump!
How to Use Milk Paint
All paints consist of three main ingredients: the binder, the solvent and the pigment. The solvent suspends the binder and pigment in liquid form, and then evaporates when applied. The evaporation leaves behind the binder and pigment to form a film. The binder holds the pigment to the work piece surface. Some binders, such as those found in oil-based paints, need driers to cure while others cure during the evaporation process. Lastly, the pigment contains the color.
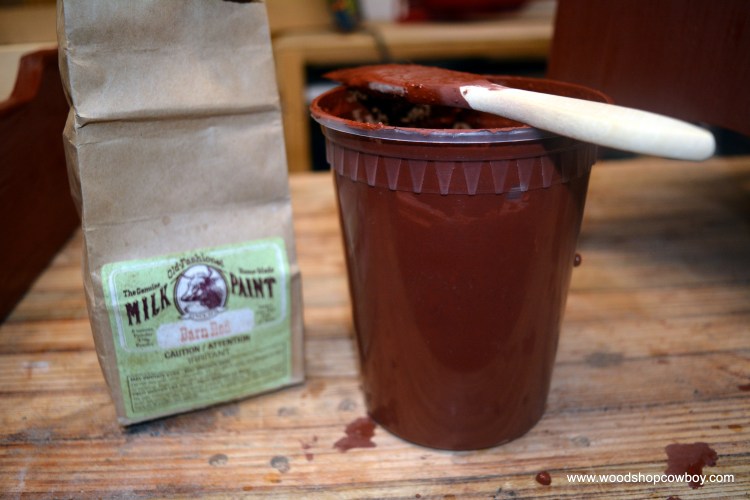
Milk paint is an old-fashioned type of paint made by mixing casein, one of the main proteins found in milk, with rich, natural pigments and a little water. Its a great choice for home woodworkers & MakerEd teachers, as it is a no-VOC (volatile organic compound), green paint with a no toxicity (unless ingested).
- Prep & sand your surface. Begin with 80-grit and move to 220-grit, not skipping any grits. Spend more time at lower grits to get great results. Once sanded, vacuum clean the work piece and wipe down with a clean cloth.
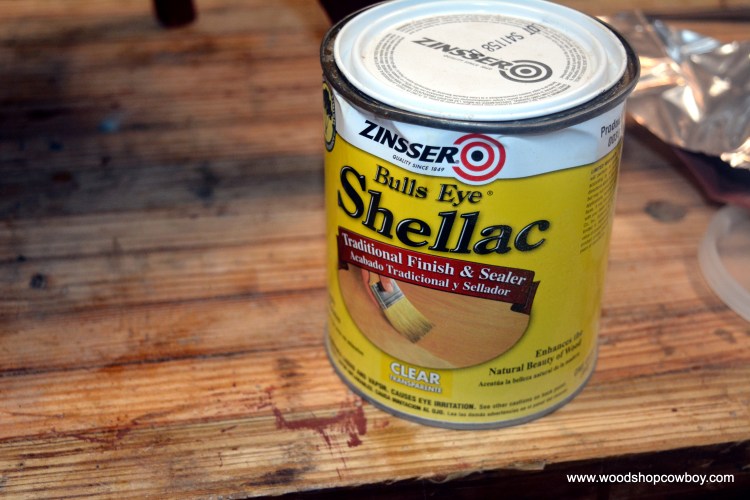
- Seal the wood. Apply thinned, clear shellac with a brush to act as a sanding sealer. I use the canned stuff, so I thin it with denatured alcohol to a 1:1 ratio.
- Mix the paint powder with water in a 1:1 or slightly less ratio. Mix very well, as the powder will clump up. Milk paint spoils quickly, within a day or two, so use only what you think you need. Store the remaining dry power in a resealable bag with as little air as possible. If you are applying paint over a pre-finished surface, use Extra-Bond.
- Paint the work piece with the milk paint. This first coat will be dry quickly, be very streaky, and might have color variations, and might smell like cat pee. All normal.
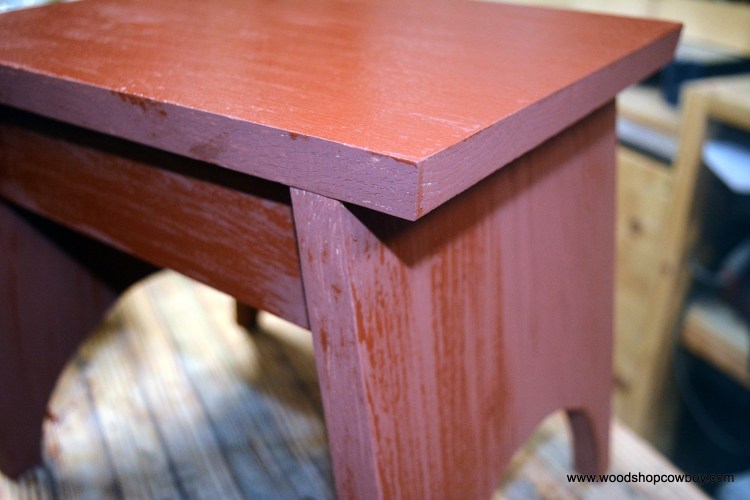
- Paint a second coat. Now, the work should get more opaque, but you can still see the grain through the paint. Continue painting until you get to the opaqueness you want to achieve.
- Seal with a top coat. Shellac works great, as does a clear polyurethane or acrylic, or even a coat of oil and wax. Paste wax gives a great soft luster and feel when buffed well.
Oil & Wax over Acrylic Paint Finish
I also experimented with acrylic paints and boiled linseed oil to acheive the “distressed” look so popular right now. I’m not incredibly happy with the results, but it certainly works.
- Paint your work peice with acrylic craft paints. Two coats are necessary to cover any previous finish. Prime if necessary with an acrylic primer or white acrylic paint.
- Sand the edges and high wear areas by hand or with a power sander and a light touch. The goal is to expose the wood, but not rip off all the paint.
- Generously apply boiled linseed oil with a rag. Allow the oil to sit for twenty minutes, then come back and wipe off the excess. Dispose of the rag properly by letting it dry outside, spread out on the ground. Boiled linseed oil can self-combust as it cures.
- Apply a paste wax top coat with a blue scrub sponge. Wait twenty minutes, then buff with a clean cotton rag.
Thank you for your continued support.
Thank you for visiting my blog. To support for this site, please like WoodshopCowboy on Facebook or follow me on Instructables. Twitter, Pinterest or Instagram. If you are interested in making and education, why not check out Work Notes, a curated set of Maker articles from the web, published every week?
