
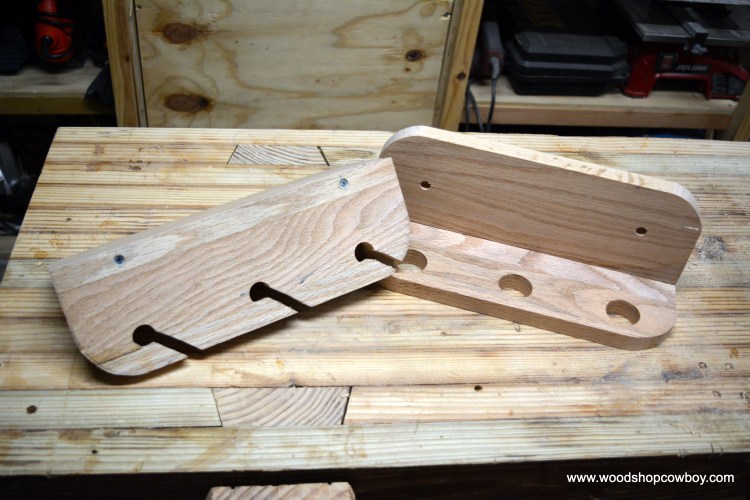
Last week, I built a small shelf using hand tools. This week, I will use a mixture of bench and power tools to create a storage rack for my family’s fishing rods. This rack has two assemblies, the upper rack and the lower rack.
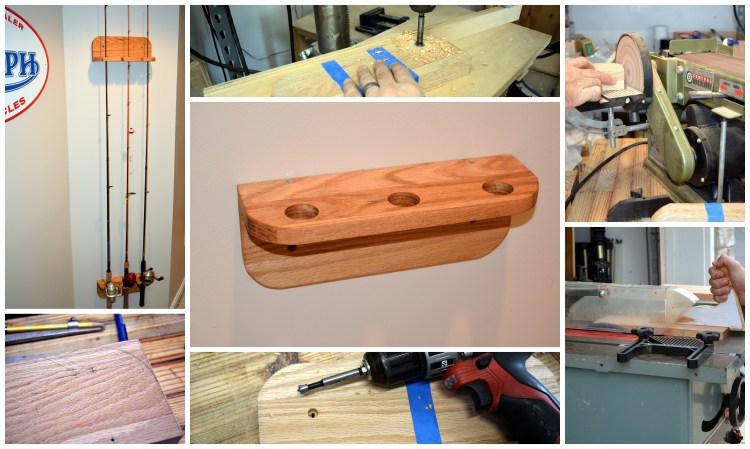
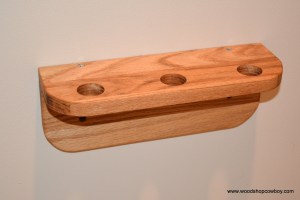
The lower assembly has three holes for accepting fishing rod handles. The upper assembly has the same three holes with access channels.
Using power tools, this project will take fifteen to twenty minutes to complete. It can be completed with only hand tools, if so desired. Young makers in the middle school range comfortable with hand-held power tools, especially the jig saw and power drill, could complete this project with minimal adult assistance.
The Fishing Rod Storage Rack Project
Materials
- 1” x 5” x 6” Pine or similar wood. I am using some salvaged oak scraps.
- #8 – 1 1/2” Wood Screws
Tools
- Table Saw
- Power Miter Saw
- Drill Press
- Band saw or Jigsaw
- Power Drill
- 1 1/4” Forstner Bit
- Brad Point Bits
- #2 Phillips Bit Driver
- Woodworking Vise
Milling and Dimensioning
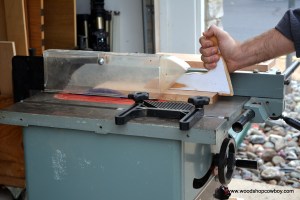
The first step in dimensioning lumber is to Rip to Width. While I give specific measurements here, the general steps remain the same no matter the project or board.
- Use a table saw to rip your stock to width at 4”.
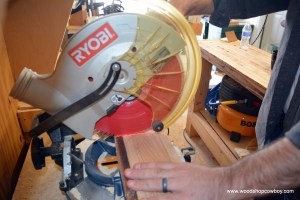
Next, we Crosscut to Length. Depending on your project, it might make more sense to cut to length before ripping to width. These two steps are interchangeable.
- Trim an edge square on the power miter saw, then mark the length with a square.
- Crosscut the stock to length on the miter saw.
Marking and Layout:


- Mark the curves with a compass and pencil or use a round object as a template. Mark the centers of the access holes with an awl or punch. The upper rack receives 3/4″ holes, while the lower rack has 1 1/4″ holes. Lastly, use a bevel gauge to mark the access channels for the upper rack.
- Mark the location of the screws on the upper and lower racks. They are 2” inches from each end and 3/8” of an inch from the long edge.
- Mark out locations for anchor screws from the two Wall boards. The anchor holes are 2” from each short end, centered on the board.
Joinery and Details:
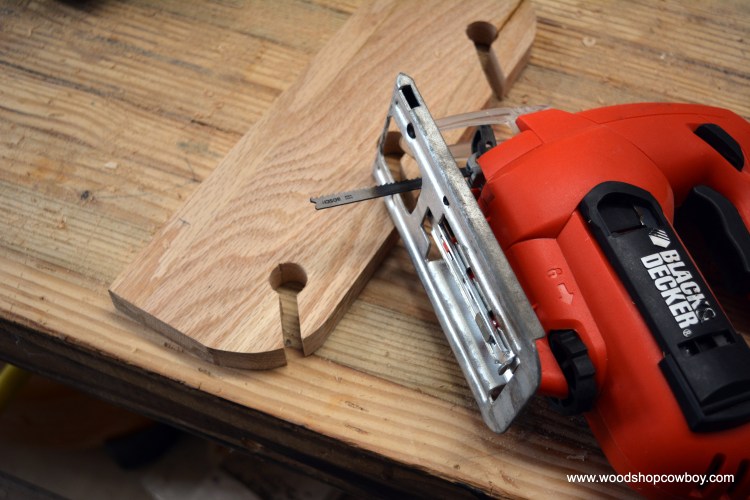
- Use a band saw or jig saw to cut the curves.


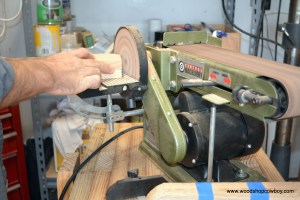
- Once the curve is cut, use the disc sander to even the curve out.
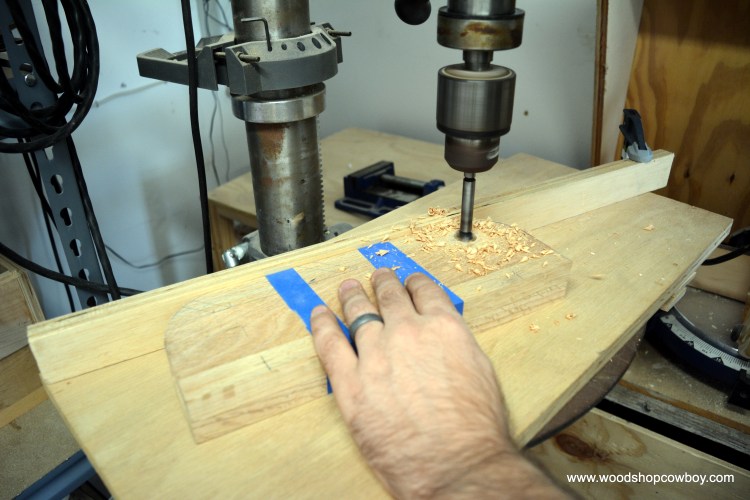
- Split your top assembly in half. Drill the holes using a drill press and Forstner bits. The upper rack receives 3/4″ holes, while the lower rack receives 1 1/4″ holes. Use a fence and drill press table for safer work.
- Cut the access channels from one upper rack.
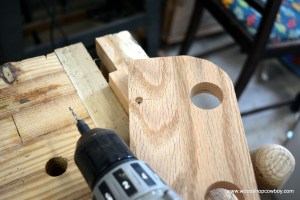
- On the wall boards, use the power drill with a brad point bit the same size as your anchor screws to drill through holes.


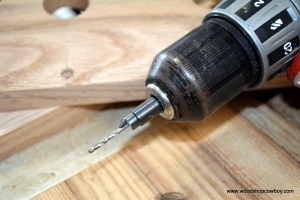
- On each wall board, use a power drill with a 1/2” Forester bit to drill a 3/8” deep counter bore.
Assembling the Shelf
- Secure the wall board in a woodworking vise, with the long edge facing up. Place the top shelf in proper position and secure with clamps to the wall board.
- Use the power drill with a countersink bit to create your pilot holes.
- Drive screws using the power drill.
Sand and Finish
Sand and finish as desired.
Installation
To install, I placed the each shelf on the wall, checked for level, then marked the anchor locations. I then installed dry wall anchors at those spots and attached the shelf.
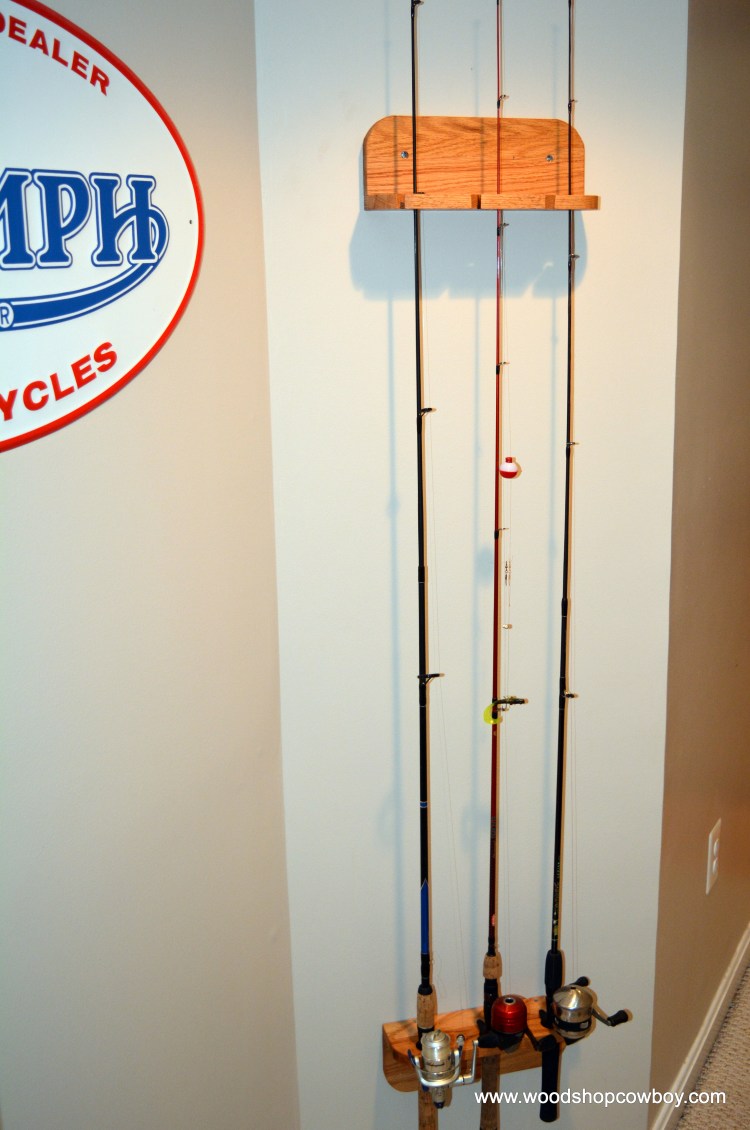
This design and attachment method is only appropriate for short, shallow shelves loaded with light objects, such as fishing rods. Heavy objects will rip the shelves out of their anchors.
Thank you for your continued support.
Thank you for visiting my blog. To support for this site, please like WoodshopCowboy on Facebook or follow me on Twitter, Pinterest or Instagram. If you are interested in making and education, why not check out Work Notes, a curated set of Maker articles from the web, published every week?
