
In the next two Tool Primer articles, I will discuss my process for finishing a woodworking project. The finishing process is the difference between a good woodworking project and a heirloom piece of furniture. When I want to really knock a project out of the park, I focus much of my energy on choosing and creating a proper finish.

So here’s my advice: sand it well and thin it as well.
In this article, I’ll focus on sanding. More after the jump!
All great finishes start with a well sanded work piece. Sanding smooths the wood by scratching over imperfections. When big scratches are replaced by smaller scratches which are replaced by even smaller scratches, the wood feels smoother. Think of the tactile difference between a street, a driveway or sidewalk, and the floor in a big box store with concrete floors. All of these surfaces are made of the same material – concrete – but the street has large, grippy scratches, while the sidewalk has some texture and the floor has been polished smooth. The same thing goes on as you sand wood – you reduce the surface’s texture.
Sandpaper is some sort of backing, such as paper or fabric, with abrasive glued onto a side. The aggressiveness of sandpaper is measured using the “grit” system. The lower the grit, such as 50- or 80-grit, the more aggressive the cut. Higher grit sandpaper, such as 180- or 220-grit, produces finer scratches and smoother work. In this wacky moral universe, John Wayne has a low-grit. He’s a rough man.
- Sand completely at a low-grit (80) before moving to a higher grit (220) sandpaper.
- Sand your project up to 180-grit while disassembled, then sand to 220-grit after assembly.
- Use a power sander with lower grits, hand sand with the grain at higher grits.
Begin with a low-grit sandpaper (80-grit, usually), then sand with progressively higher grits (100-, 150-, 220-grit). Always start at a low grit. Every board will have some sort of machining marks from the lumberyard, especially the stuff at your home center. These marks don’t show often until the finish goes on. These marks ruin the smooth feel and gorgeous look of your wood.
I usually draw light pencil marks across my boards before sanding. Why? I use the pencil marks to gauge my progress across the wood. Sanding with the grain (even with a power sander), I sand until the pencil marks are removed from the board.
I use a mix of power tools and sanding blocks to get the look I like. I sand my project to 150-grit using a both a random orbital sander and 1/4 sheet palm sander while the project is disassembled.

from R to L: oscillating tool with sander head, belt sander, random orbital sander, inline 1/4″ sander
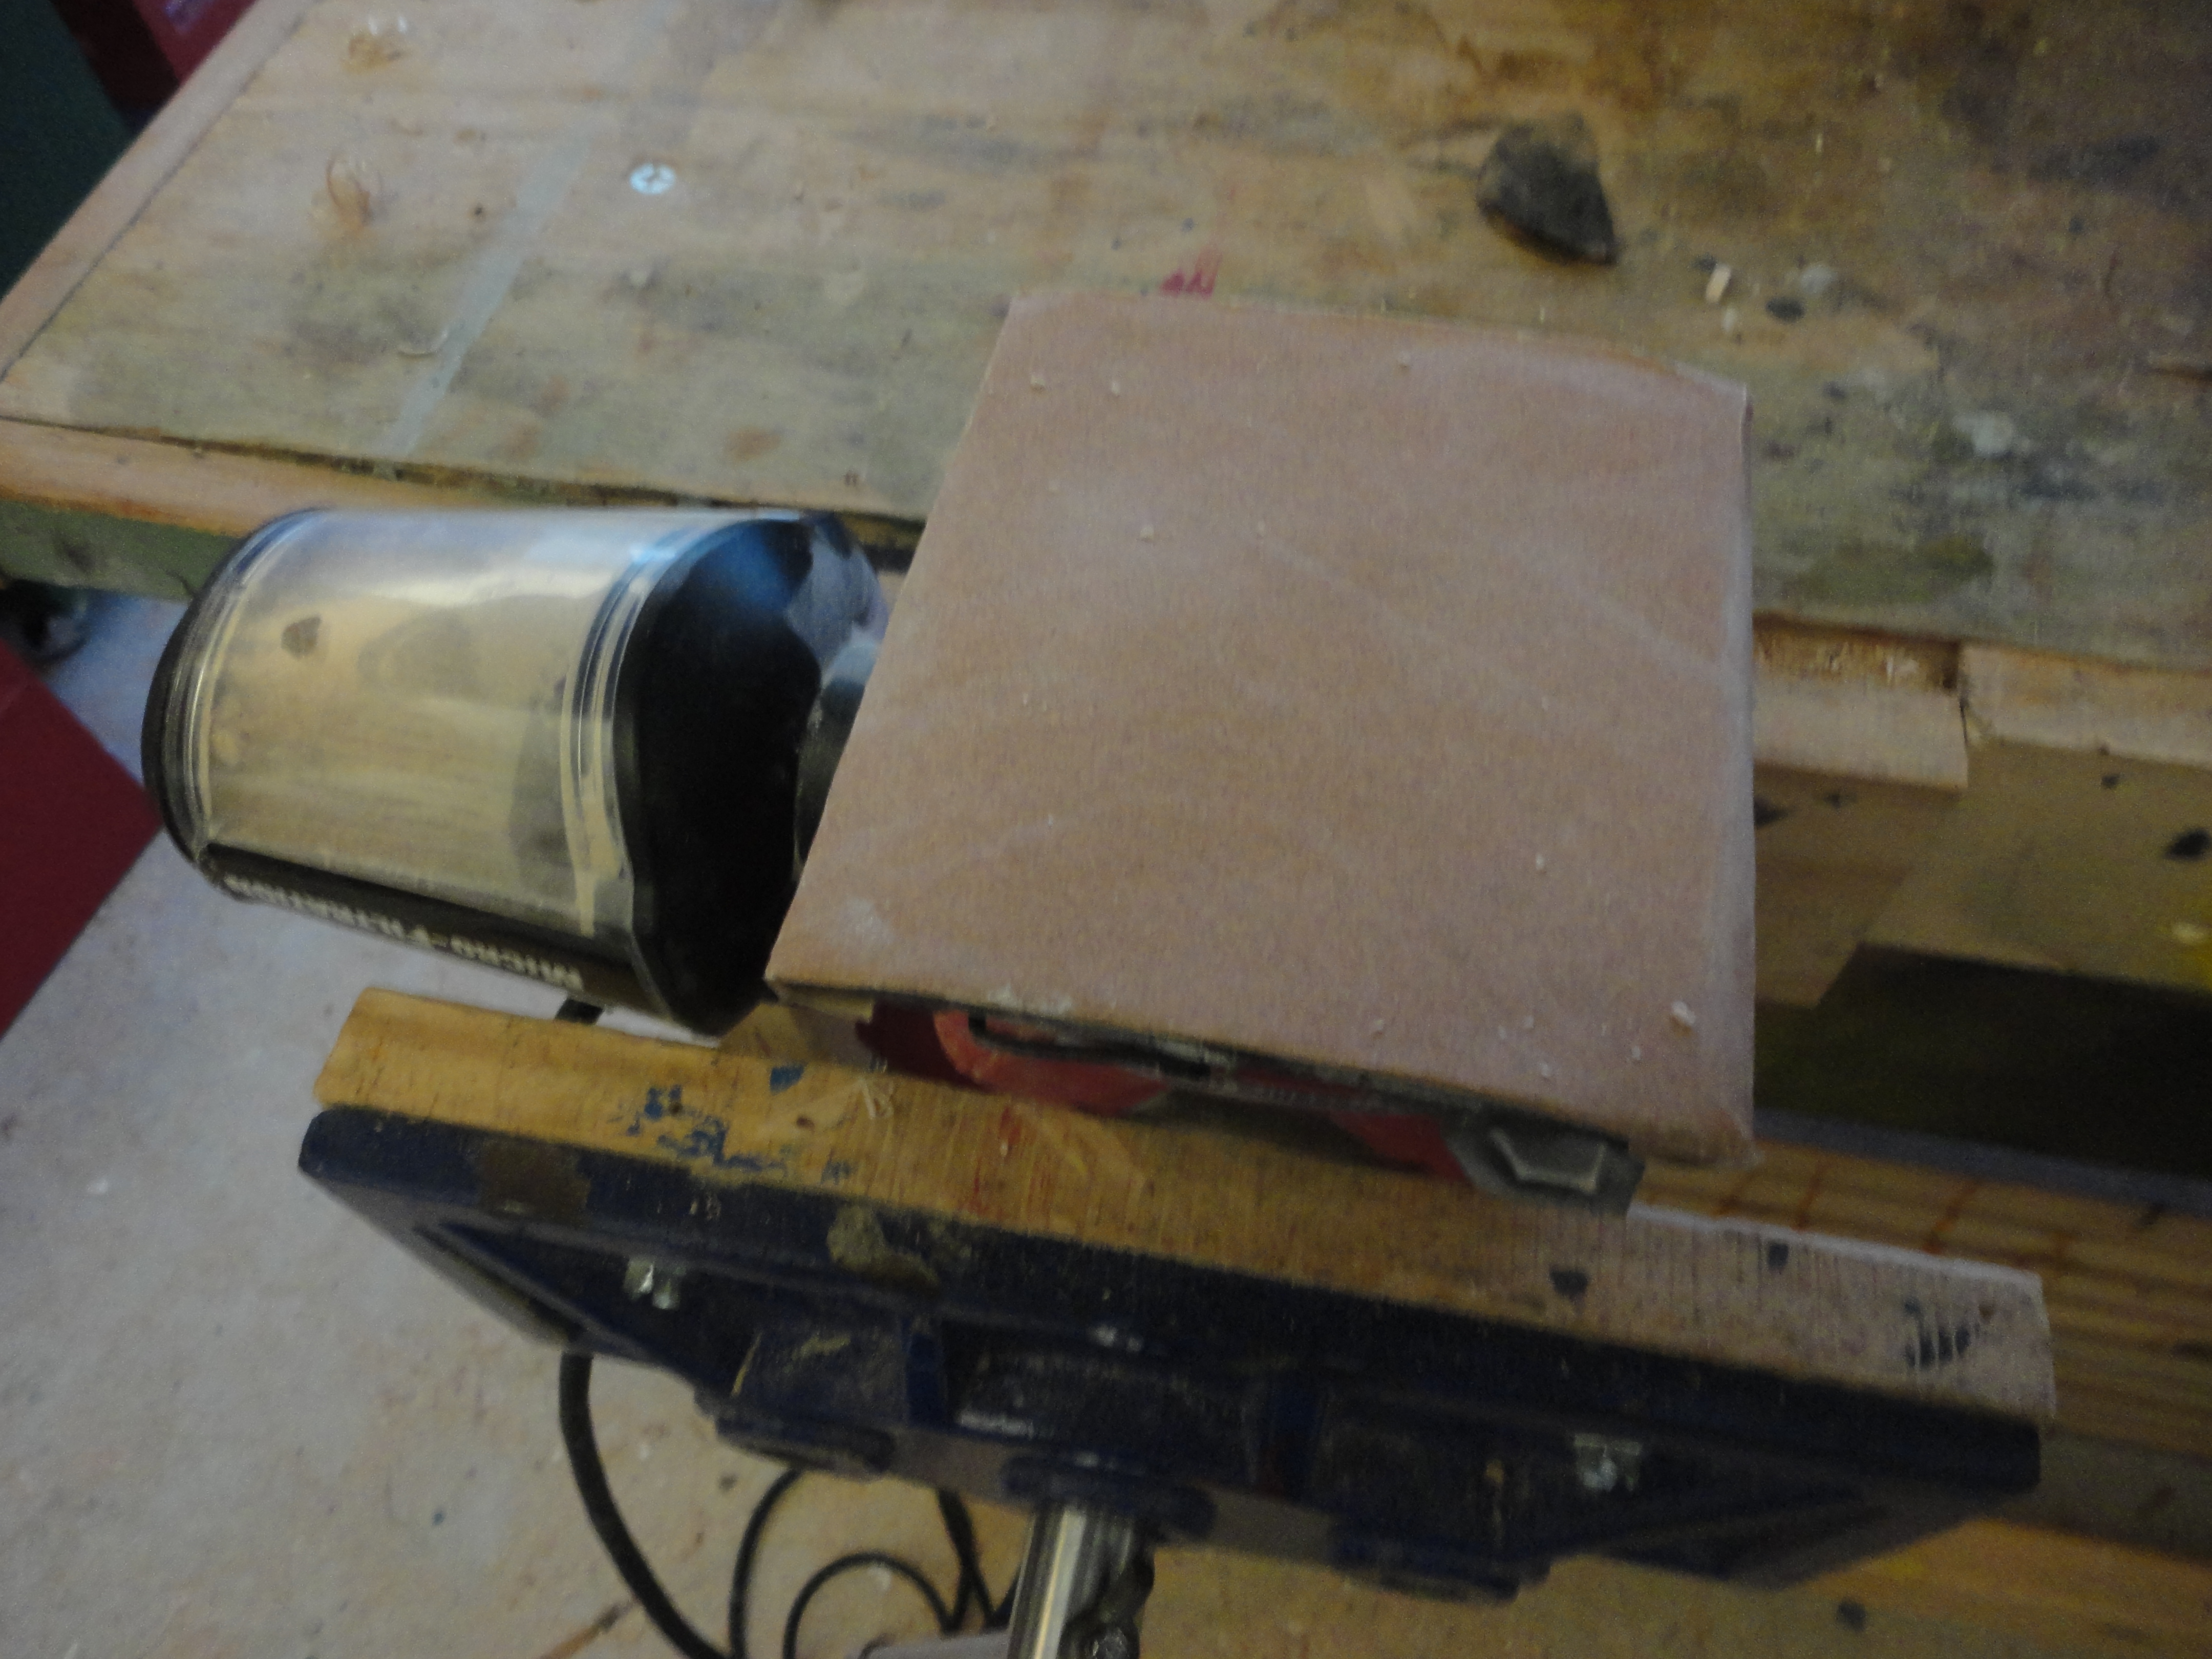
I have a cool trick to sand 3″ or smaller boards (such as the Simple Tea Box) smooth extremely quickly. I flip my 1/4 sheet sander upside down in my woodworking vise and use it like a bench sander.
Once I finish power sanding using 180-grit sandpaper, I assemble my project. Often, I must use my power sanders, chisels and planes to clean up glue joints, dovetails, etc. Luckily, this process doesn’t take too long – I only focus on small areas, so the sanding goes quickly.

I’m still a work in progress.
Once assembled, I sand the project with 220-grit sandpaper wrapped in a sanding block. Always use a sanding block if you can because sanding a piece with sandpaper and finger tips often accentuates imperfections in the work. Last but not least, sand in the direction of the grain. This hides the scratches during the finishing process and removes any marks left from the power tools.

Some more articles on sanding furniture:
Rules for Sanding Wood from Popular Woodworking
Sanding Tips from the Family Handyman
For more Tool Primer Articles:
