
Here’s a great “getting started” 3D printing project for young #MakerEd students. It combines rudimentary circuit knowledge, gross motor skills and safe tool use. It costs about $5 to make (excluding the cost of a 3D printer) and can be modified to fit any holiday, not just Halloween.


These pumpkin string lights are appropriate for young makers K and up. While this version uses glue guns, safety conscious adults can use blue tack or sticky wax instead.
The 3D Printer

In the last few years, 3D printing has take the world by storm. 3D printers combine CNC (computer numerical control) with extruded plastic (think hot glue from a glue gun) to build, layer upon layer, an object in 3D. Years ago, it took days and weeks to get prototyped parts. Now, a hobbyist sitting at home can prototype a robot in a few hours.
In the classroom, I’ve used 3D printers to build rocket car designs, art pieces, shop helpers and more. The possibilities are endless, only limited by our imagination and the size of the printer.
3D printers have become cheaper and cheaper by the day, and as part of the Home #Makerspace series, I bought a cheap Makerbot Replicator knock-off from CTC Printers. (Do not buy from their site, buy from Ebay) As an experienced 3D printer enthusiast, I found the knock-off shipped fast and easy to set-up. I currently use Makerbot Desktop as my printing software, but Cura and Simplify3D should work too. Autodesk 123D apps, which I reviewed this summer, create a free and powerful tool chain from idea to CAD to print.
Supplies:
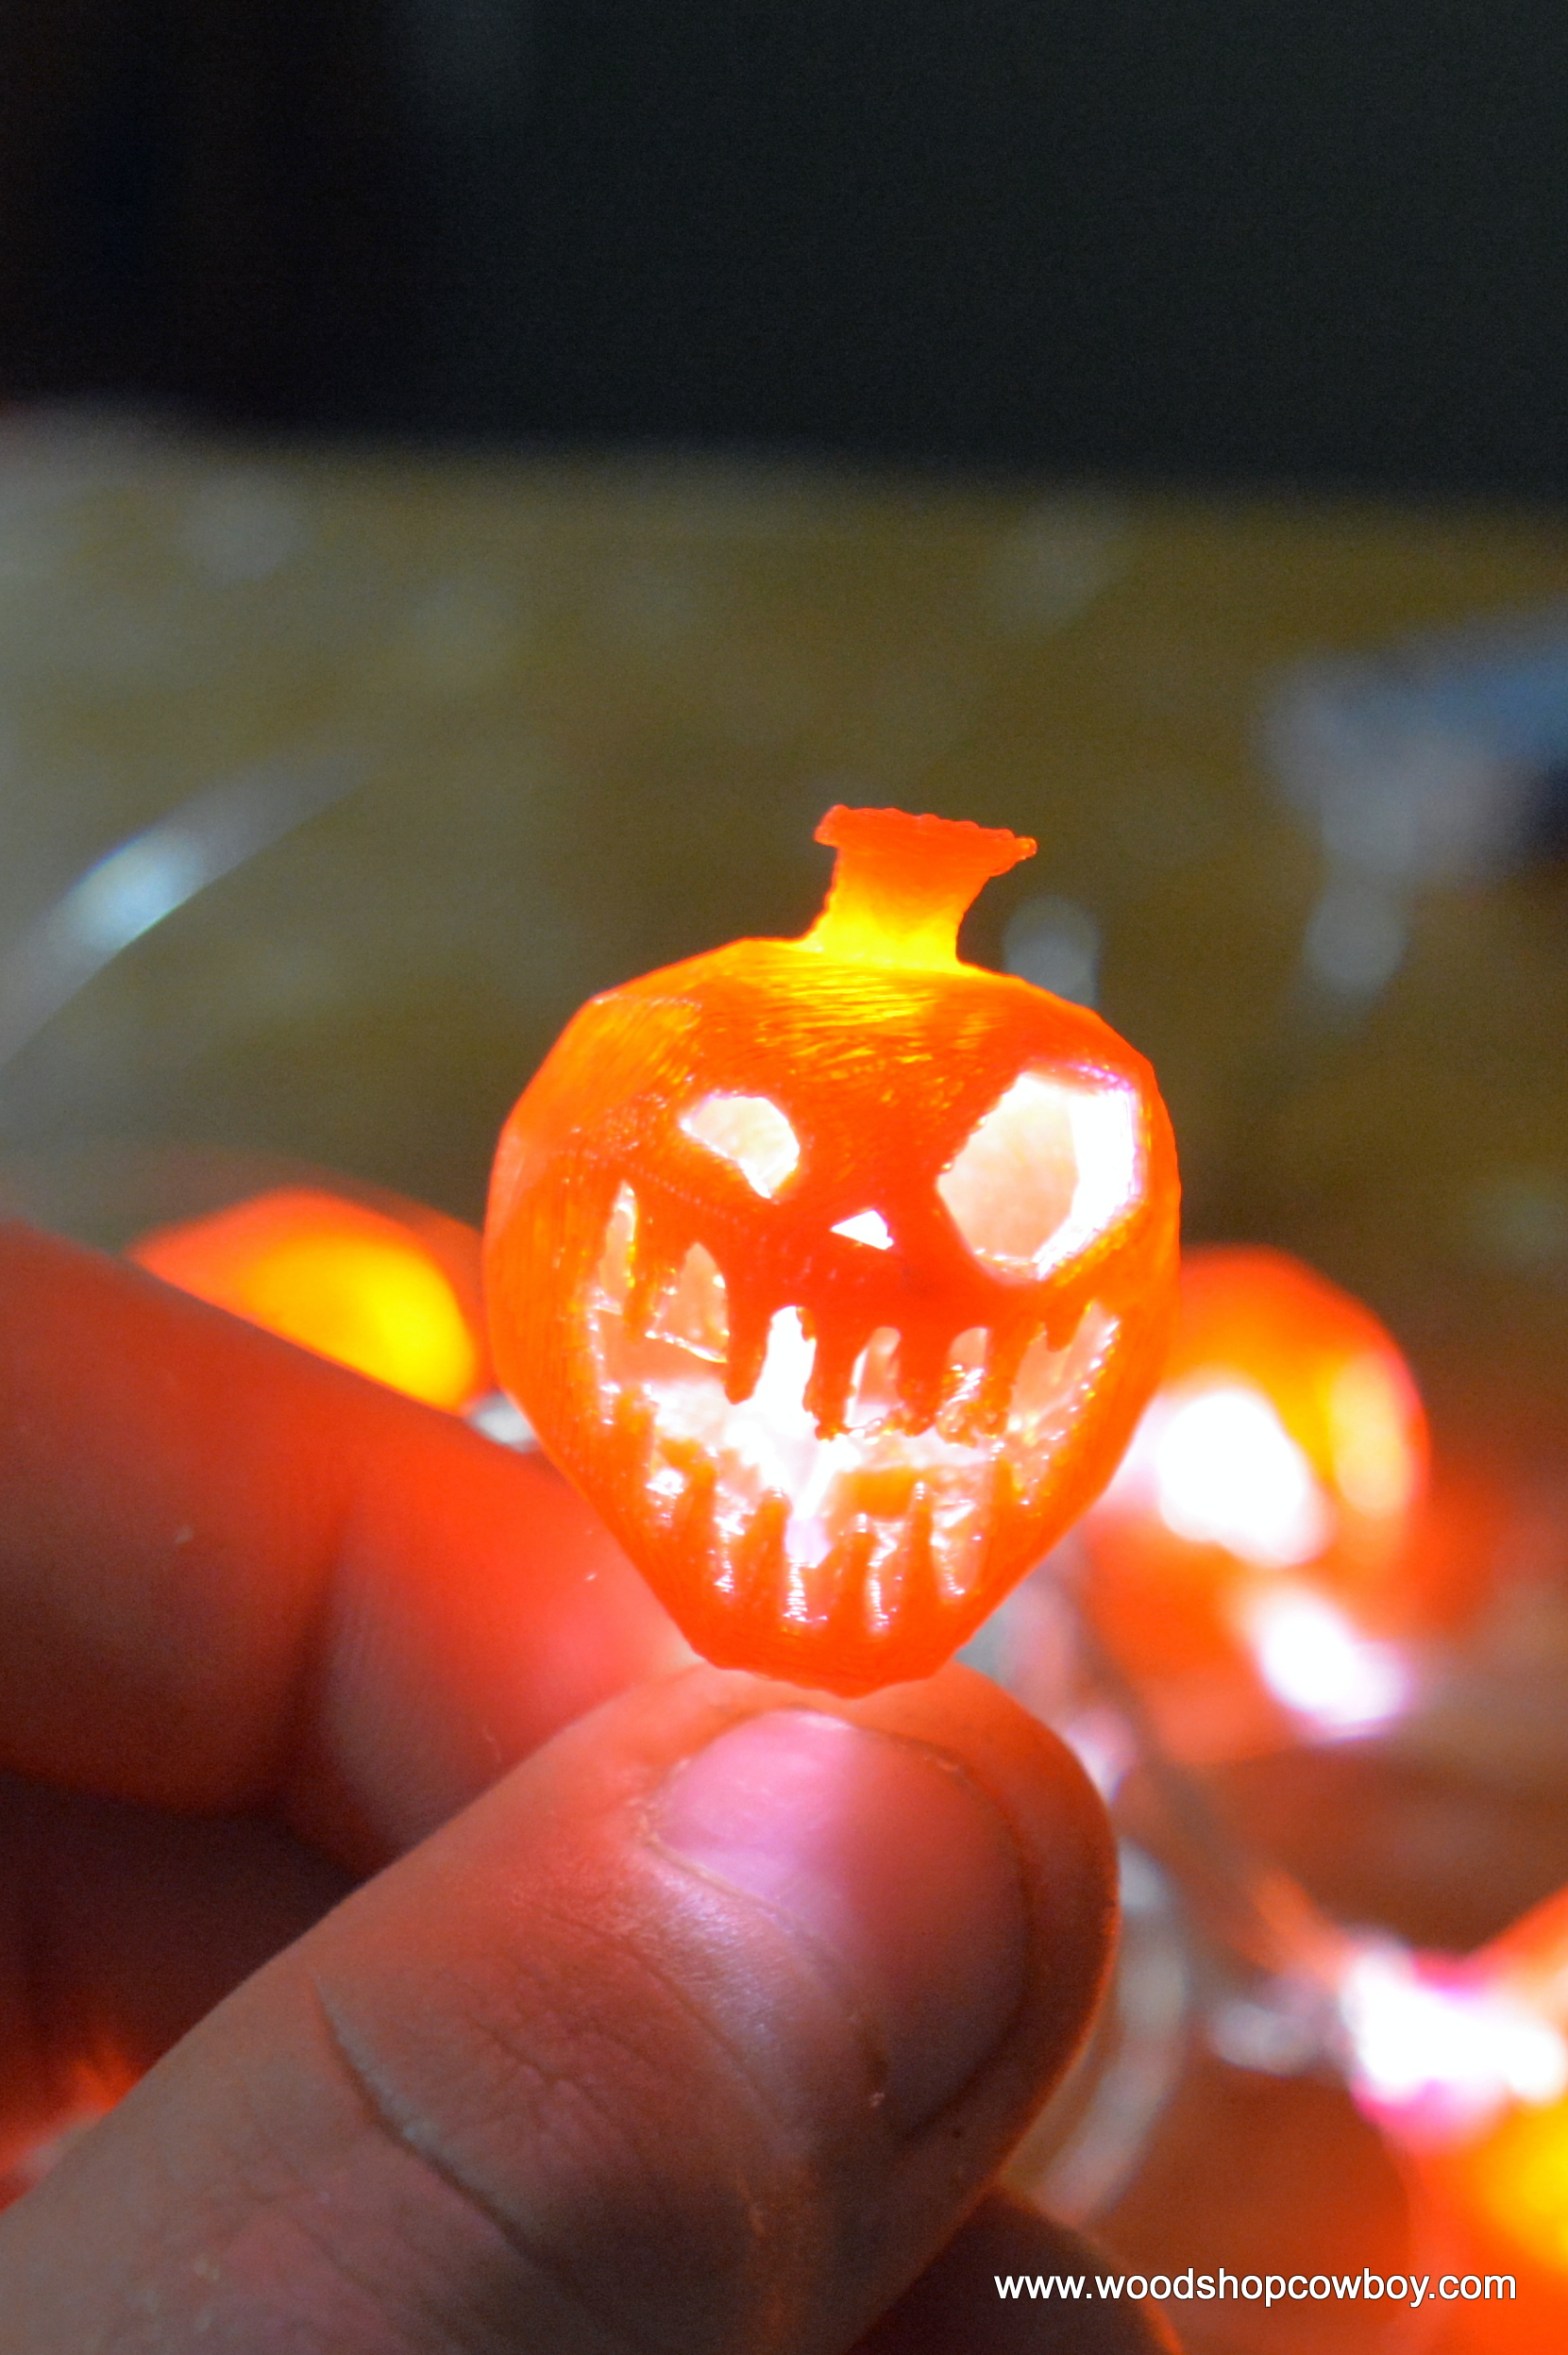
3D Printed Pumpkin Heads. I found this model on Thingiverse.com by designer @Davision3d. If you go with a different design, choose a hollow design, then drill a hole on the bottom.
LED String Lights. You could make a similar chain, but I picked these up for $3 each at the clearance rack of my local Target.
AA Batteries.


Tools:
Slip joint pliers, screwdrivers. Whatever you need to rip off the covering of the LED light bulbs.
Low Temp Glue Gun.

Assembly:
1. Print the pumpkin heads on a 3D printer. If you don’t have one, try a local makerspaces. While companies like 3DHubs.com, and shapeways.com do offer print services, they aren’t very cost-effective for small projects like this.


2. Rip off the colored plastic protectors by any means necessary. We used slip joint pliers and a twisting motion to get the effect. We did mess up and have to re-connect the wires. I simply twisted the bare wire together and dipped the ends in hot glue, as soldering was outside the scope of this project.


3. If you need to, drill a small hole in the printed pumpkin (or whatever you chose) the same size as the LED light with a hand drill and bit. Slip the LED inside the pumpkin print, then hot glue in place.

4. Insert batteries to the power switch and turn on!


Thank you for your continued support.
Thank you for visiting my blog. To support for this site, please like WoodshopCowboy on Facebook or follow me on Twitter, Pinterest or Instagram. If you are interested in making and education, why not check out Work Notes, a curated set of Maker articles from the web, published every week?

Nice project. Creative