Welcome to WSC Designs
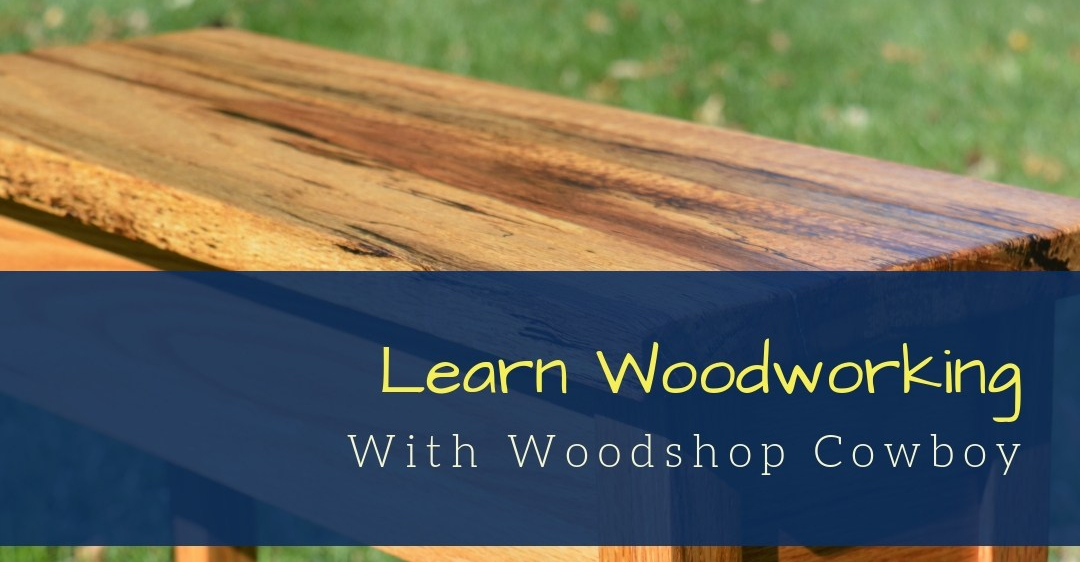
Howdy! Come on in to the workshop here at WSC Designs. The WSC stands for Woodshop Cowboy – where I put my own little spin on the Maker Projects around me. I am a long-time educator with an art degree and STEM interests. I have a ton of education-related content from my years as a middle school shop teacher with few tools and smaller budgets which may be interesting to educators, while many of my personal side projects involve engineering/woodworking and design, which should interest a whole other audience. I hope you find something that you can take away and improve upon.
Projects & Portfolio